 Using Trunk Club to Update My Spring/Summer Wardrobe
 5 Tips For Styling a Simple Summer Dress
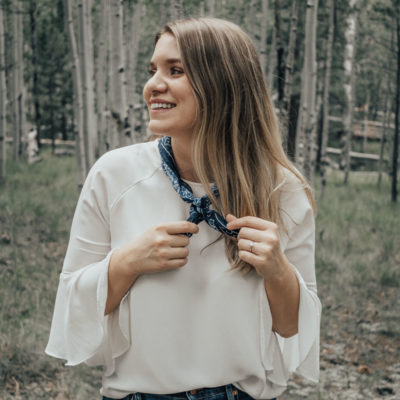 5 Ways to Style a Bandana
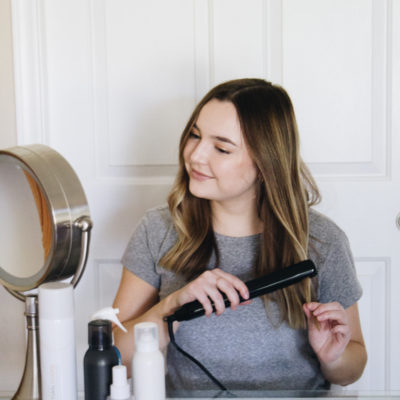 3 Different Ways to Curl Your Hair
 How to Master the 5-Minute Makeup Routine
 Amazon Beauty Buys Under $25
 3 Ways to Make Your next Trip More Memorable
 Tips for Digital Spring Cleaning and Organizing
 Color Trend: Marigold
 Mental Health Update: The 3 Major Changes I Made to Get Out of Depression
 5 Unexpected Ways to Unwind After Work
 How to Know You’re in a Controlling Relationship
 4 Questions I get Asked as a Professional Resume Writer
 How to Make Friends at Work
 Getting Out of the ‘Busy’ Mindset
 Ask Amanda: How do I pursue the career I want without formal training?
 Ask Amanda: How Do I Find a Therapist?
 Ask Amanda: How do I stop being jealous in my relationship?


Ever find yourself doing the same thing to your hair every day? It’s easy to get stuck in a rut, especially when it comes to the way you curl your hair. However, there are small changes you can make to your routine to change up your overall look. From big bouncy curls to soft waves, you can achieve a wide variety of styles using the same curling iron. It’s all about technique!
Follow along as we share 3 different curling methods that are perfect for the lazy girl.
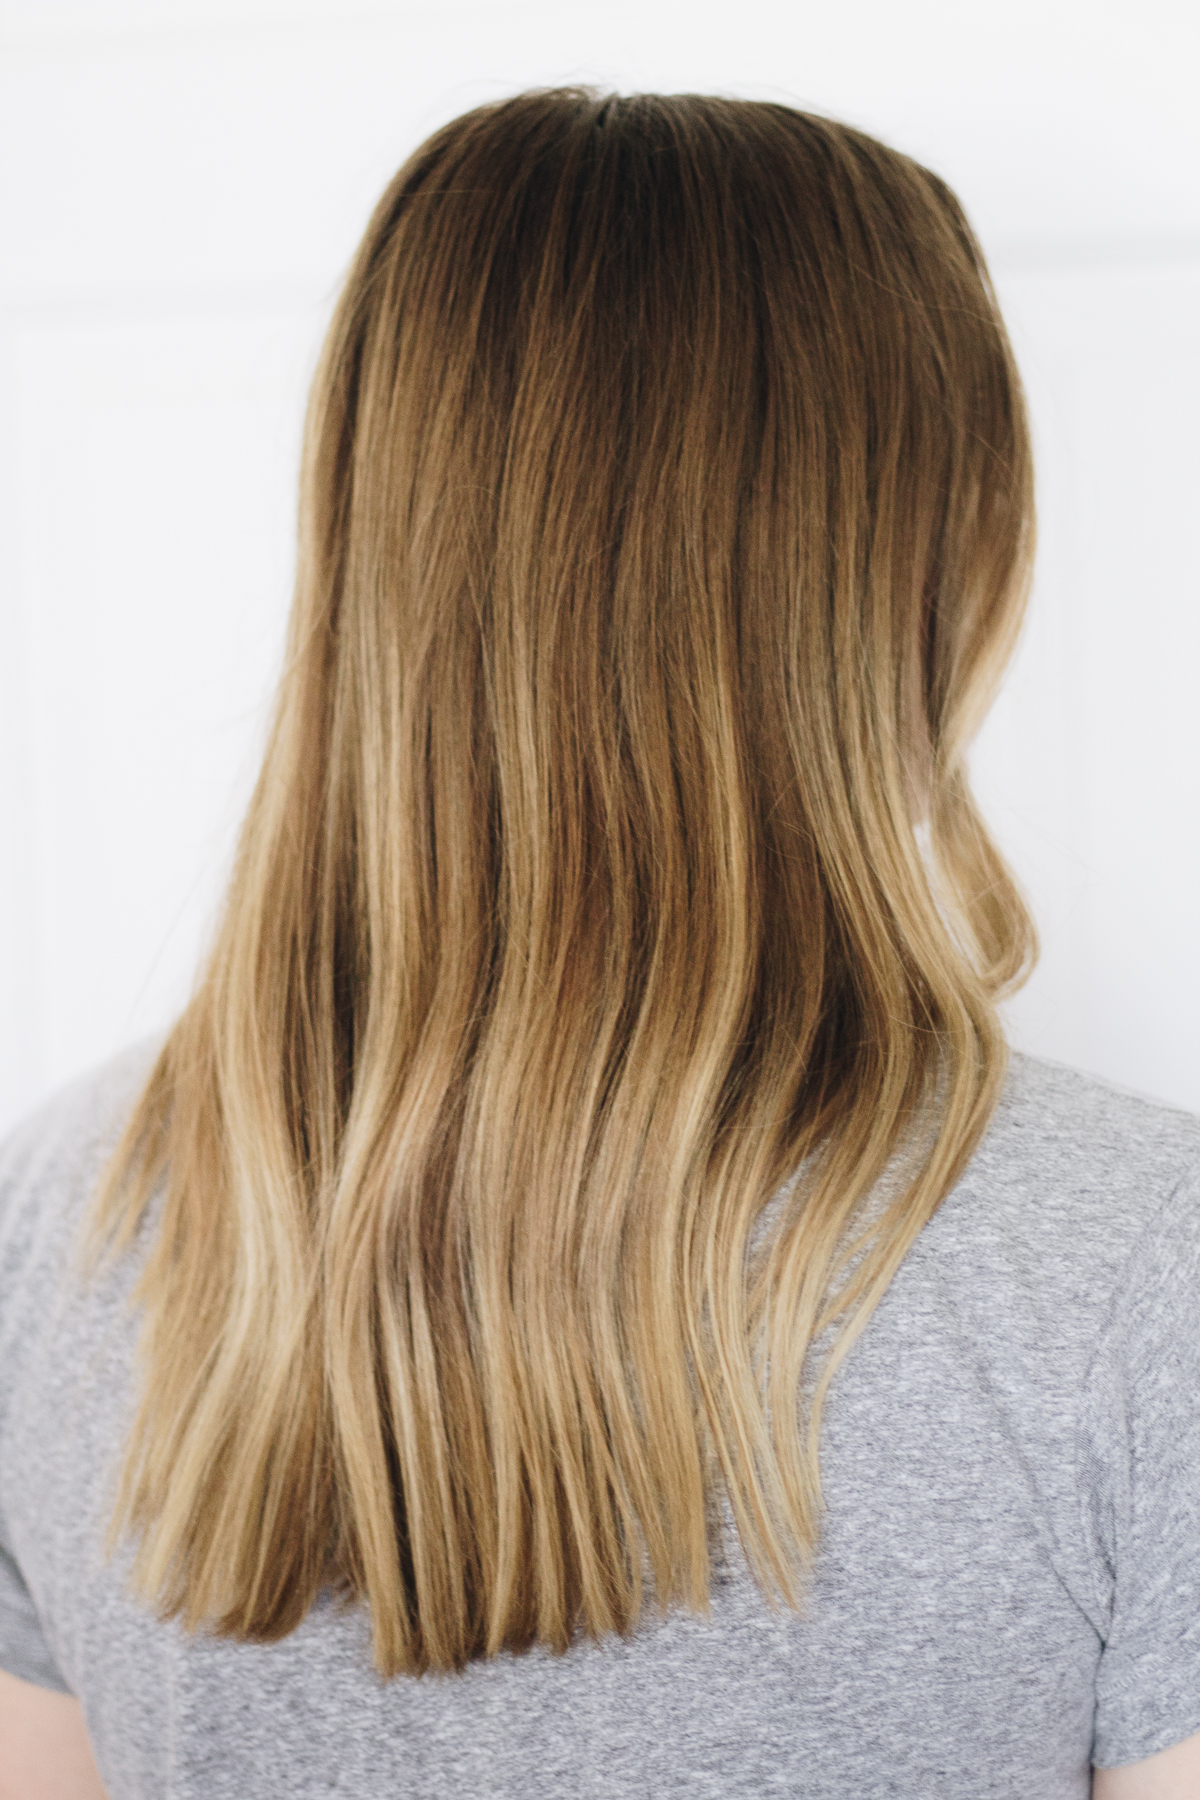
Soft Bend
This look is my go-to when I want my hair to look polished, but not overly done. This method can be done on anyone, but it’s especially great for girls with straight hair that want to add some movement and body in a pinch.
What You’ll Need:
Curling iron or wand (preferably a 1.25 or 1.5-inch barrel)
Flat iron (optional)
Hairbrush
Beach wave spray
Dry conditioner (the key product for this look!)
Hair spray (optional)
To achieve this look, start by brushing out your hair until it’s tangle-free. Then, grab your dry conditioner–which is the magic product for this style! The Kristen Ess Dry Conditioner is a unique product that moisturizes and softens dry hair while also providing thermal protection. If you don’t have this particular product, don’t fret–any shine spray will work (bonus if it has heat protection!).
After spraying a light layer of dry conditioner, you’re ready to use your hot tools. If your hair has a wave to it, grab your flat iron (yes, a flat iron!), but don’t run it all the way through your hair. A key part of this look is having straight ends, so just use your flat iron to smooth over your ends as well as your roots if you have any natural wave there.
Once you’ve finished using your flat iron, it’s time to grab your curling iron or wand. The Dry Bar Wrap Party Styling Wand is great because it has a tapered barrel that’s thin at the base and thicker toward the end, which can help to add more body and texture. Grab 1-2 inch sections of hair and wrap only the midsection of your hair around the wand–leave your ends out and don’t hold the iron too close to your roots. This is what will help you to achieve that ‘undone’ natural look.
Repeat this same technique on all of your hair, and let the curls cool. From here, you can either break up the curls with your fingers or use a hairbrush to smooth out the curls for a sleek look. This depends on the amount of wave you want in your hair.
For the finishing touch, flip your head upside down and give it a good spritz of any kind of wave or texturizing spray (the Kristen Ess Beach Wave Spray is great for this look). If you have any flyaways or frizz, add a spritz of hairspray (but not too much–the goal of this style is for it to look as natural as possible).
Bombshell Curls
This classic curl is perfect for any occasion, whether you’re headed to work or getting ready for a night out. If your hair has a hard time holding a curl, this look is great because the curls fall really nicely throughout the day.
What You’ll Need:
Curling iron or wand
Hairbrush
Heat protectant
Hair oil
Hair spray
First things first, brush out your hair so it’s tangle-free. This is especially important for this look! Then, spritz your hair with heat protectant (any kind will do). The only hot tool you’ll need for this look is a curling iron or wand, and the barrel size is dependent on the type of curl you want to achieve. A bigger barrel will give you looser curls, and a smaller barrel will give you tighter curls.
Start by grabbing 1-inch sections (or so) of hair and wrapping it around the barrel from top to bottom. For this look, you’ll want to get the barrel fairly close to your roots and include the ends, too. When curling, make sure your hair is laying flat against the iron and not twisted. This will ensure that your curl is even from top to bottom.
After you’ve curled all of your hair, allow the curls to cool completely. Then, grab your hairbrush and lightly brush through them. This is what will give you those big bombshell curls!
To give your hair an extra boost of shine and nourishment, rub a few drops of hair oil in your hands and lightly apply it to your ends. Then, finish the look with a light layer of hairspray. Voila!
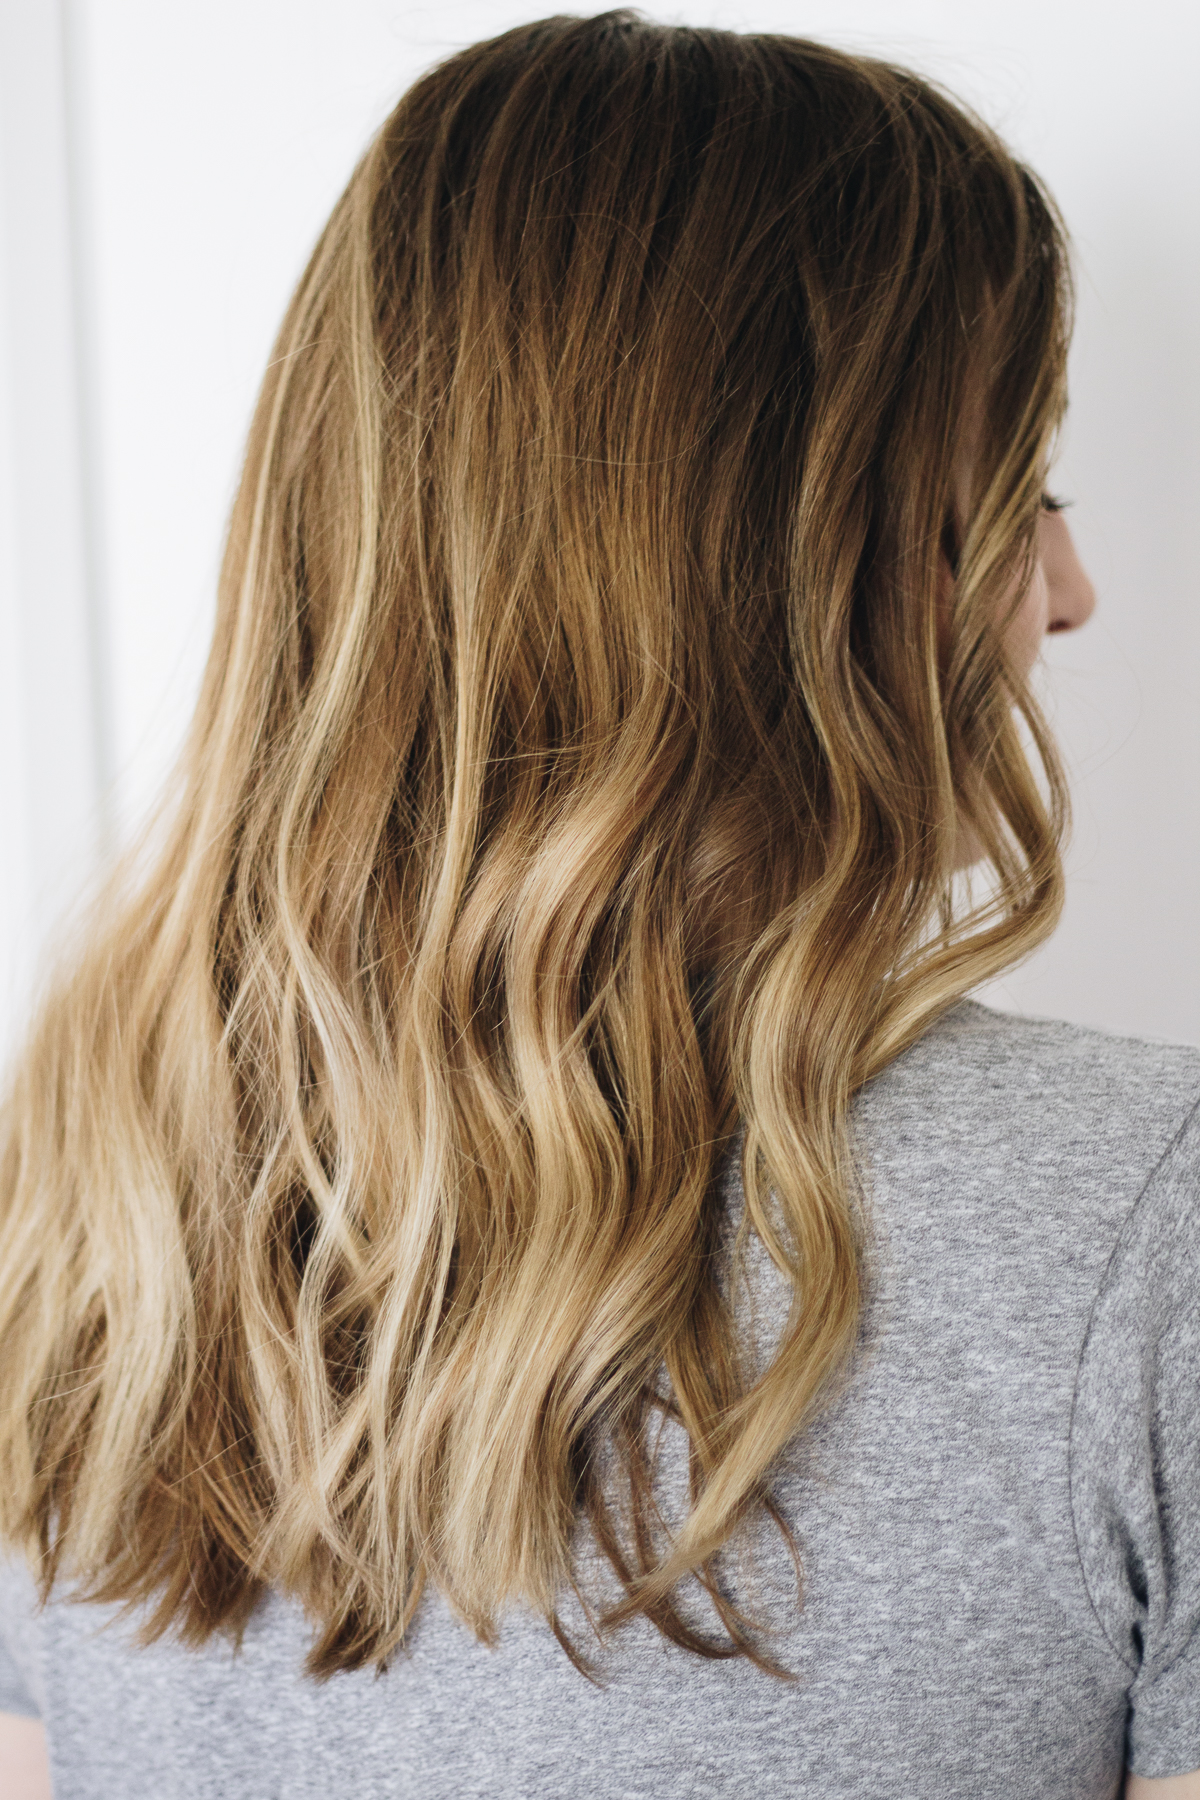
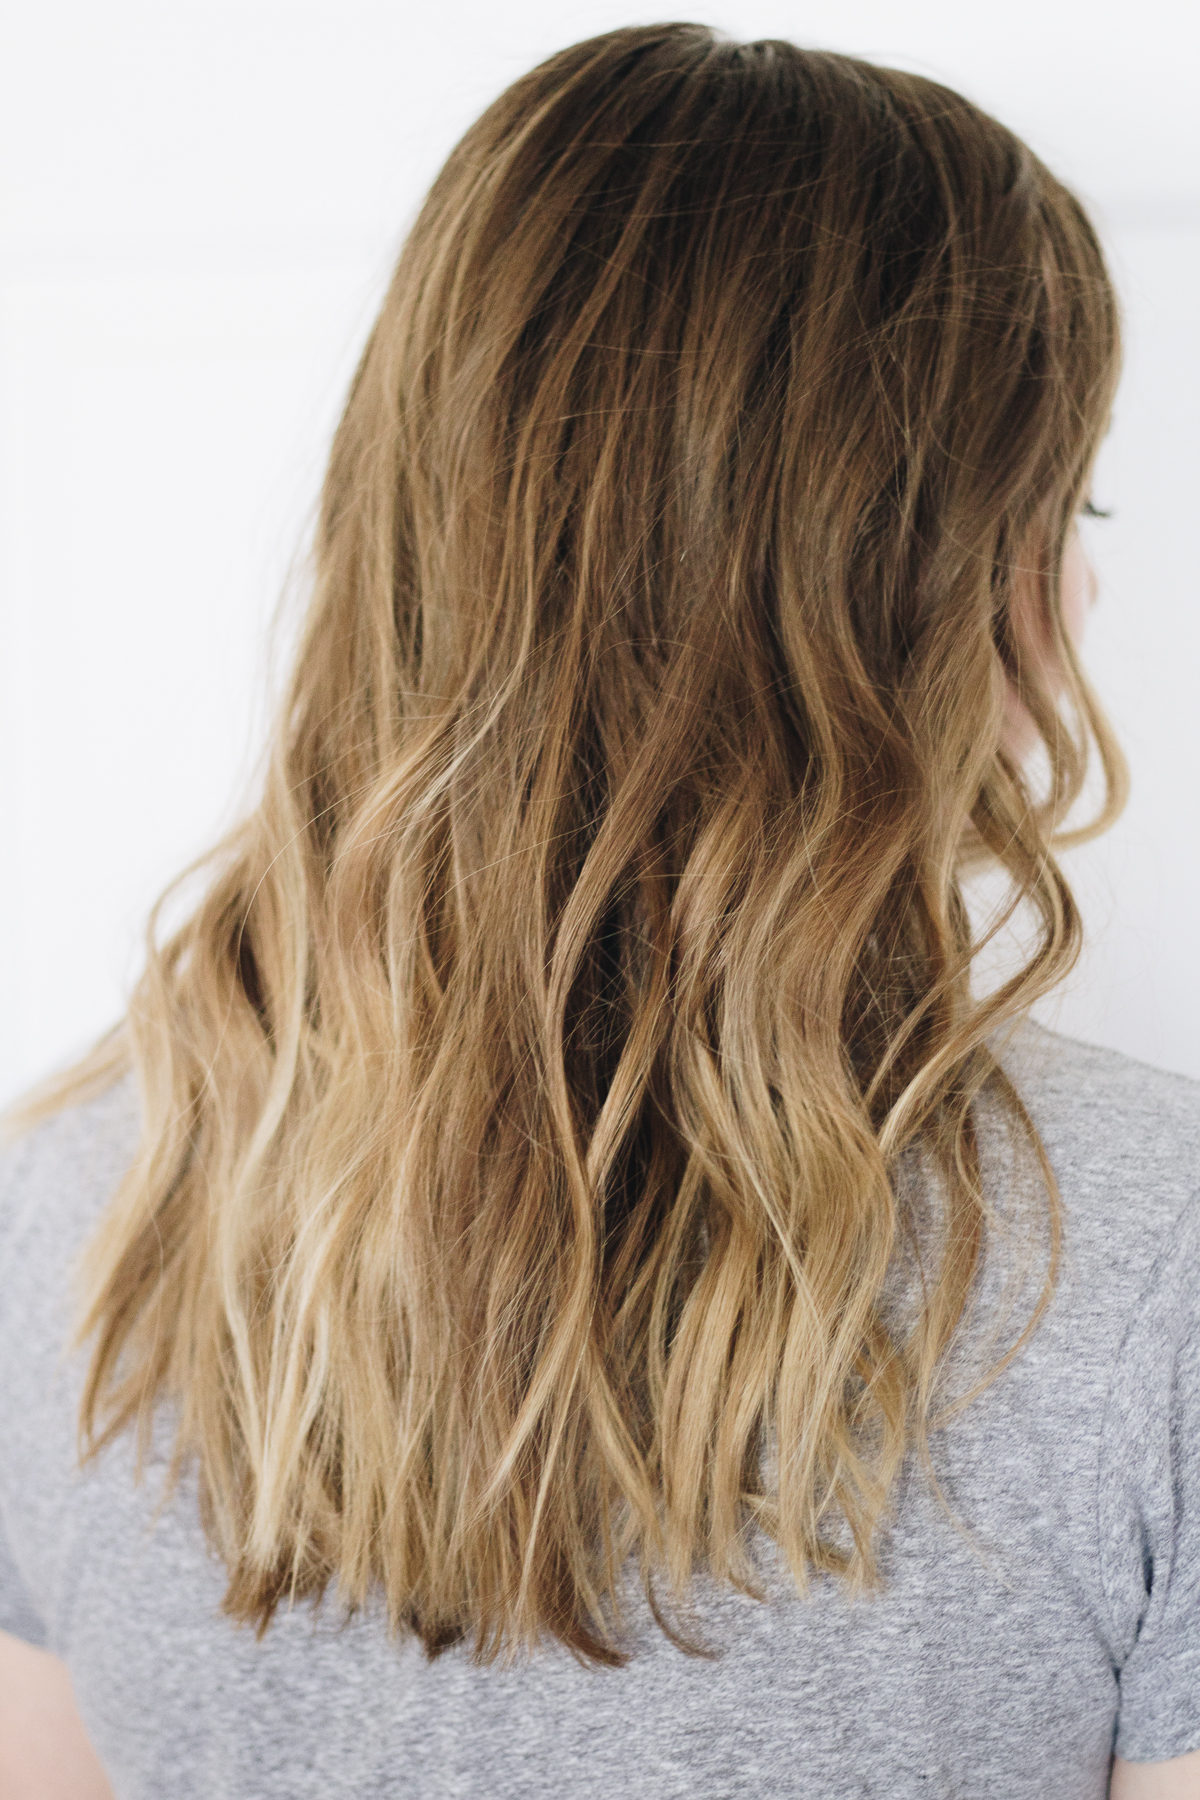
Tousled Beach Waves
This last style is perfect if you want to achieve that ‘just left the beach’ vibe. If you have a natural wave or texture to your hair, this look will be perfect for you.
What You’ll Need:
Curling iron (preferably 1-inch barrel or smaller)
Flat iron (optional)
Heat protectant
Salt spray
Unlike the last two looks, you might not need a hairbrush for this one. This is your preference, but the messier, the better!
After spritzing your hair with heat protectant, start grabbing 1-inch sections of hair and wrap them around your curling iron, leaving out the roots and ends. Don’t worry about grabbing the same size sections of hair–this look isn’t meant to be perfect! When it comes to the type of curling iron you use, I have found that a 1-inch barrel or smaller usually works best.
After you’ve curled all of your hair, grab your sea salt spray. The Not Your Mother’s Sea Salt Spray is a great option from the drugstore, and it smells amazing! Flip your head upside down and give your hair a good spray. Then, you can scrunch the curls with your hands until you achieve your desired look. It’s that easy!
The best part about this look is that it doesn’t have to be perfect. These fun tousled waves are perfect for summer!
And just like that, you have 3 different ways to curl your hair. Have fun mixing up your look!
Which one of these hairstyles is your favorite? Let us know in the comments below!
Shop The Post

Marnie Says
Maple Holistics has good shampoo for curly hair.
Foxy Says
hey, I enjoy reading this How to’s style. I will try definitely try them.
Also, I used Philips curling iron which I have recently got from Foxy
suggest me some good brand for a straightener.
Aaliyah Says
Wow ..very good post. I was looking for tutorials for curling my hairs. This post helped me a lot. Now these days curly hairs are in trend..If you are looking for best hair salon ,to take hair care treatments ,i can suggest my best experience at Laloge Luxury Hair Salon Dubai . Trust me guys ,you will never regret..Am hoping that this information may help you..
Sarah Says
Again thank you for all your good articles <3
If you have medium or long hair, the quickest way to create curls is with heated hair tools like curling wands and rollers. You can use them to enhance your existing curls. Make sure your hair is clean and dry before you start, and pre-heat your rollers or curling wand. https://www.thinhairgrowthguide.com/how-to-enhance-wavy-hair/
curly hair Says
Wow!! you explained it really very well. !impressive
PONYTAIL Says
I really appreciate reading the post here and also it’s great that the people here are giving their opinion which is really useful for me to decide whether it is good or not. Thank you so much for this detailed info you shared. For a newbie like me , it’s totally helpful for me. I’ll surely follow everything here. Do visit Original Indique Hair and check out ponytail hair extensions for all your hair needs