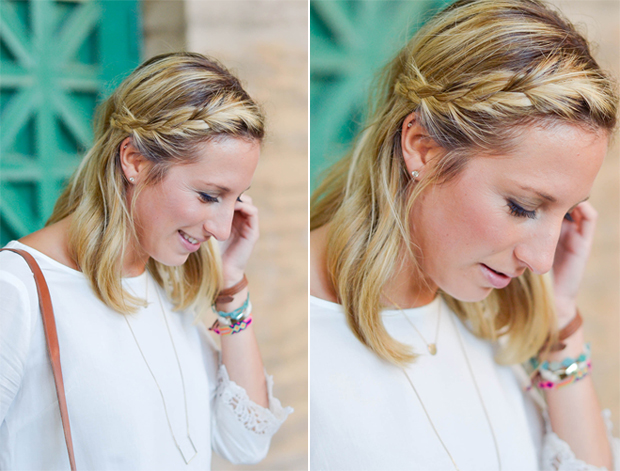
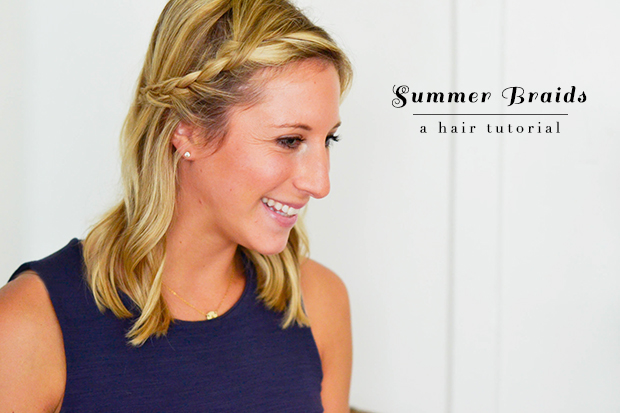
There’s something about summer that makes me want to braid my hair constantly. Maybe it’s a flashback to middle school or maybe it’s just an attempt to get my hair out of my face in this heat, but either way, braids are my go-to. This braided hairstyle is one I fell on by accident when my hair just wasn’t working one day. The front looked horrible and the rest looked decent, so I started playing around with the front pieces and came up with this little do. It’s actually pretty simple once you master the french braid and works great for casual or dressy occasions. You could even put your hair in a low bun after the braid to mix it up the look! Follow the step-by-step tutorial below:
Start by parting your hair to the side. Divide the front section into three smaller sections. Start as if you’re doing a regular braid by crossing the front piece over the middle piece. Then add a bit of hair to the piece closest to your face. Next cross the third piece of hair that you haven’t touched yet over the middle piece. Now add hair to the piece furthest from your face. Continue crossing and adding hair to the outer piece to create a french braid along your hairline.
Once you get to your ear, finish with a regular braid, away from your face. Secure it with a clear elastic. Wrap the braid towards the back of your head. Lift up the top layer of your hair and pin the braid with two bobby pins under that layer so you can cover the pins with your hair. If you feel the braid looks too tight at the front, loosen it about by slightly pulling it a part. Add some hairspray and you’re done!
 Using Trunk Club to Update My Spring/Summer Wardrobe
 5 Tips For Styling a Simple Summer Dress
 5 Ways to Style a Bandana
 3 Different Ways to Curl Your Hair
 How to Master the 5-Minute Makeup Routine
 Amazon Beauty Buys Under $25
 3 Ways to Make Your next Trip More Memorable
 Tips for Digital Spring Cleaning and Organizing
 Color Trend: Marigold
 Mental Health Update: The 3 Major Changes I Made to Get Out of Depression
 5 Unexpected Ways to Unwind After Work
 How to Know You’re in a Controlling Relationship
 4 Questions I get Asked as a Professional Resume Writer
 How to Make Friends at Work
 Getting Out of the ‘Busy’ Mindset
 Ask Amanda: How do I pursue the career I want without formal training?
 Ask Amanda: How Do I Find a Therapist?
 Ask Amanda: How do I stop being jealous in my relationship?




Stephanie @ Whole Health Dork Says
Love it! I need to get more creative with my hair and this is a quick and easy little ‘do. Thanks for always inspiring me!
Pingback: Step away from the hair dryer |
Pingback: 20 Easy Braid Tutorials for Beginners | HelloGlow.co
Pingback: 20 Easy Braid Tutorials for Beginners | HelloNatural.co
Gemma Says
So great! Thankyou. I wonder though if the hair around your neck would make you hot in the hottest part of summer? I like to plait my hair to get it off my neck. Ill try and incorporate your braid with the plait.