 Using Trunk Club to Update My Spring/Summer Wardrobe
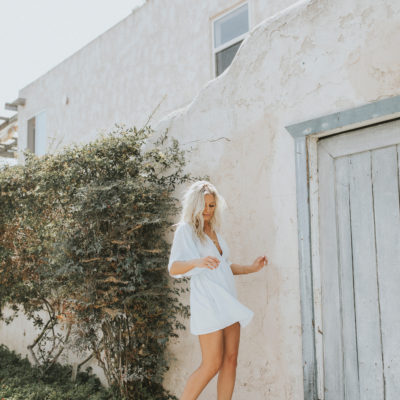 5 Tips For Styling a Simple Summer Dress
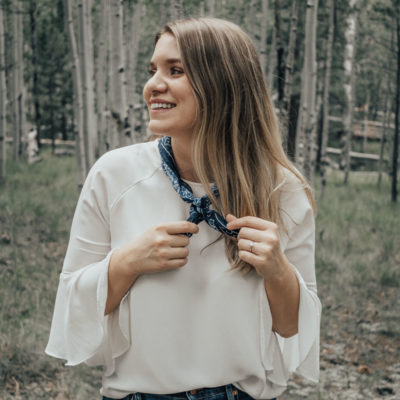 5 Ways to Style a Bandana
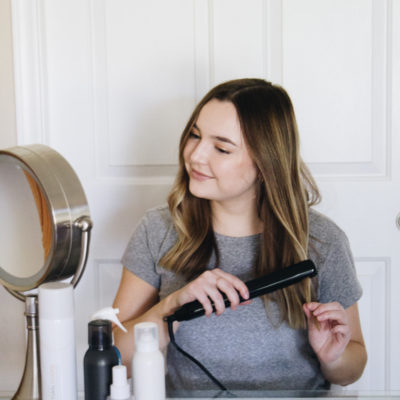 3 Different Ways to Curl Your Hair
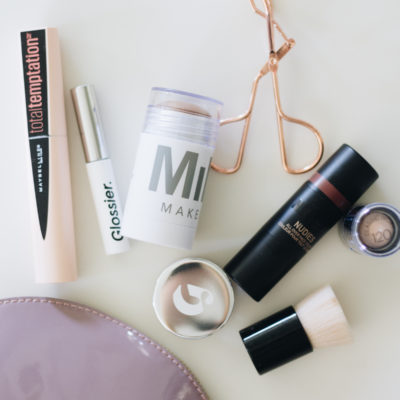 How to Master the 5-Minute Makeup Routine
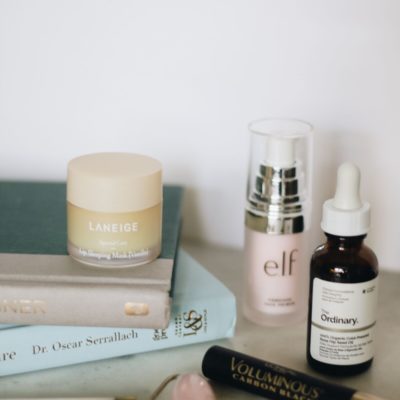 Amazon Beauty Buys Under $25
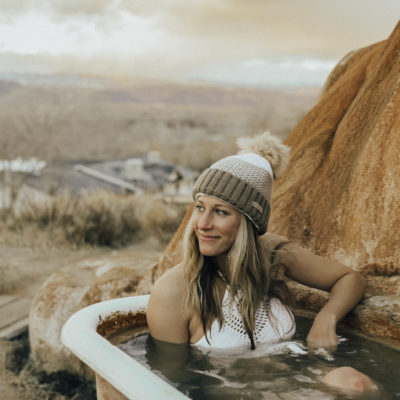 3 Ways to Make Your next Trip More Memorable
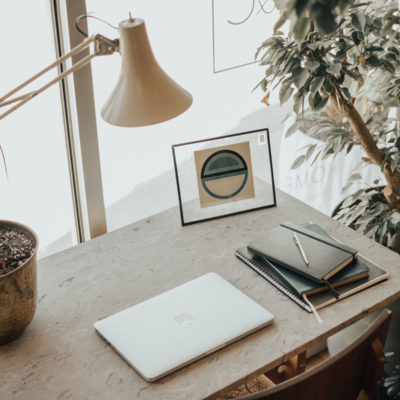 Tips for Digital Spring Cleaning and Organizing
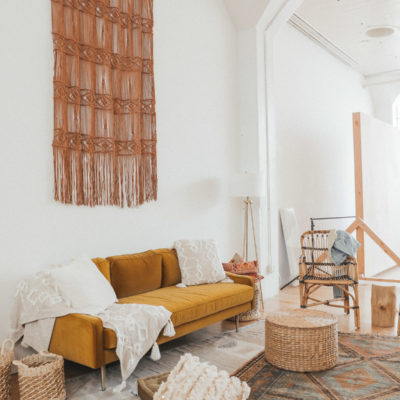 Color Trend: Marigold
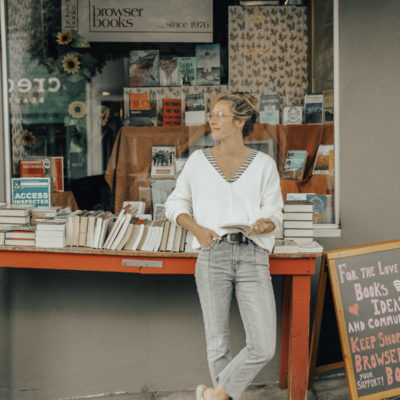 Mental Health Update: The 3 Major Changes I Made to Get Out of Depression
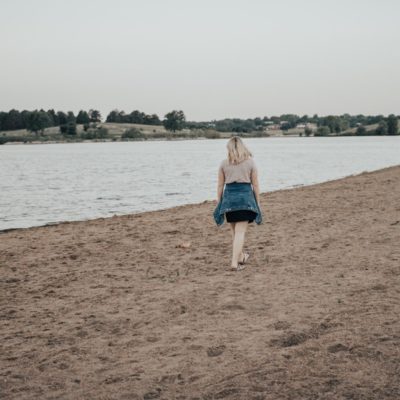 5 Unexpected Ways to Unwind After Work
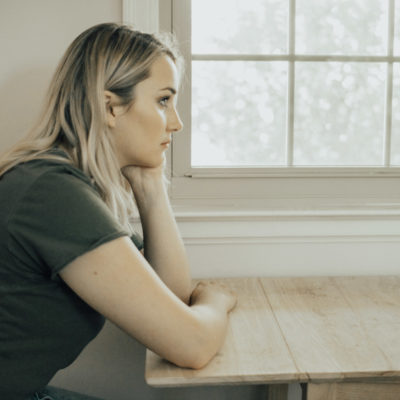 How to Know You’re in a Controlling Relationship
 4 Questions I get Asked as a Professional Resume Writer
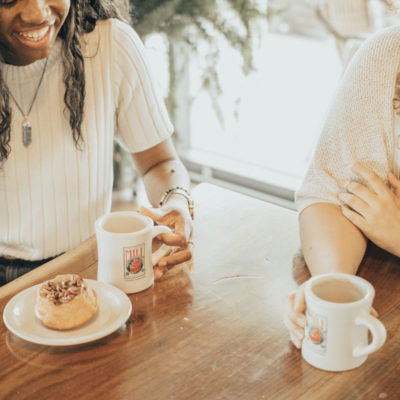 How to Make Friends at Work
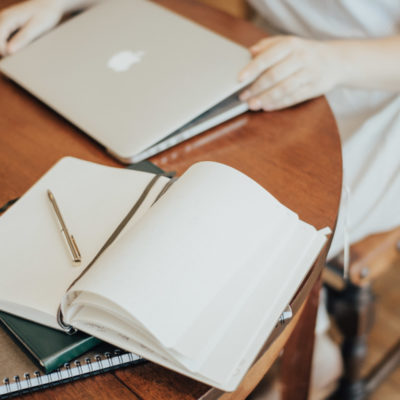 Getting Out of the ‘Busy’ Mindset
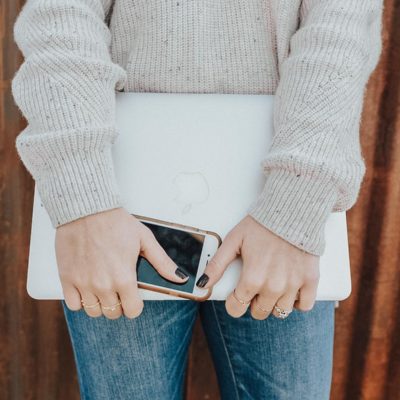 Ask Amanda: How do I pursue the career I want without formal training?
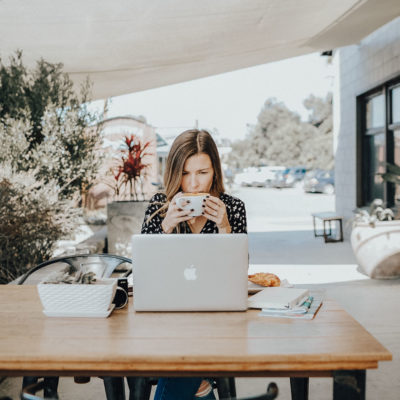 Ask Amanda: How Do I Find a Therapist?
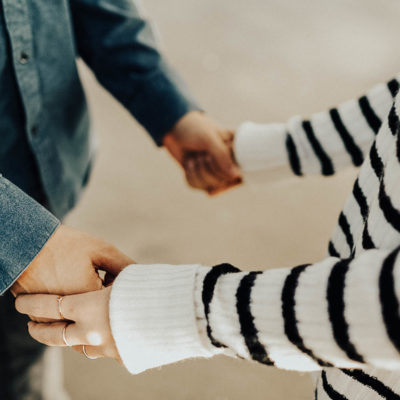 Ask Amanda: How do I stop being jealous in my relationship?

Blogging 101: My Top Tips for Creating High-Quality Images
posted on May 22, 2018 | by Amanda Holstein
When it comes to creating high-quality content, it’s just as important to focus on the visuals as it is to focus on the written content. I remember when I first started blogging, there was definitely a learning curve. I mean, take a look at some of my earlier posts and you’ll see what I mean. But that’s totally ok! It’s all part of the process. Getting your images to a high-quality standard takes time, patience, and the desire to learn. So here are my top tips:
Learn how to use your camera.
First and foremost, take the time to learn how to use your camera. While it’s easy to leave your camera on its automatic setting, you’ll achieve better photos if you learn how to use it manually. The main things to understand are the aperture, shutter speed, and ISO. There are tons of resources online to help you understand some photography basics. But what I find most helpful is taking a photo of the same thing over and over and changing the settings each time to learn exactly what they do. This is exactly how I learned how to use my camera and it truly works!
If you’re wondering, I have a Canon Rebel T5i. To be honest, the brand of camera doesn’t make that big of a difference—it’s the lens that does! If you want to get that blurred background, go for a 50 mm fixed lens.
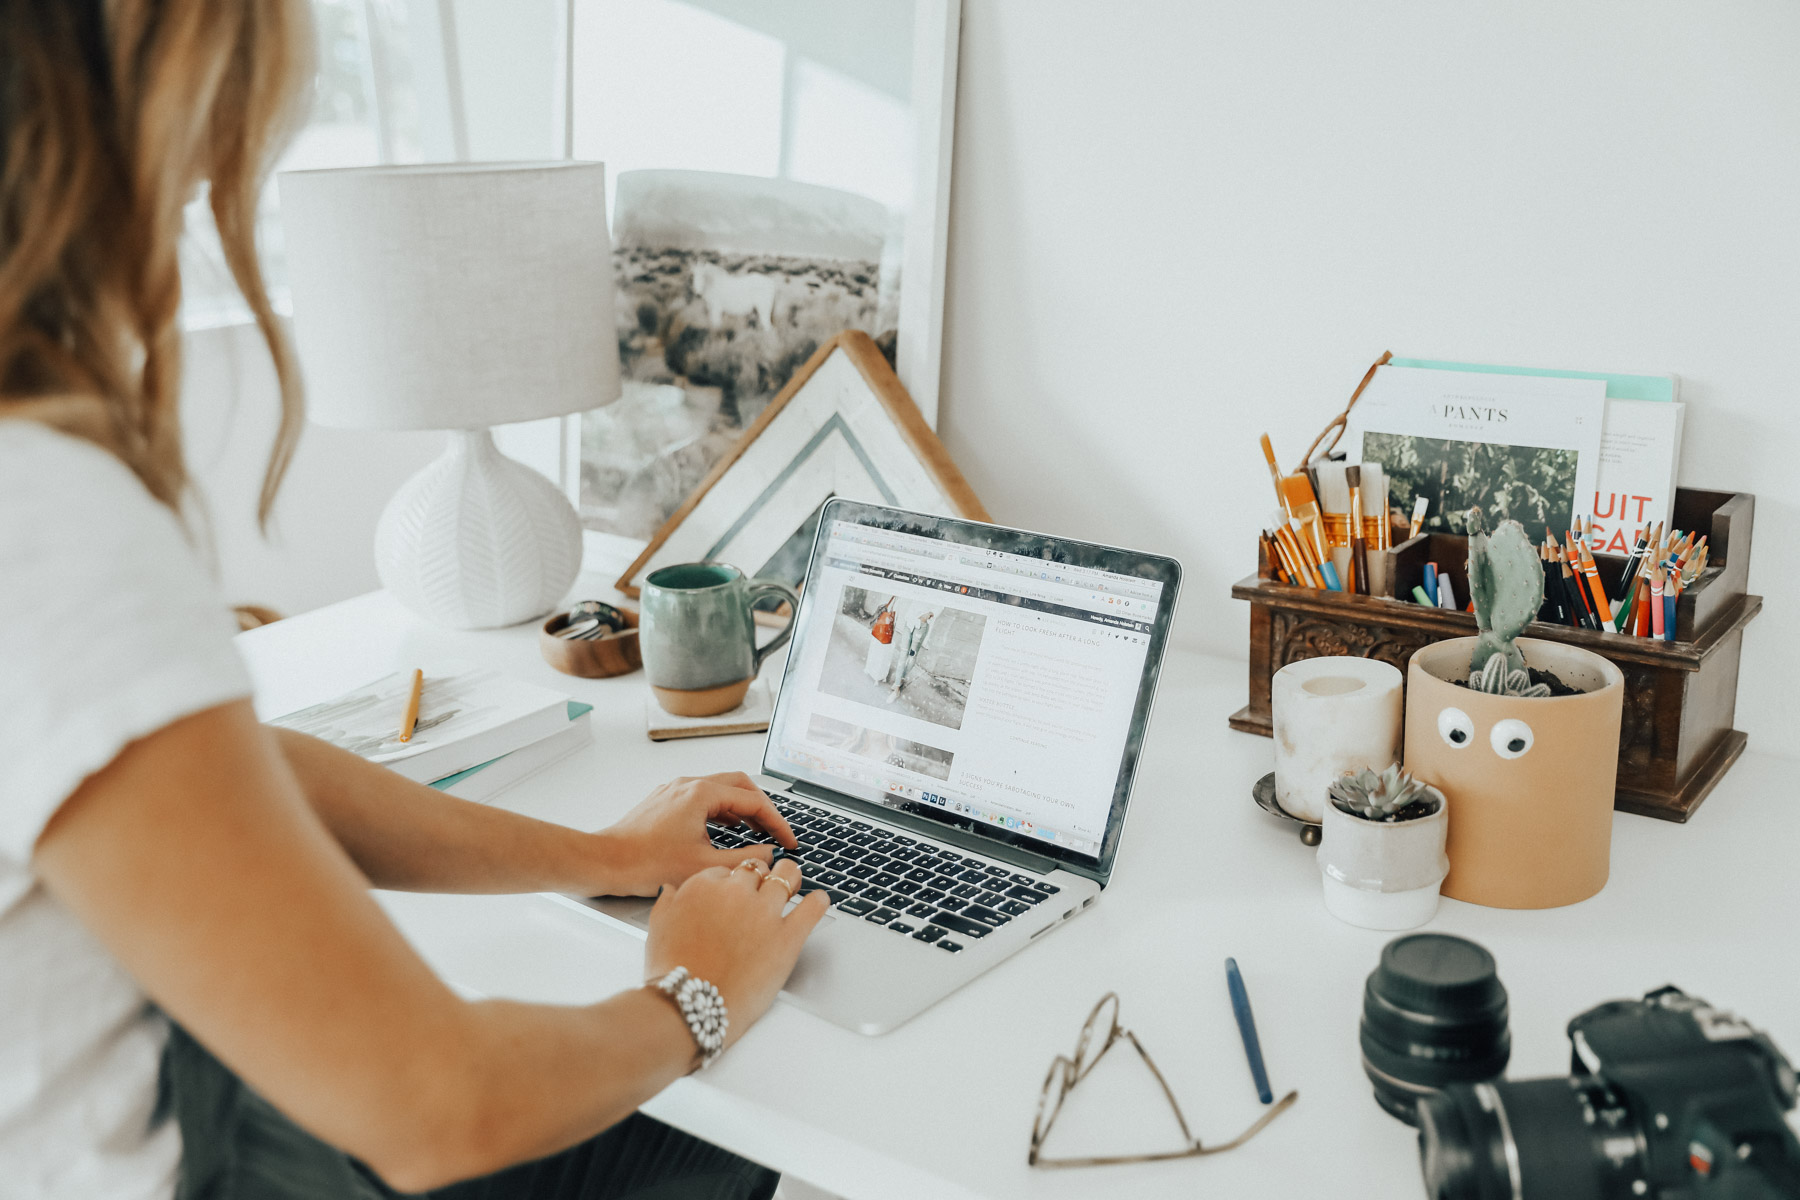
Lighting is everything!
What makes your favorite photos come out so well is typically the lighting. It truly makes all the difference! So what you’re going to want to do is make sure you are using natural light, without harsh shadows. If you’re inside, that means shoot by a window and turn off any indoor lights. Indoor lighting will cast shadows and typically make your images look yellow. If you’re shooting outdoors, a shaded area or an overcast day are ideal. Either way, make sure you’re not shooting in direct sunlight or you’ll get a lot of harsh shadows that can distract from your image.
Capture a variety of angles & poses.
When shooting for a blog post, you don’t want your images to be too repetitive. Shooting from all different angles helps create a variety of images. You can get close-up shots at different angles, shots from further away to see the whole setup, some with you, some without you, etc. As for posing, don’t be afraid to show your personality! I typically do some where I just smile and keep it simple. Then, at the end, we’ll play around and I’ll get weird just to see what fun shots we get out of it! This post is a great example!
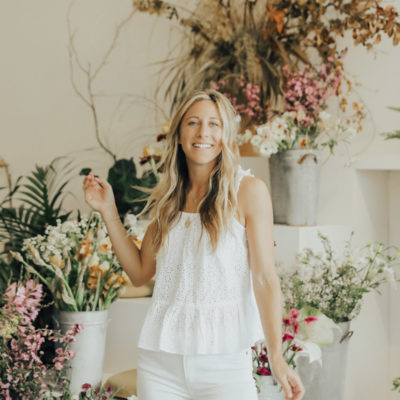
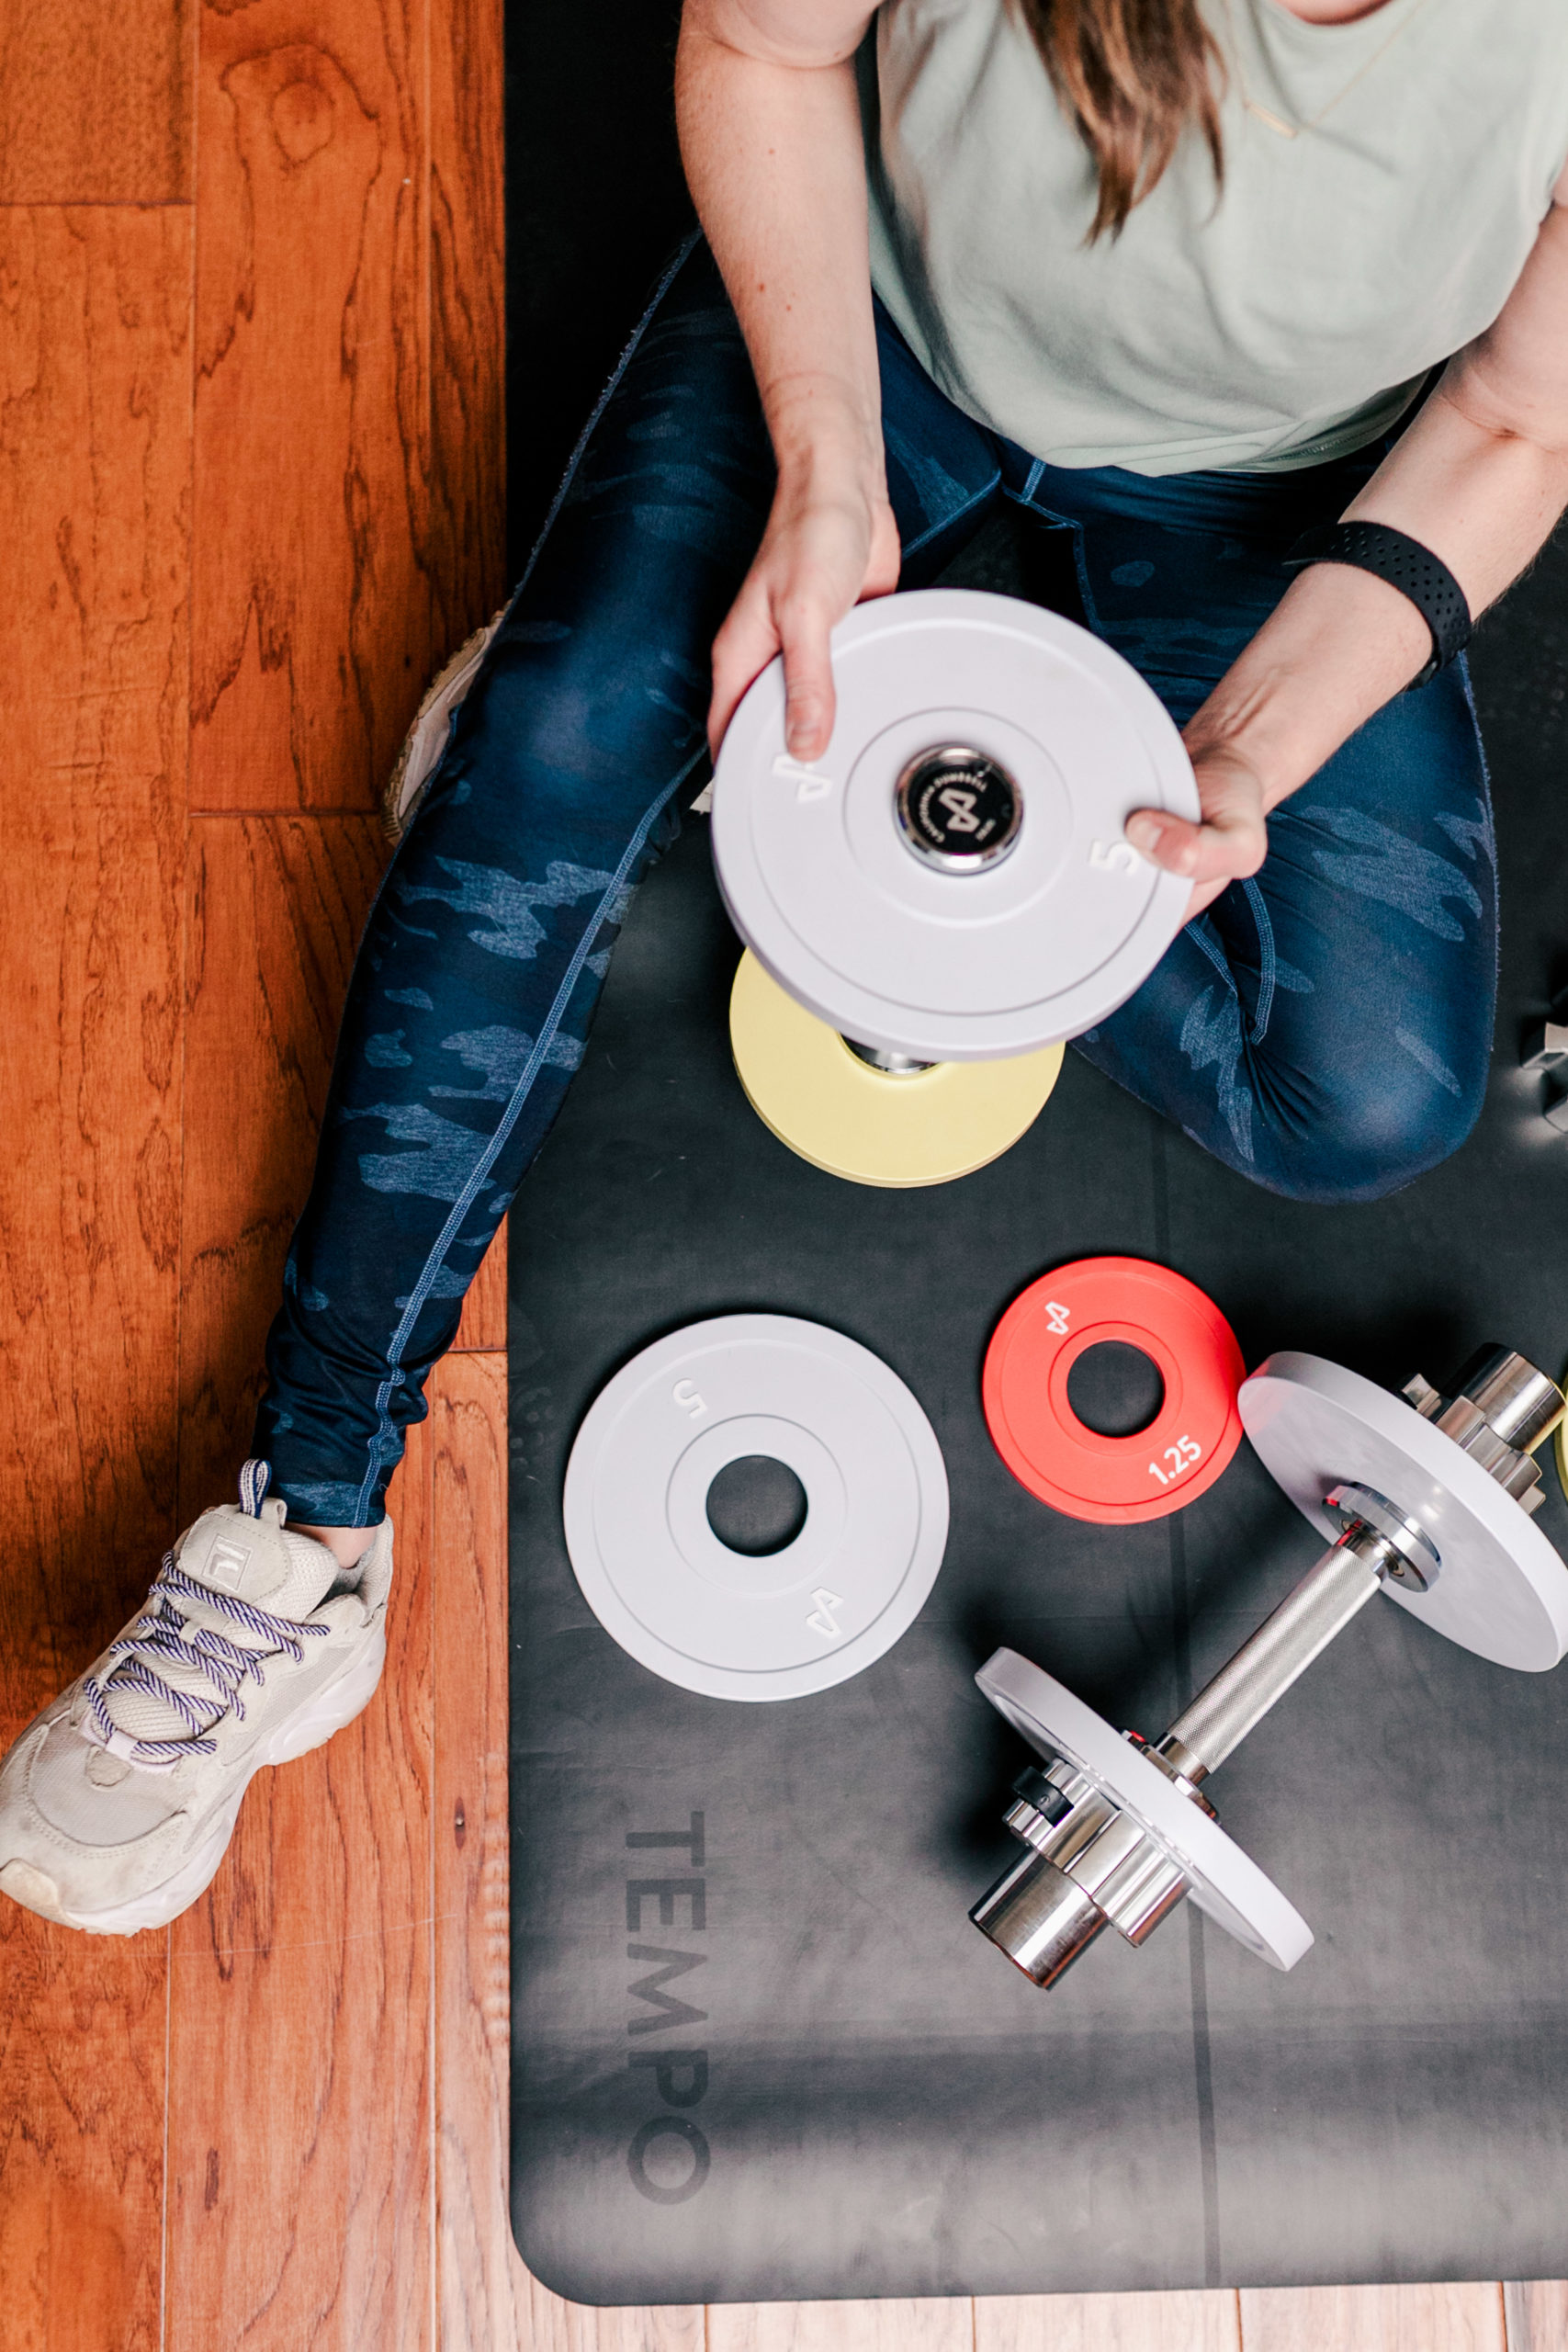
Consider your brand.
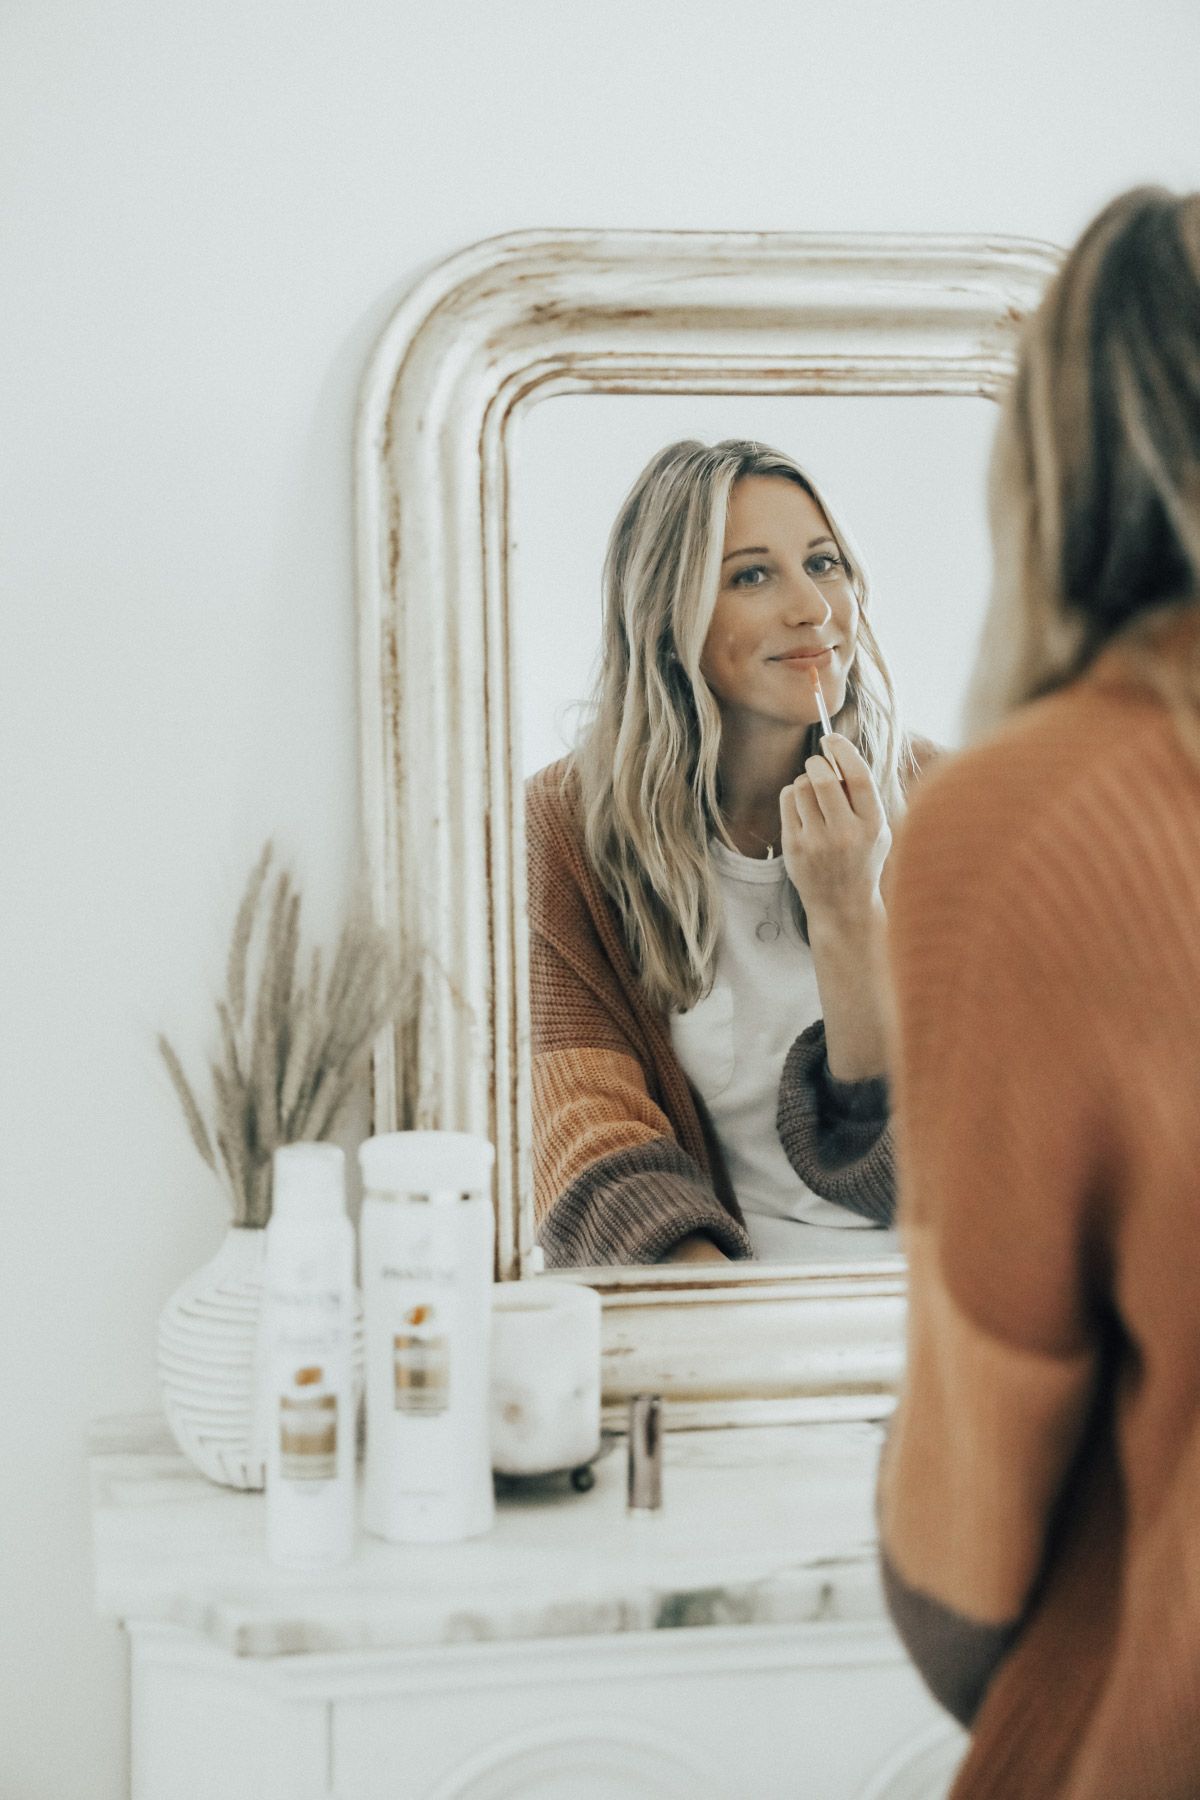
The reason you admire some of your favorite bloggers is that their images are so consistent with their brand. First, make sure you have a solid vision of your brand and how you want to represent it visually. Then, ensure every single thing in the photo aligns with your brand. Consider the backdrop, the props, the colors, the people, etc. All of these things should align with your brand persona in some way.
For example, my brand, Advice from a 20 Something, represents an authentic, down-to-earth tone of voice. From there, I went with colors that are soft, natural, and cooler-toned. Every time I style a shoot or take a photo, I’m conscious of whether or not that vibe is represented in the image. I also have specific colors I always include (soft blues, greens, white, tan). And colors I avoid, like black, bright colors, and primary colors. Creating these rules for yourself will ensure that your images are consistent across the board and evoke the same message as your brand.
If you’re not into photography, don’t force it! Hire a professional.
Not every blogger is a fan of taking photos, and that is totally ok! It’s so smart to admit when you’re not good at something or not interested in being good at something. People can tell when you aren’t passionate about something, and that’s when it makes sense to get help. If you have the resources to work with a professional photographer, there are a few things I’d suggest doing to ensure you achieve the best photos possible:
1. Decide on an editing style that aligns with your brand.
2. Create a Pinterest board to start getting some ideas together for the shoot. Share this with your photographer so they know what you’re trying to achieve.
3. Decide on a location ahead of time, considering the backdrop, lighting, and how it will align with your brand.
4. Get your props together ahead of time. Whether you’re shooting multiple outfits or creating a vignette for a product, gather everything you’ll need before the shoot so you have enough to play with to get the right shot.
5. Write down the different shots you’ll need so you don’t forget! Depending on your blog layout, you may need certain shots to be horizontal or vertical. The worst is when you get the images back and realize there was a shot you wish you had gotten. So it helps to have a list you can refer to during the shoot.
Any other questions about creating high-quality images for your blog?
Ugochi Says
Thank you, this was helpful
Polly Says
You are absolutely right, in this case a professional photographer will be able to take really high-quality pictures for you. The main thing is to find “your” person who will understand you without further ado and convey the desired message with photography. Once I found the best option for myself here https://www.belmontphoto.dk/
Tif Says
My search for stunning architectural imagery on a stock photo website paid off big time. I found frasier a collection of awe-inspiring photographs of iconic buildings and modern architectural marvels. These visuals will be a cornerstone of our architectural firm’s portfolio.