 Using Trunk Club to Update My Spring/Summer Wardrobe
 5 Tips For Styling a Simple Summer Dress
 5 Ways to Style a Bandana
 3 Different Ways to Curl Your Hair
 How to Master the 5-Minute Makeup Routine
 Amazon Beauty Buys Under $25
 3 Ways to Make Your next Trip More Memorable
 Tips for Digital Spring Cleaning and Organizing
 Color Trend: Marigold
 Mental Health Update: The 3 Major Changes I Made to Get Out of Depression
 5 Unexpected Ways to Unwind After Work
 How to Know You’re in a Controlling Relationship
 4 Questions I get Asked as a Professional Resume Writer
 How to Make Friends at Work
 Getting Out of the ‘Busy’ Mindset
 Ask Amanda: How do I pursue the career I want without formal training?
 Ask Amanda: How Do I Find a Therapist?
 Ask Amanda: How do I stop being jealous in my relationship?


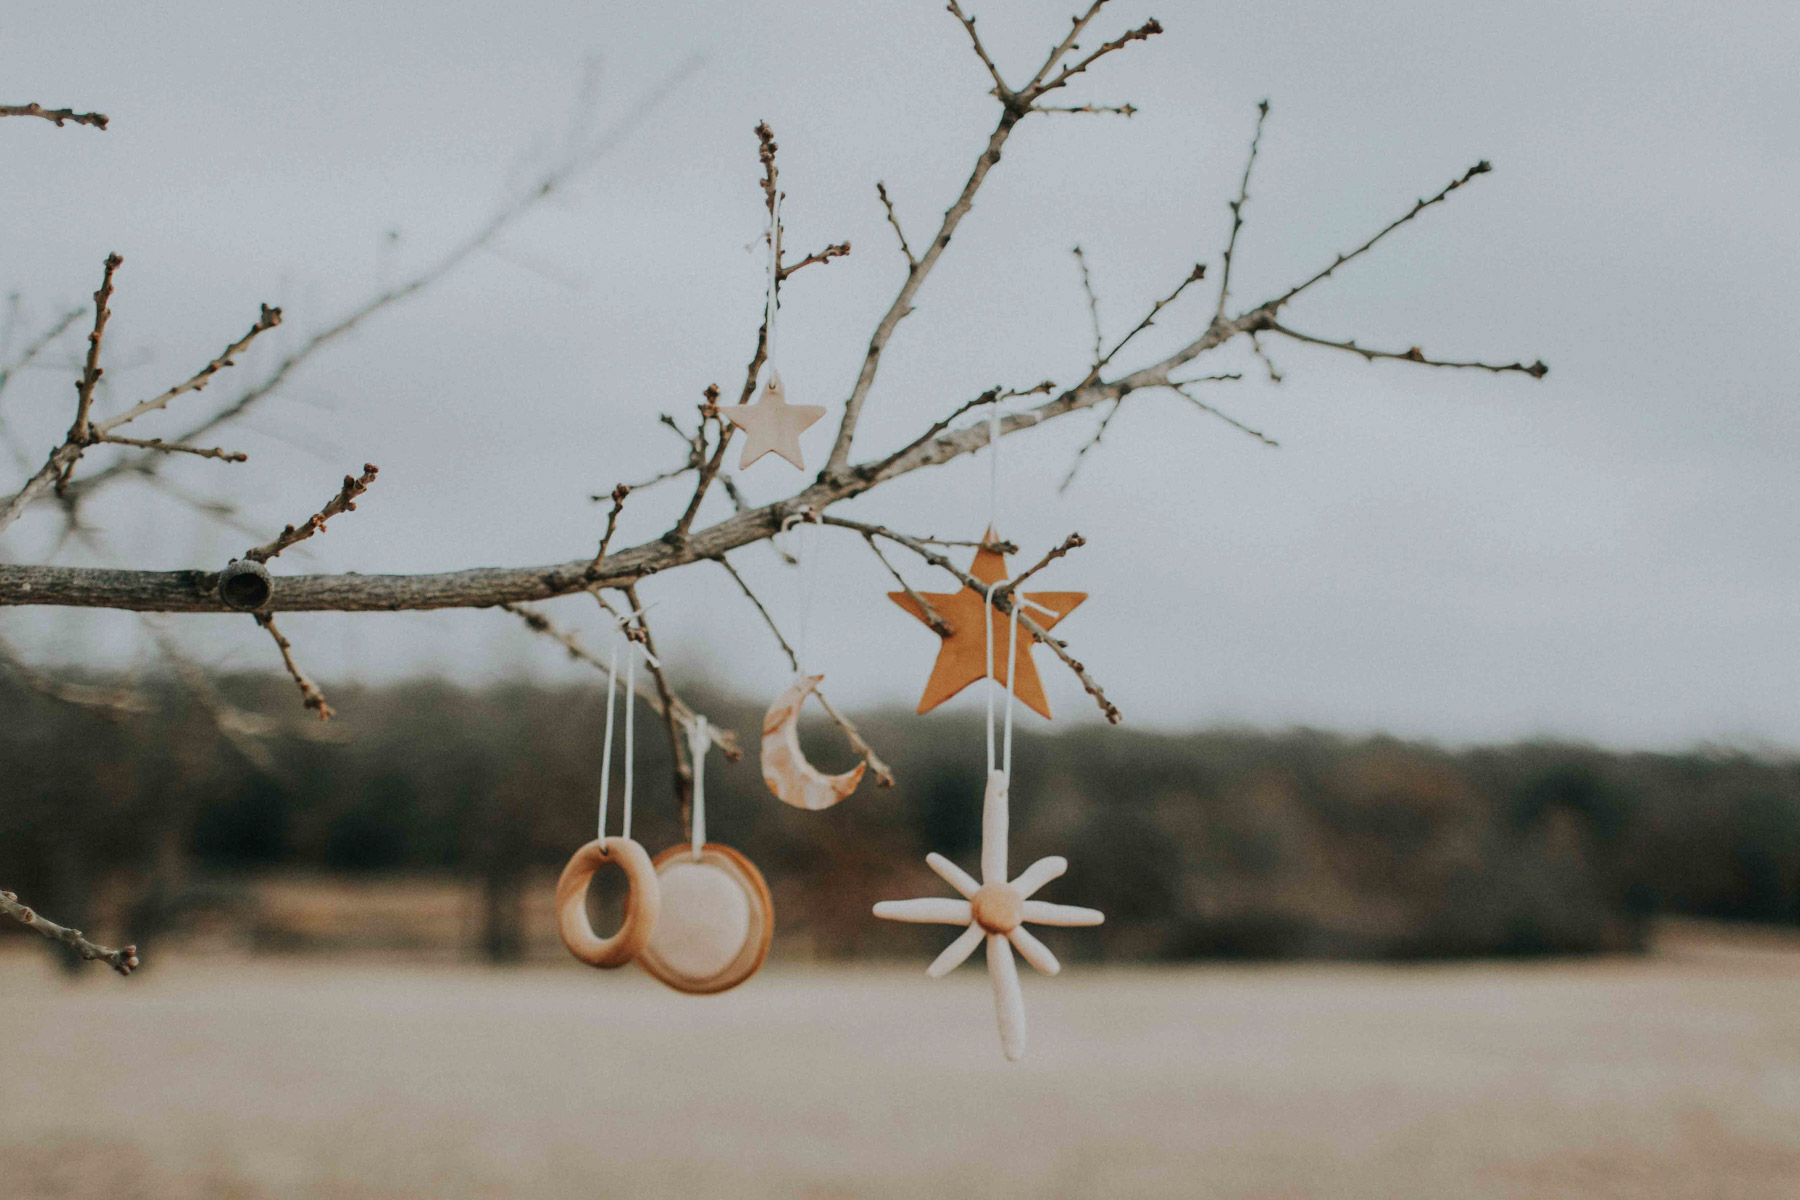
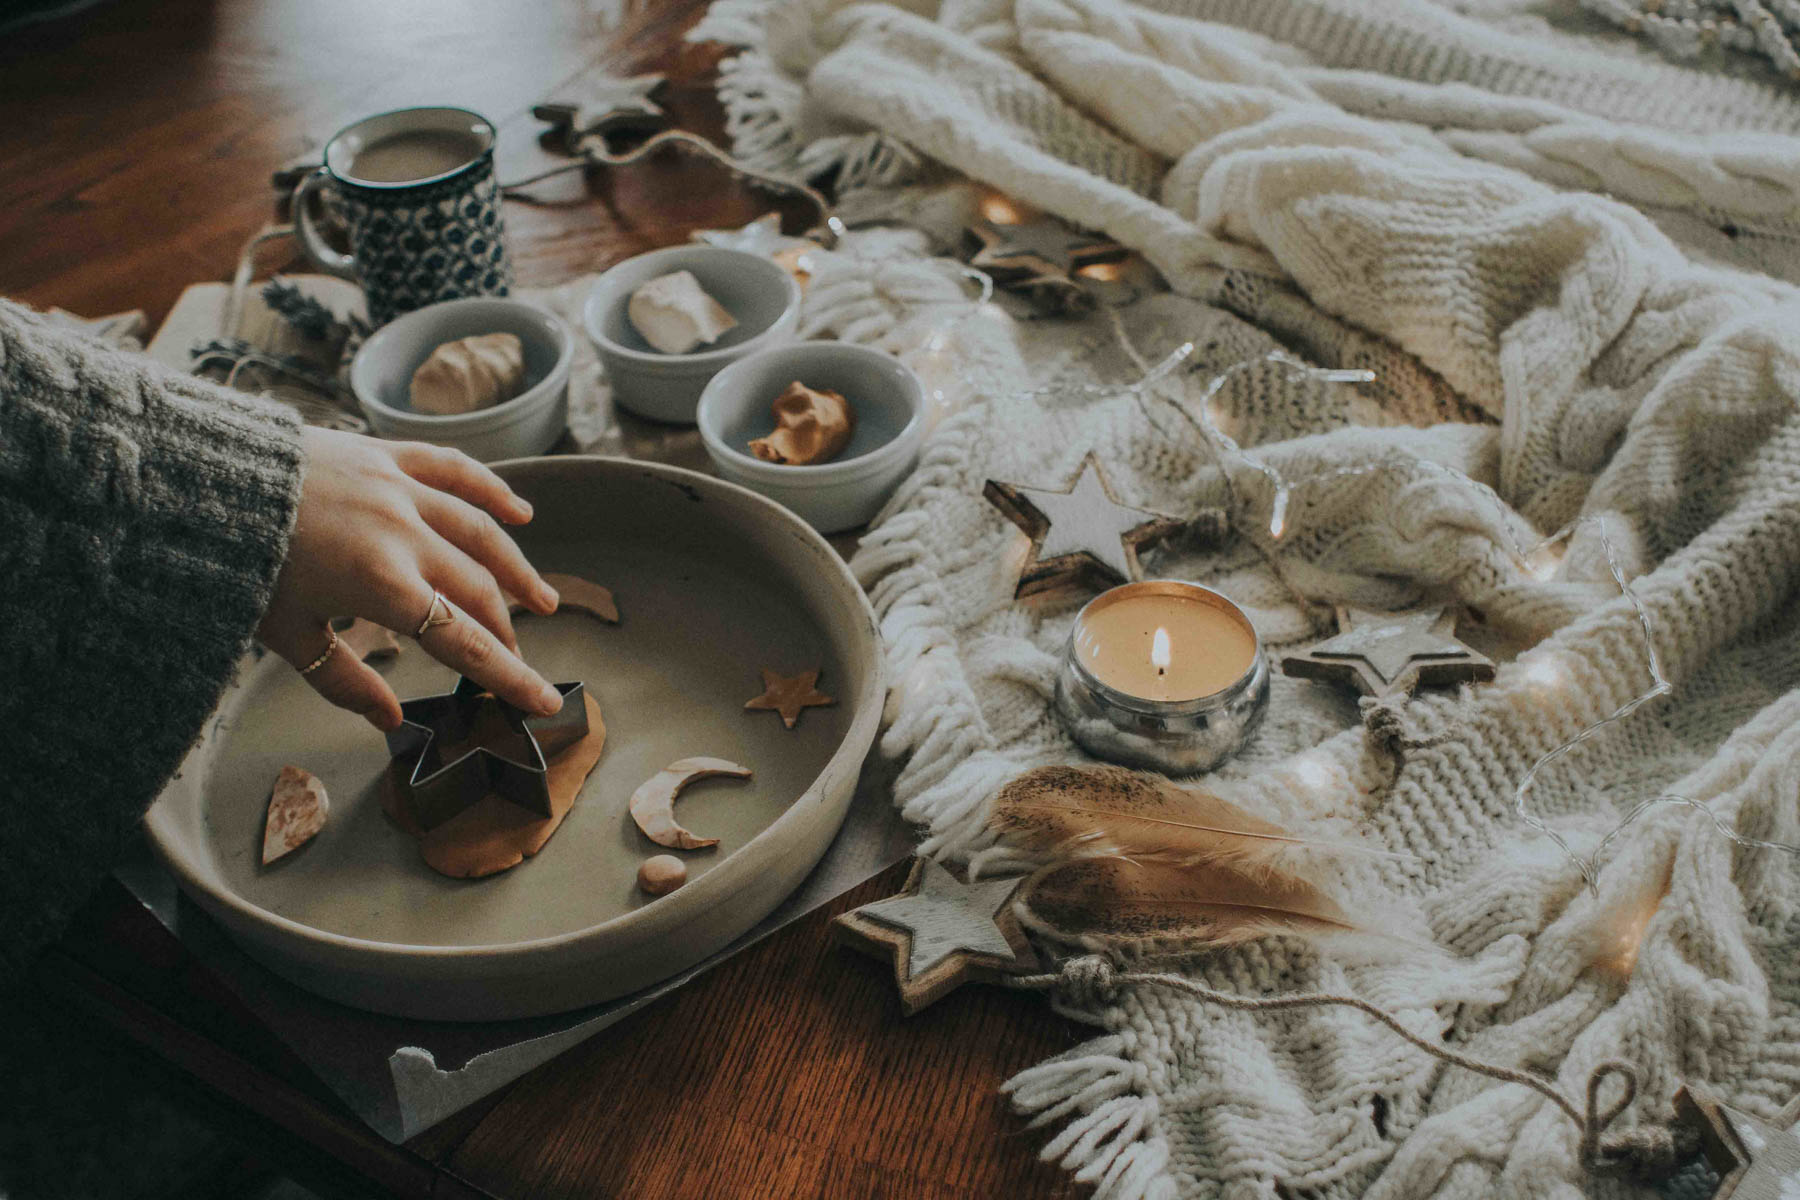
This Christmas, I wanted to get in the holiday spirit (to be truthful, I’m sort of a Grinch…why do we start listening to overly-catchy Christmas music three months in advance guys???). But I didn’t have a lot of money, and I didn’t really find any decorations that weren’t offending me with crazy rhinestones and sparkles and in-your-face Christmassy-ness. So I had to ease into it.
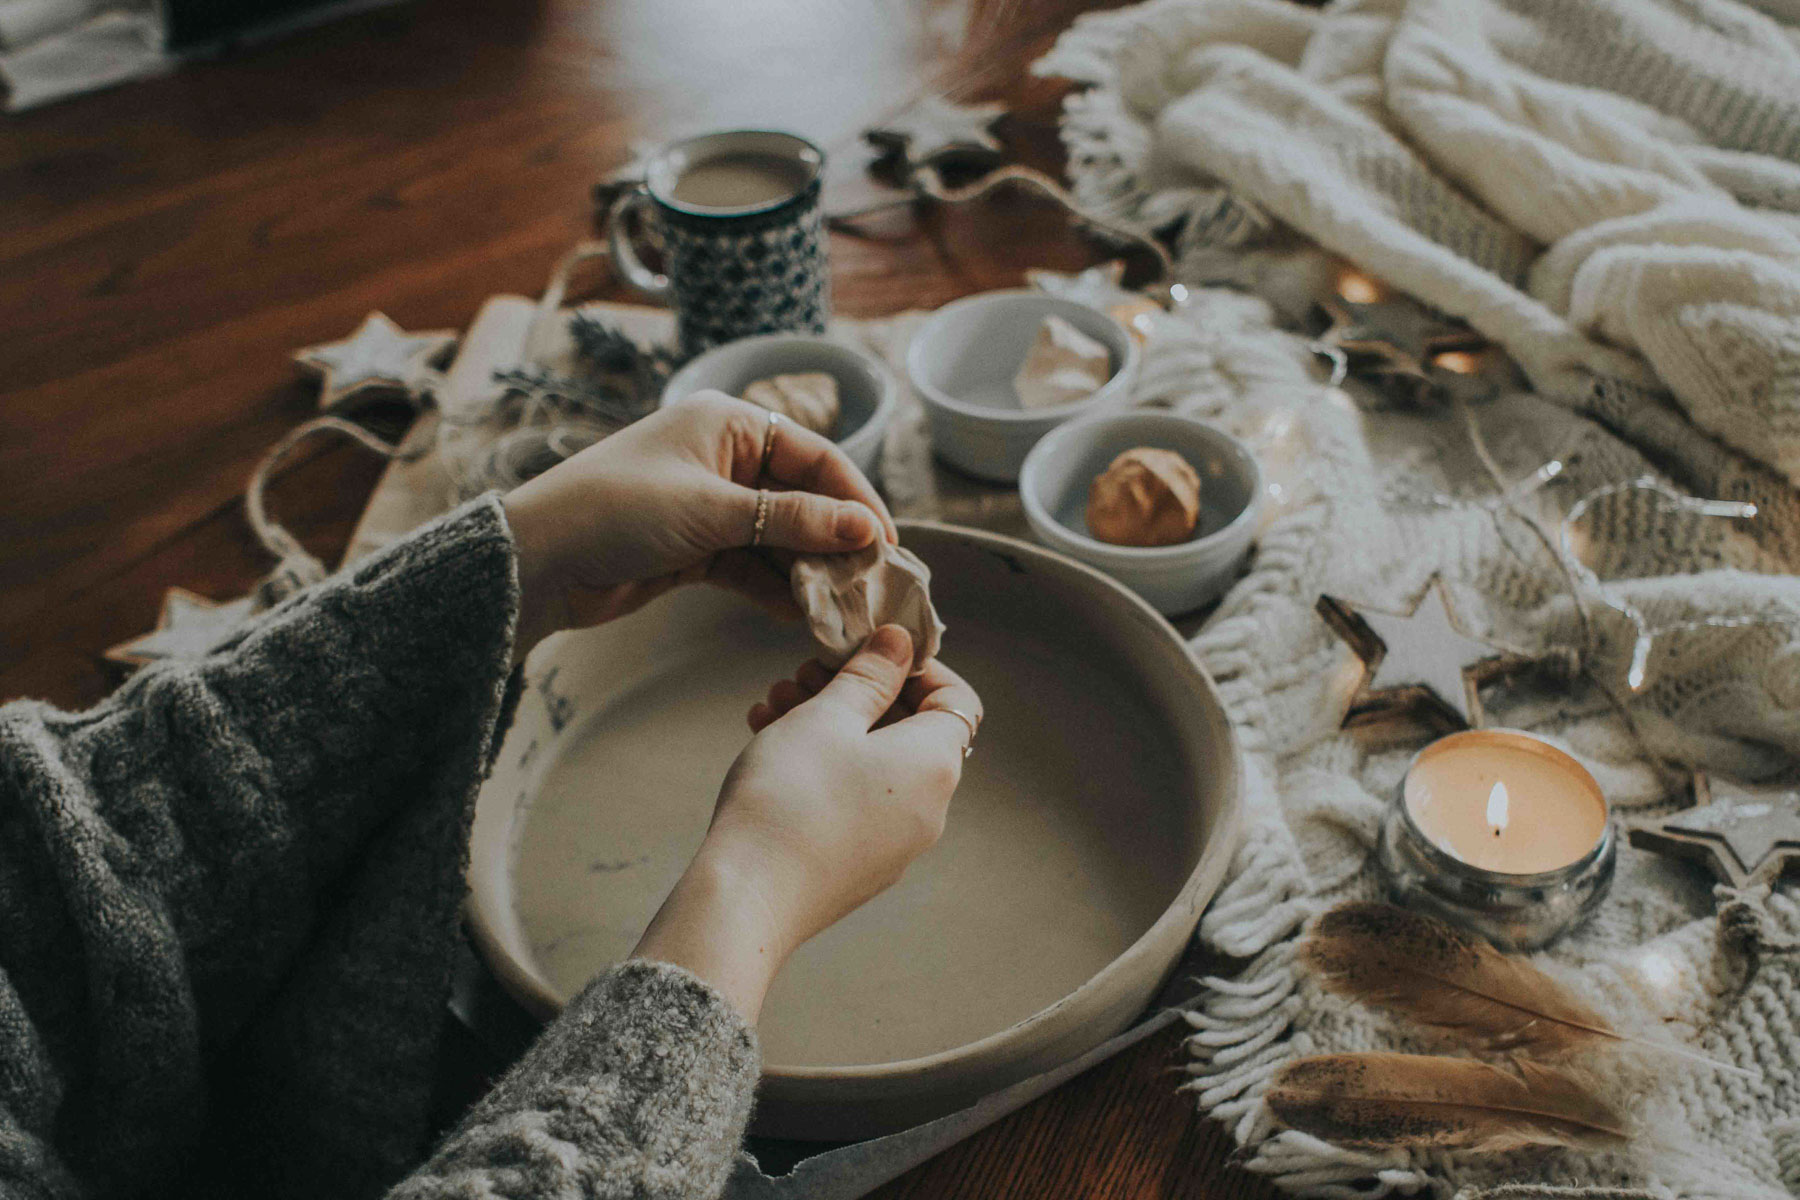
I thought it would be more fun and less expensive to try my hand at making my own DIY ornaments. Although this type of thing sometimes ends in disaster, this was 100% painless. And with a little cup of coffee and a touch of Elvis Presley Christmas music playing, I may have just found myself in a holly jolly mood while making these. :)
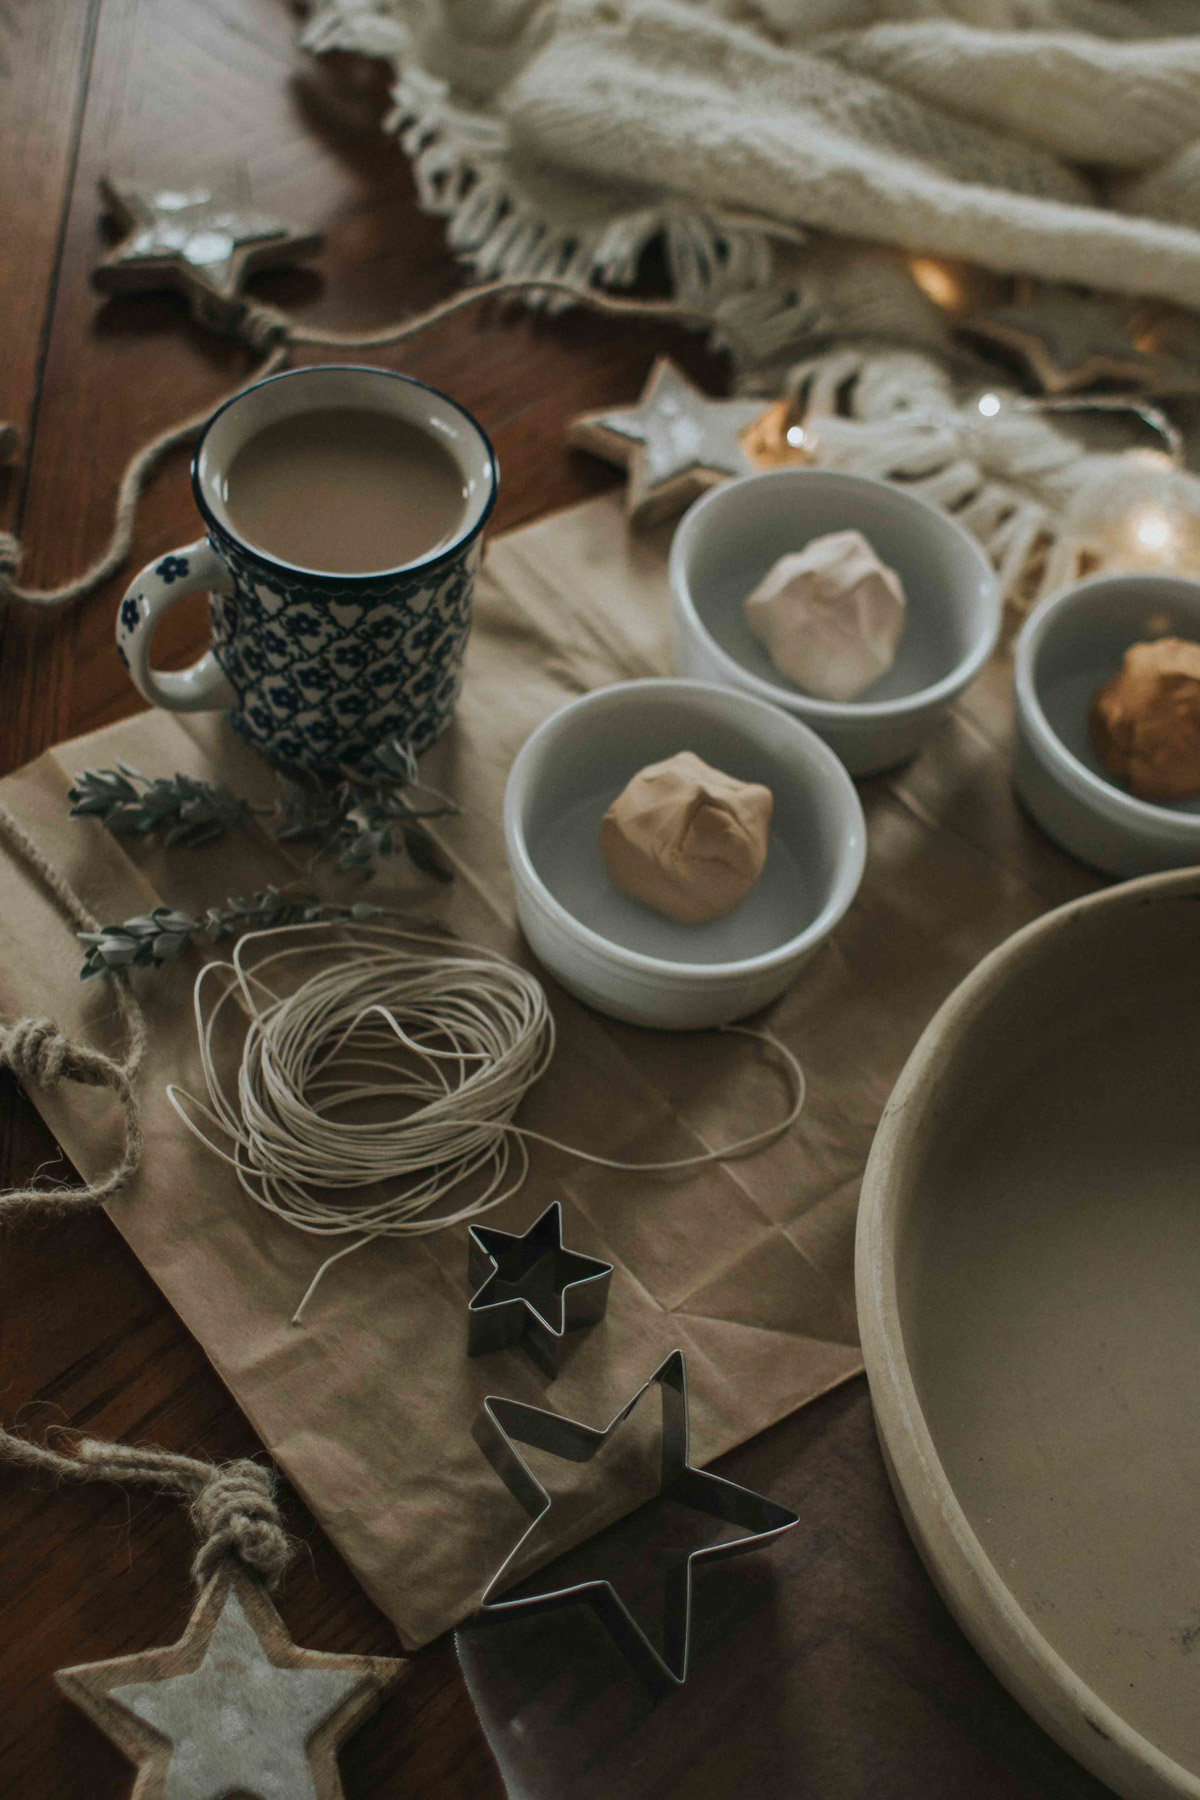
What you need:
1. Oven Bake Clay
I used Sculpey Polymer Clay. It was about $2 a color at my local craft store, and was super easy to work with. It’s like adult play-doh! Make sure you get Oven Bake clay and not Air Dry clay. Also, I was wondering if the colors would darken after baking, and they pretty much stayed exactly the same so make sure you snag the colors you like as-is.
2. Twine
This is pretty self-explanatory. You just need something to hang your finished products from! I recommend going for a thinner string so you don’t have to make the holes in your ornaments as large.
3. Toothpicks
I used a toothpick to carve a tiny hole in the tops of my ornaments, but you can pretty much use anything similar and it will do the trick.
4. Cookie-Cutters
This is optional, but I found that it was much easier to make “good” ornaments while using a cookie-cutter (I personally love these leaf-shaped ones!). However, if you’re down for the imperfections, go freehand!
How to Make Them:
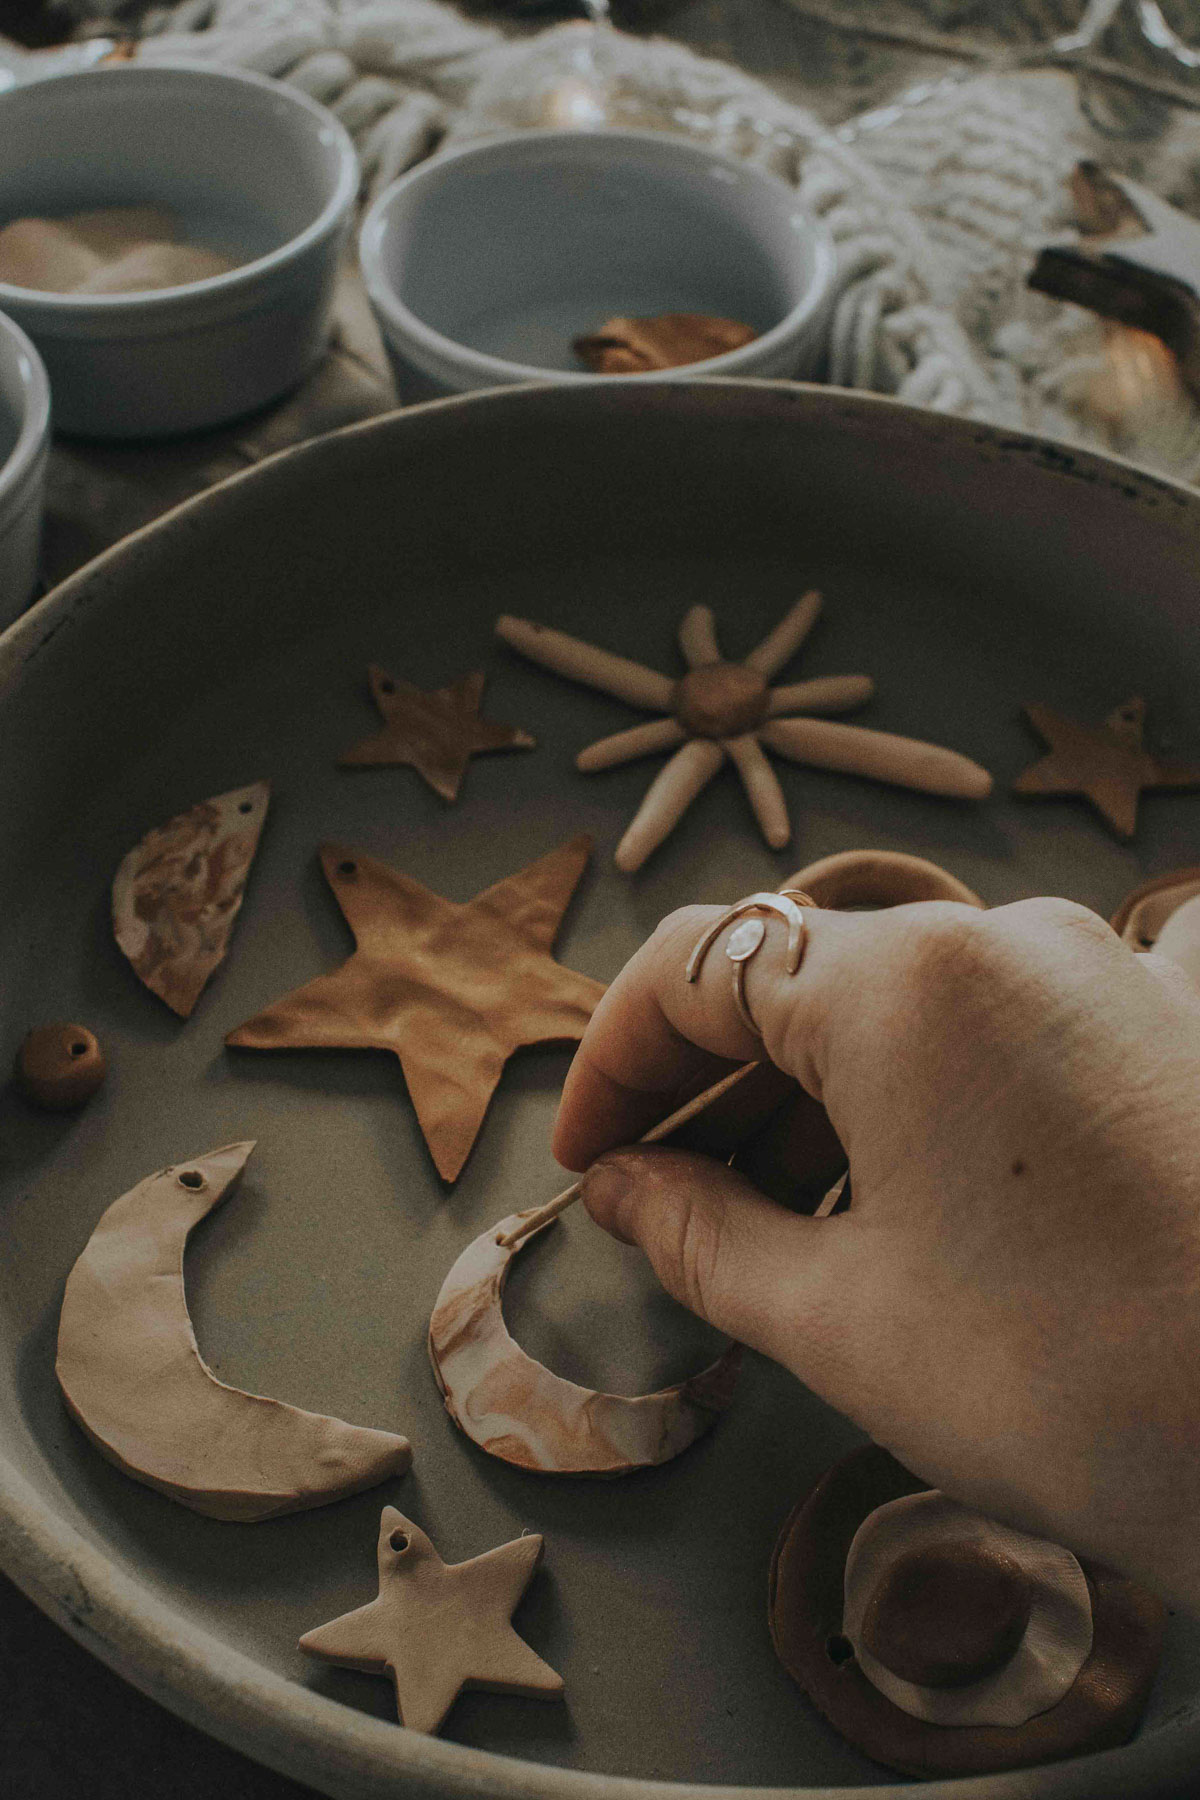
First, grab some wax paper and form your ornaments. You can make any shape or size! This was the most fun part and where you can really get creative.
Next, put your ornaments in an oven preheated to 275 degrees (if you’re using Sculpey Clay). It’s very important that you do not burn your ornaments, so make sure to check on the specific temperature the brand of clay you’re using calls for. Since mine were relatively thin, I baked them for 10 minutes, checked on them, and then left them in for five more, totaling 15 minutes! So simple and quick!