 Using Trunk Club to Update My Spring/Summer Wardrobe
 5 Tips For Styling a Simple Summer Dress
 5 Ways to Style a Bandana
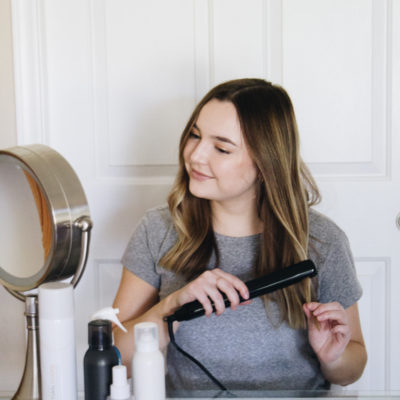 3 Different Ways to Curl Your Hair
 How to Master the 5-Minute Makeup Routine
 Amazon Beauty Buys Under $25
 3 Ways to Make Your next Trip More Memorable
 Tips for Digital Spring Cleaning and Organizing
 Color Trend: Marigold
 Mental Health Update: The 3 Major Changes I Made to Get Out of Depression
 5 Unexpected Ways to Unwind After Work
 How to Know You’re in a Controlling Relationship
 4 Questions I get Asked as a Professional Resume Writer
 How to Make Friends at Work
 Getting Out of the ‘Busy’ Mindset
 Ask Amanda: How do I pursue the career I want without formal training?
 Ask Amanda: How Do I Find a Therapist?
 Ask Amanda: How do I stop being jealous in my relationship?

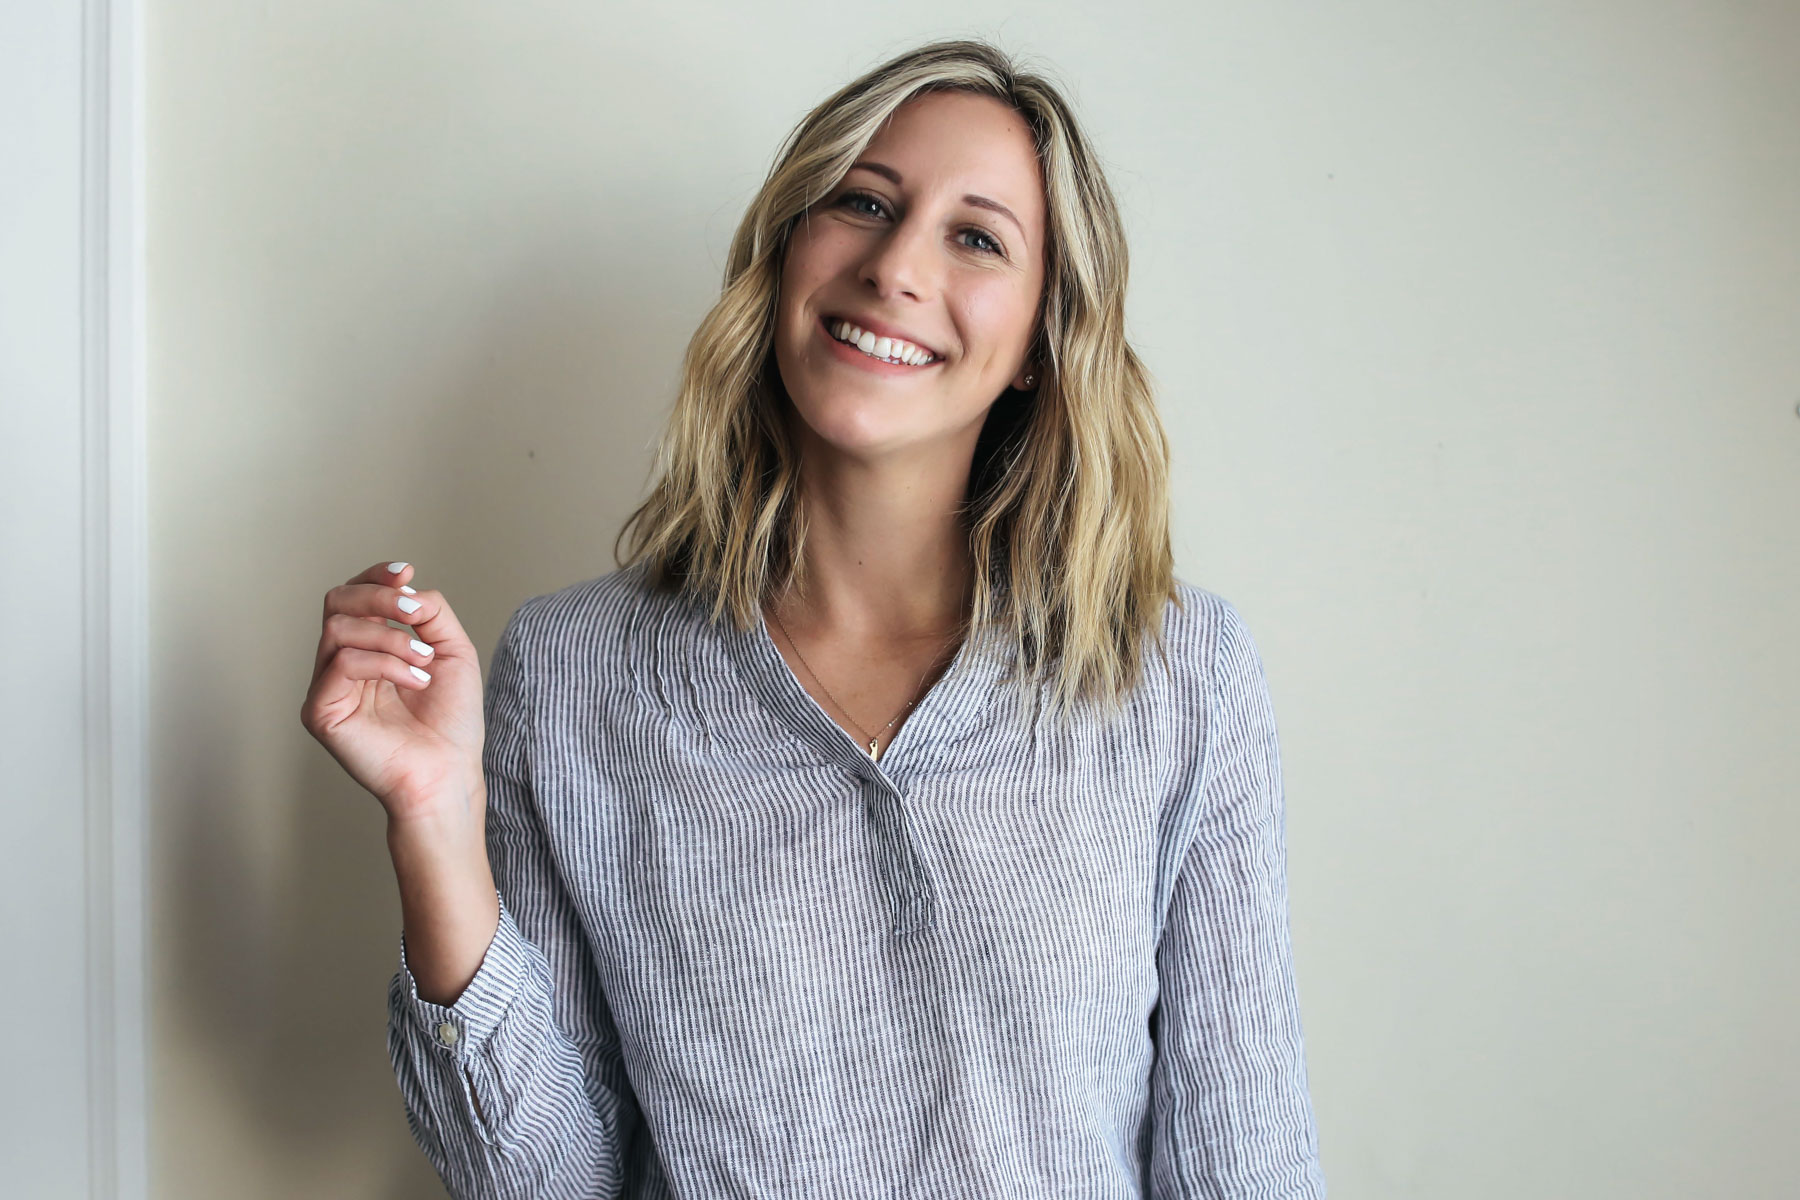
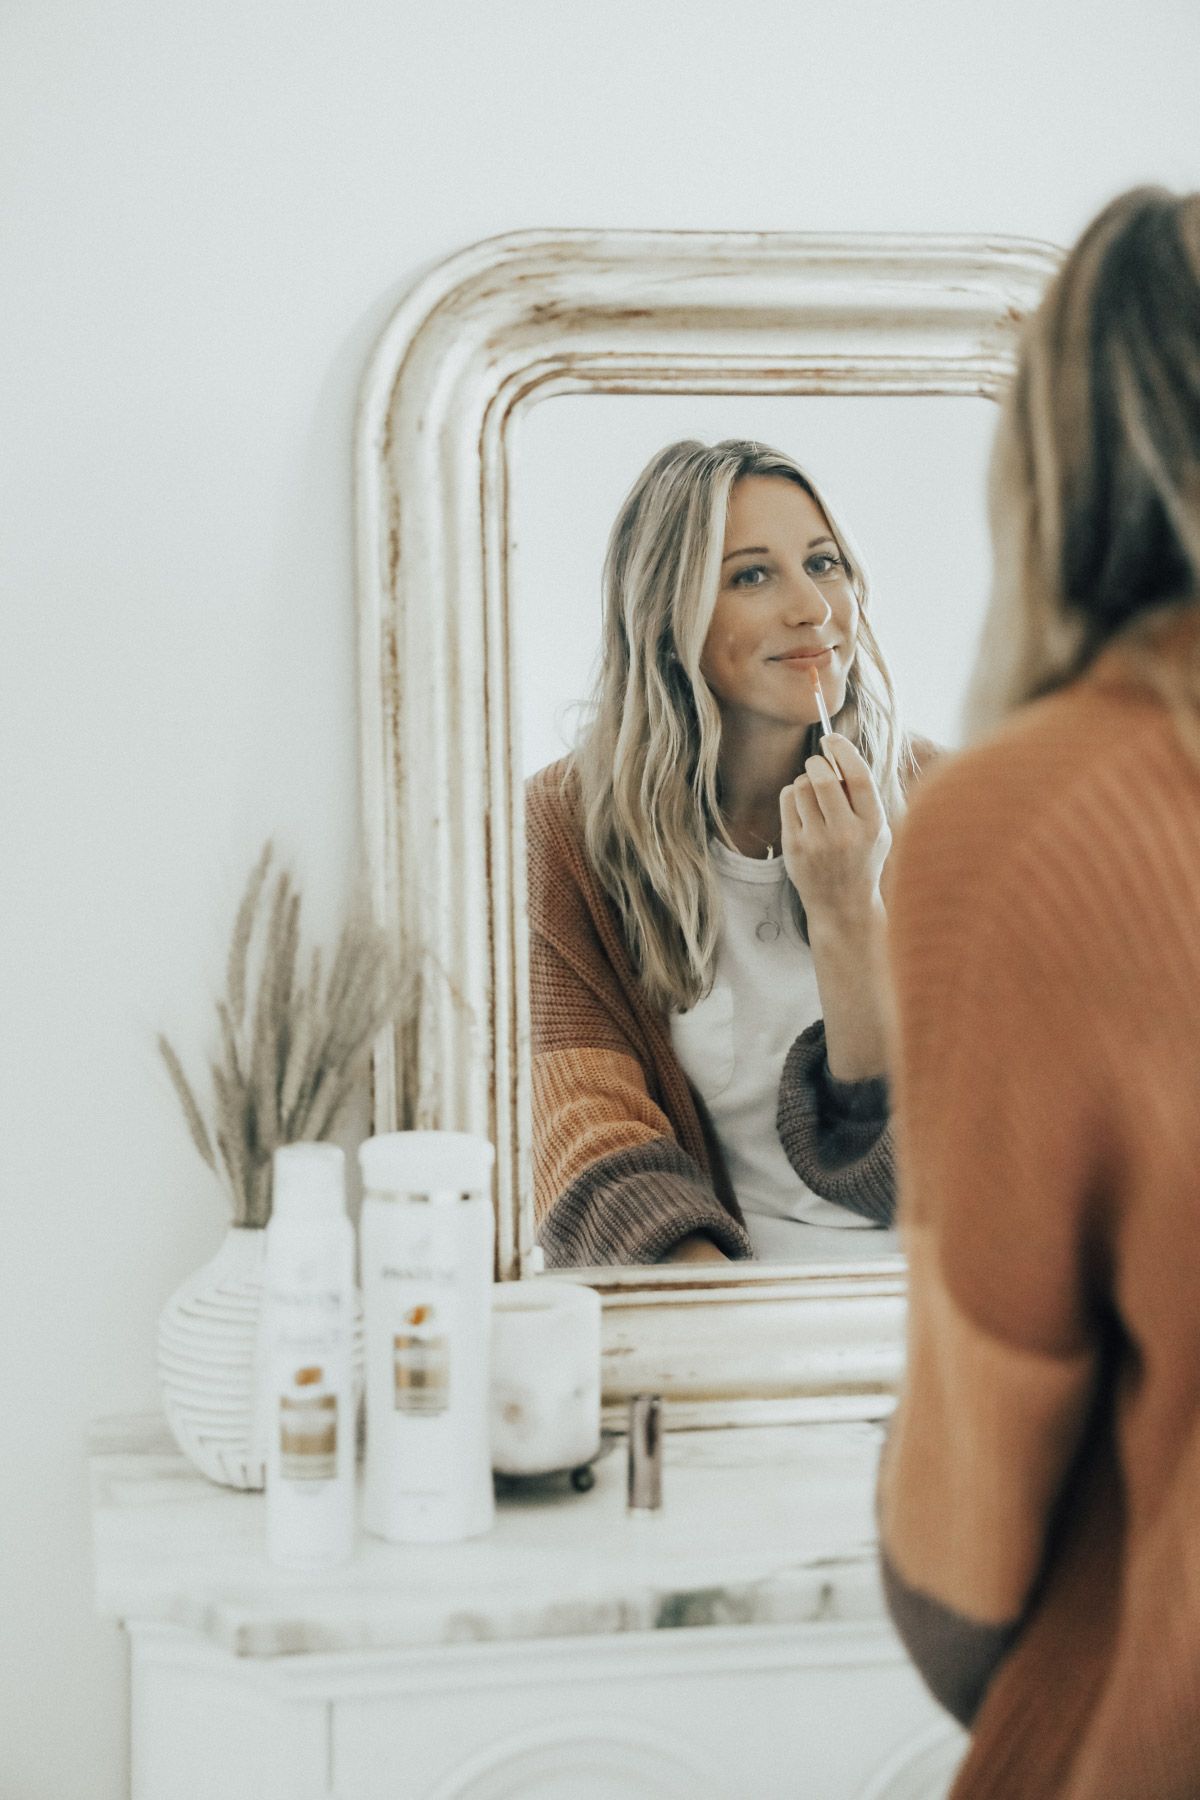
My 6 Secrets to Curling Your Hair Perfectly Every Time
posted on March 30, 2017 | by Amanda Holstein
If you know how to use your curling iron, but still aren’t getting the results you want, this post is for you. I’ve been curling my hair for years, but when I look back at photos of my hair, it differs drastically from year to year even though I thought I was styling it the same way. After lots of practice, I’ve discovered a few tricks that allow me to get the consistent results I want. Whether you’re using a classic curling iron, a curling wand, or even a flat iron to curl your hair, these tips are gonna change your life!
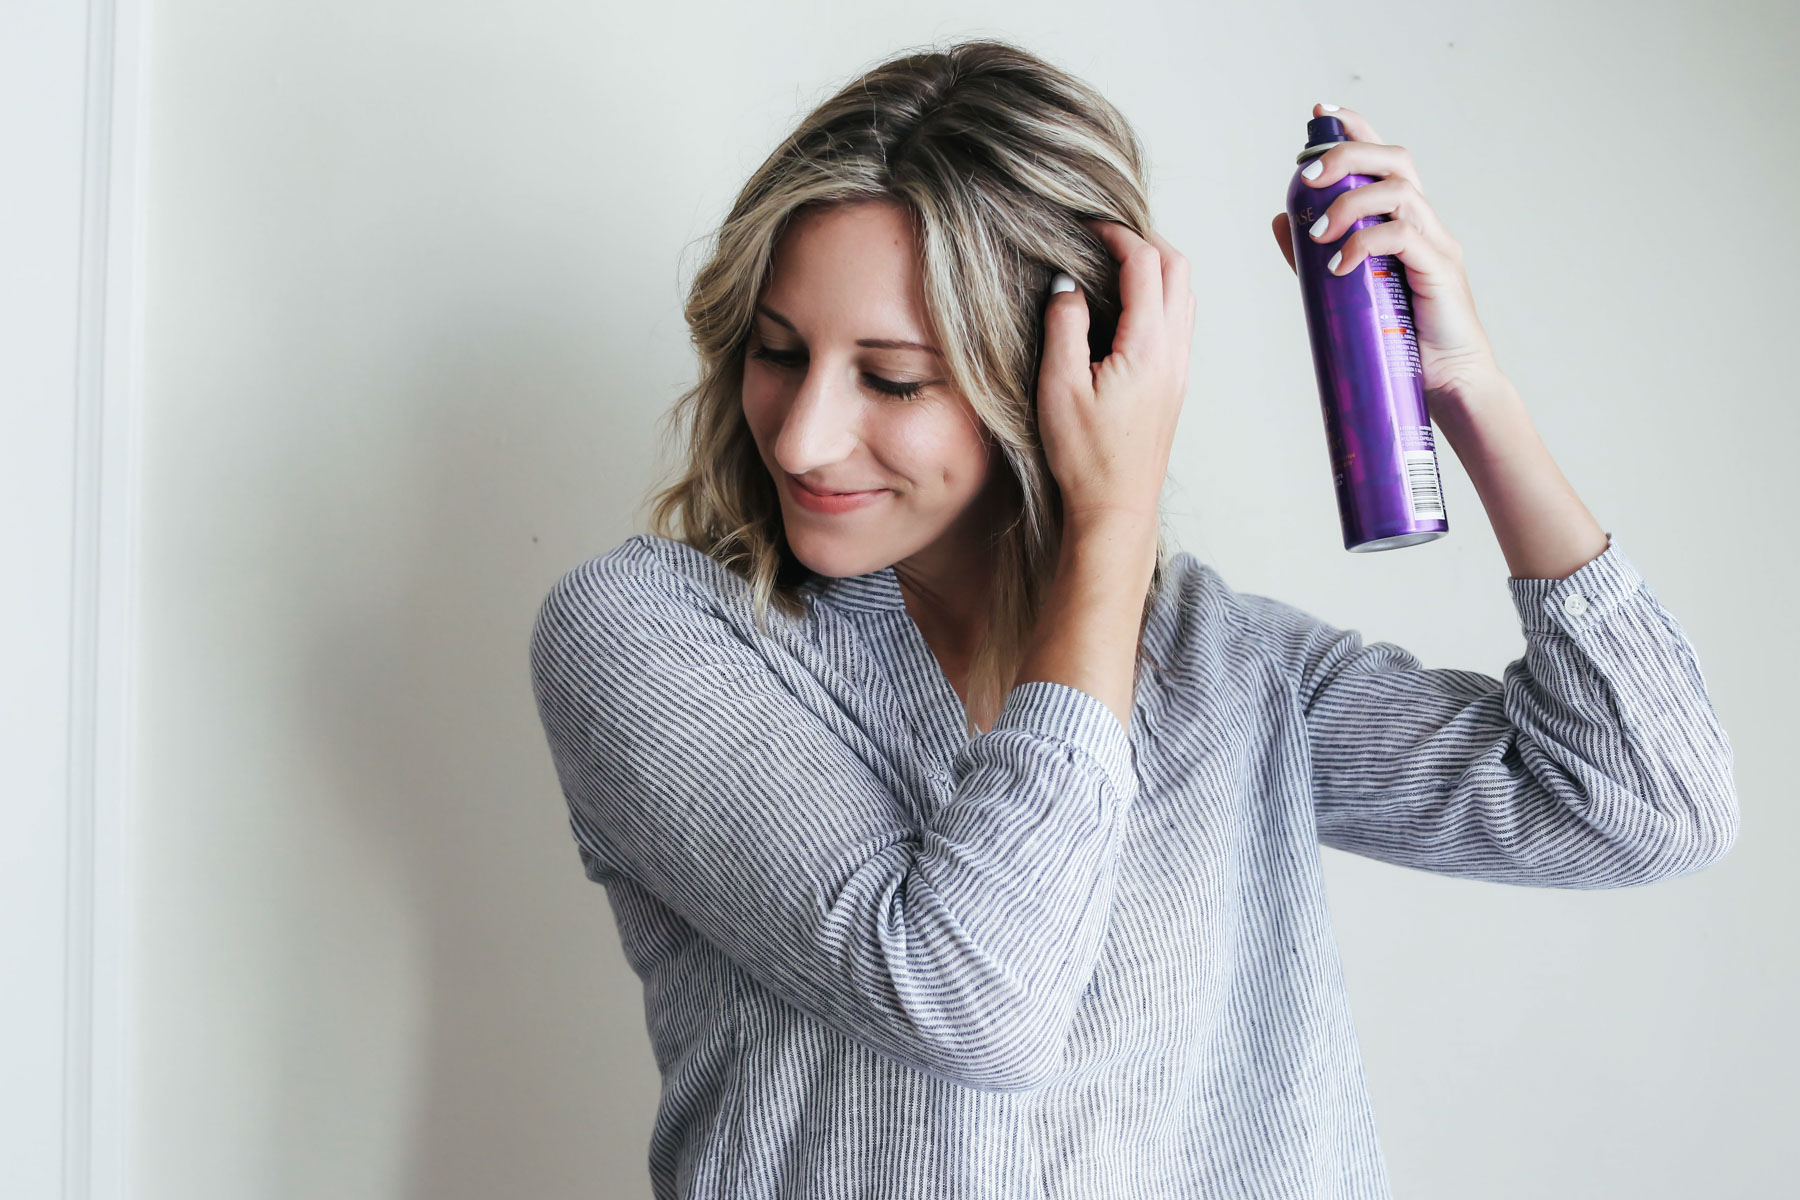
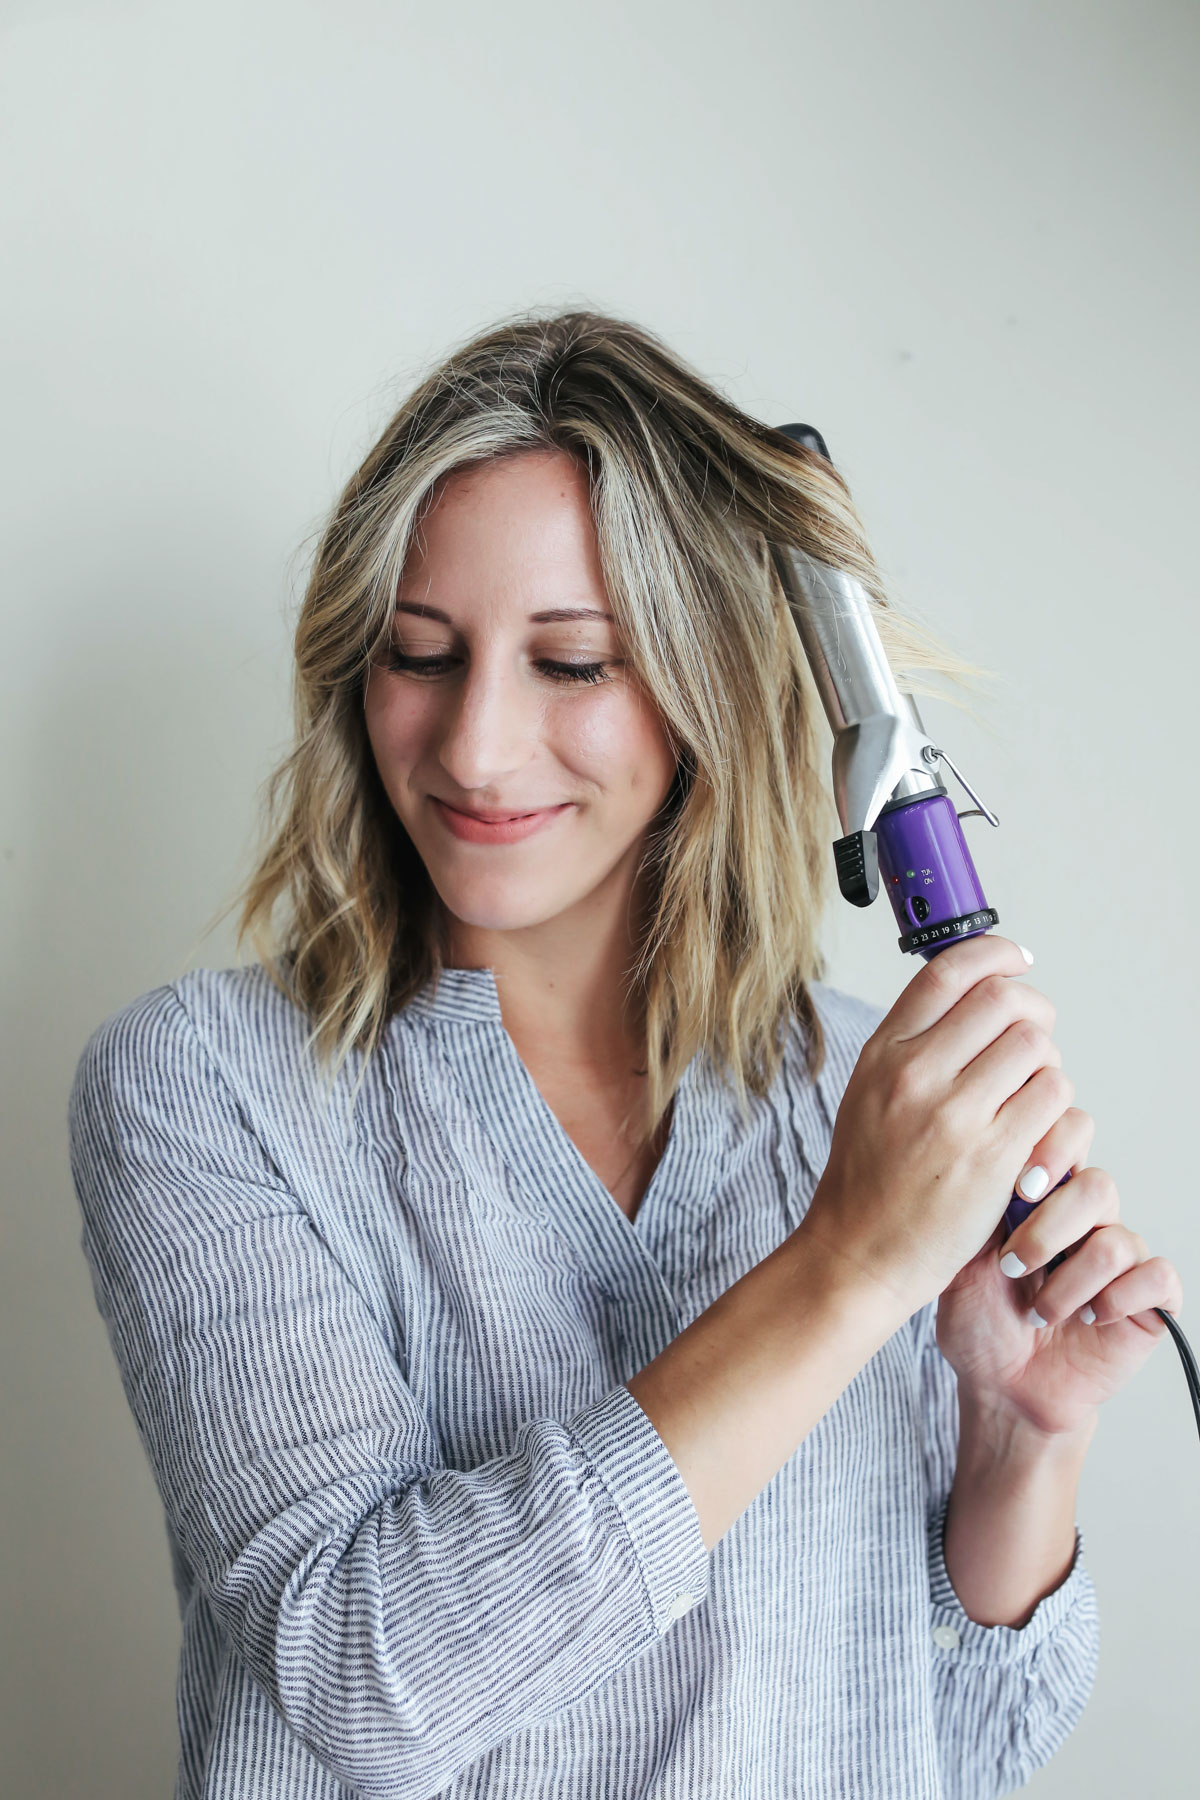
1. Apply texturizing spray before you curl.
Before you even reach for your curling iron, you need to make sure your hair is in the right state. If you’ve just showered and blow dried your hair, this tip will be especially helpful. Always spray your hair with texturizing spray before you start curling in order to give it a stickier texture, allowing it to hold the curl much better. Super silky, clean hair has a hard time holding a curl, so applying product is a must.
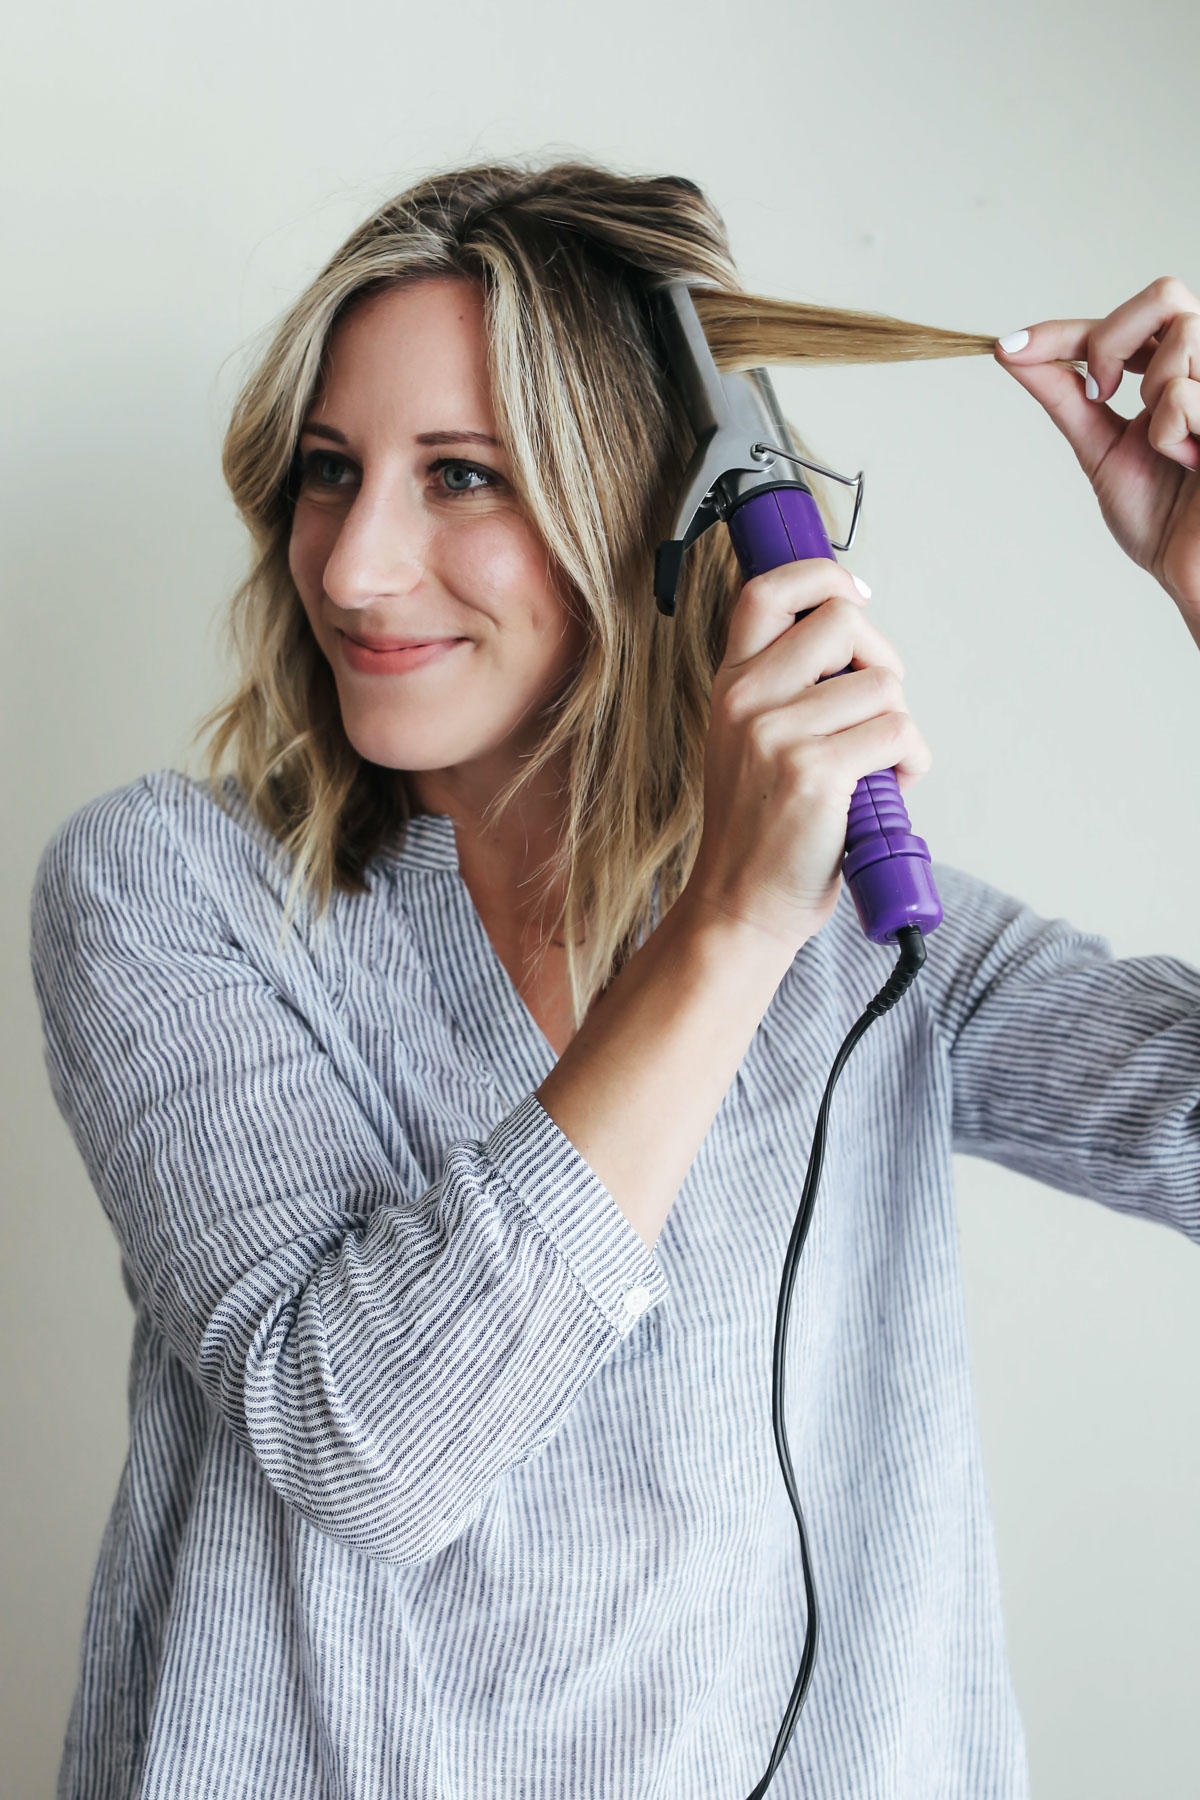
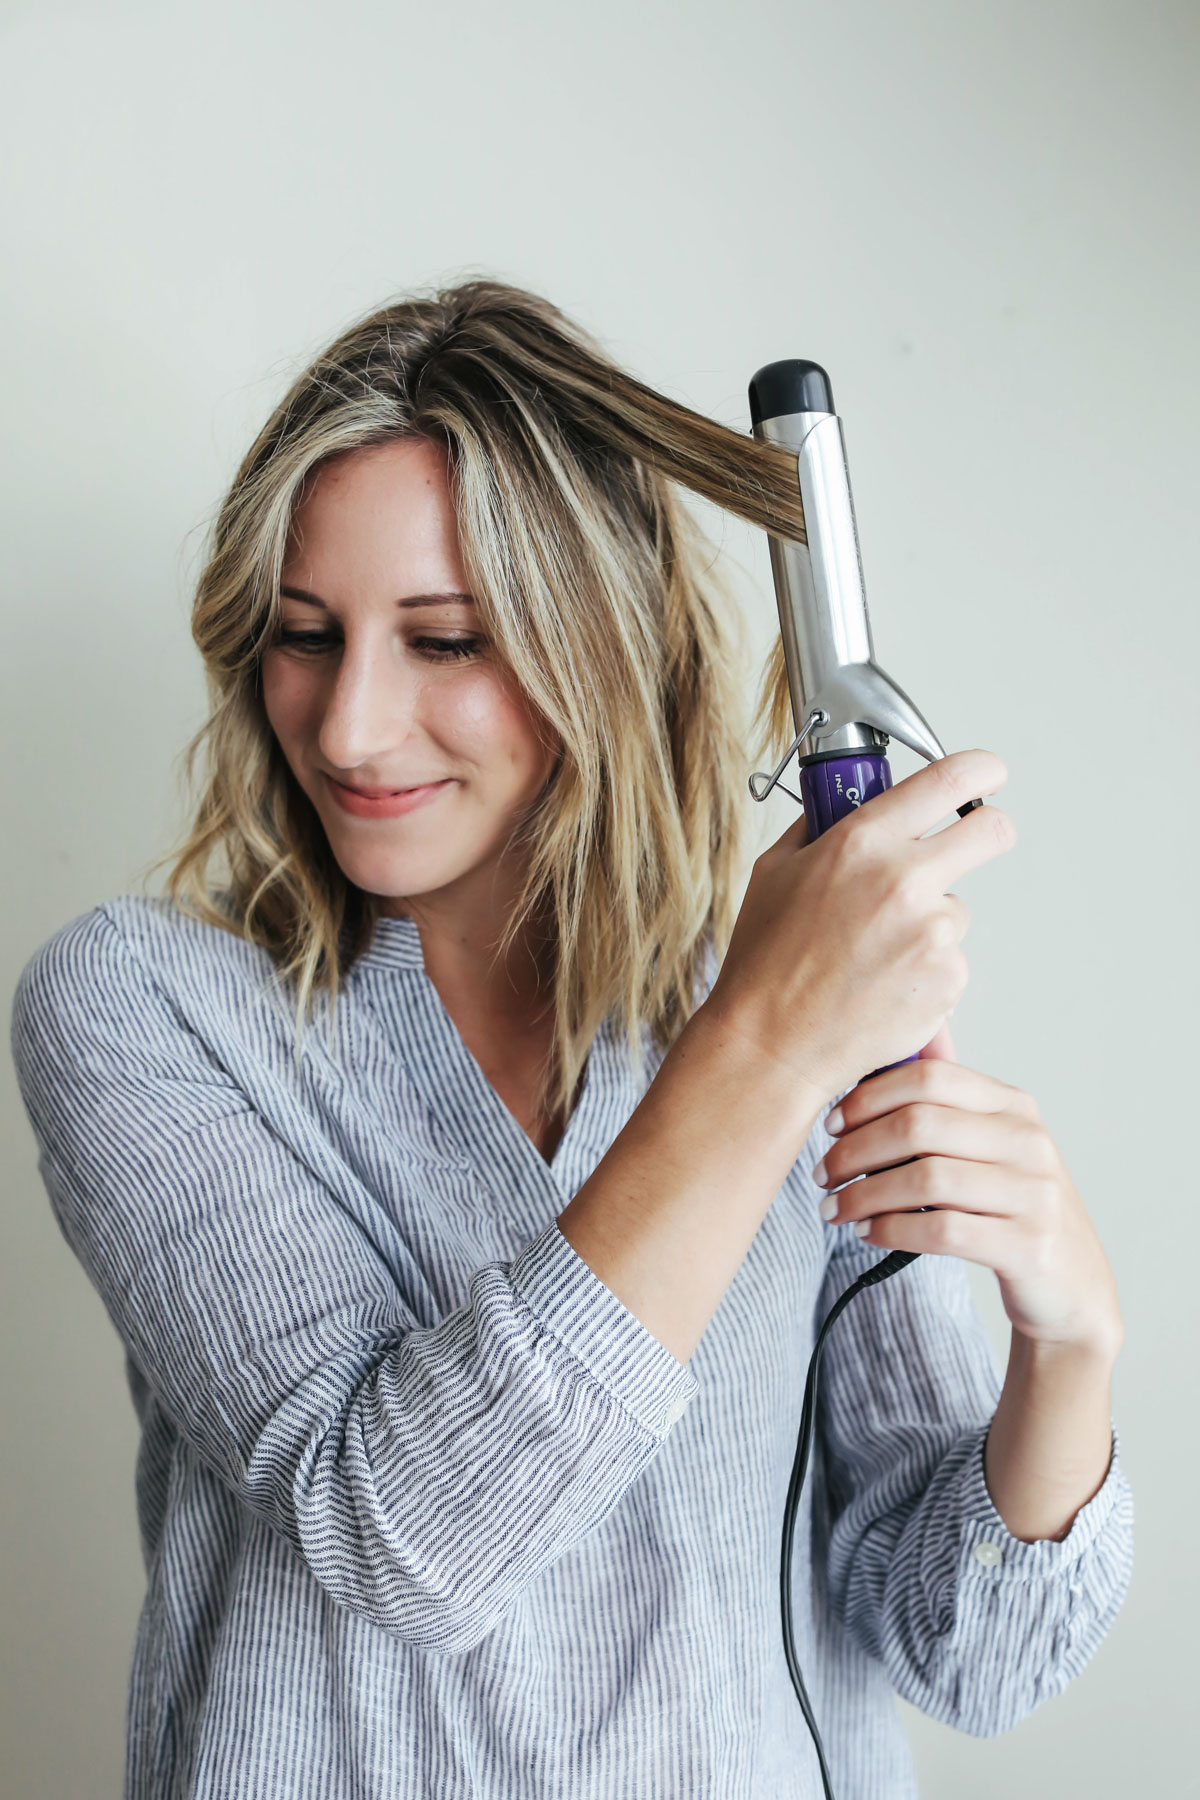
2. Curl your roots longer than you curl your ends.
The top half of your hair, or the hair closest to your roots, tends to be heavier and thicker than your ends. So you should really be holding your curling iron on your roots longer than on your ends. IF you hold them for the same amount of time, that’s typically when you get those defined ringlets that nobody really wants. So, start by clamping down your curling iron half way down your hair and curling the top half (roots) first. Then, start about an inch from your ends and curl the entire strand. This will ensure your roots get a longer time under the heat than your ends.
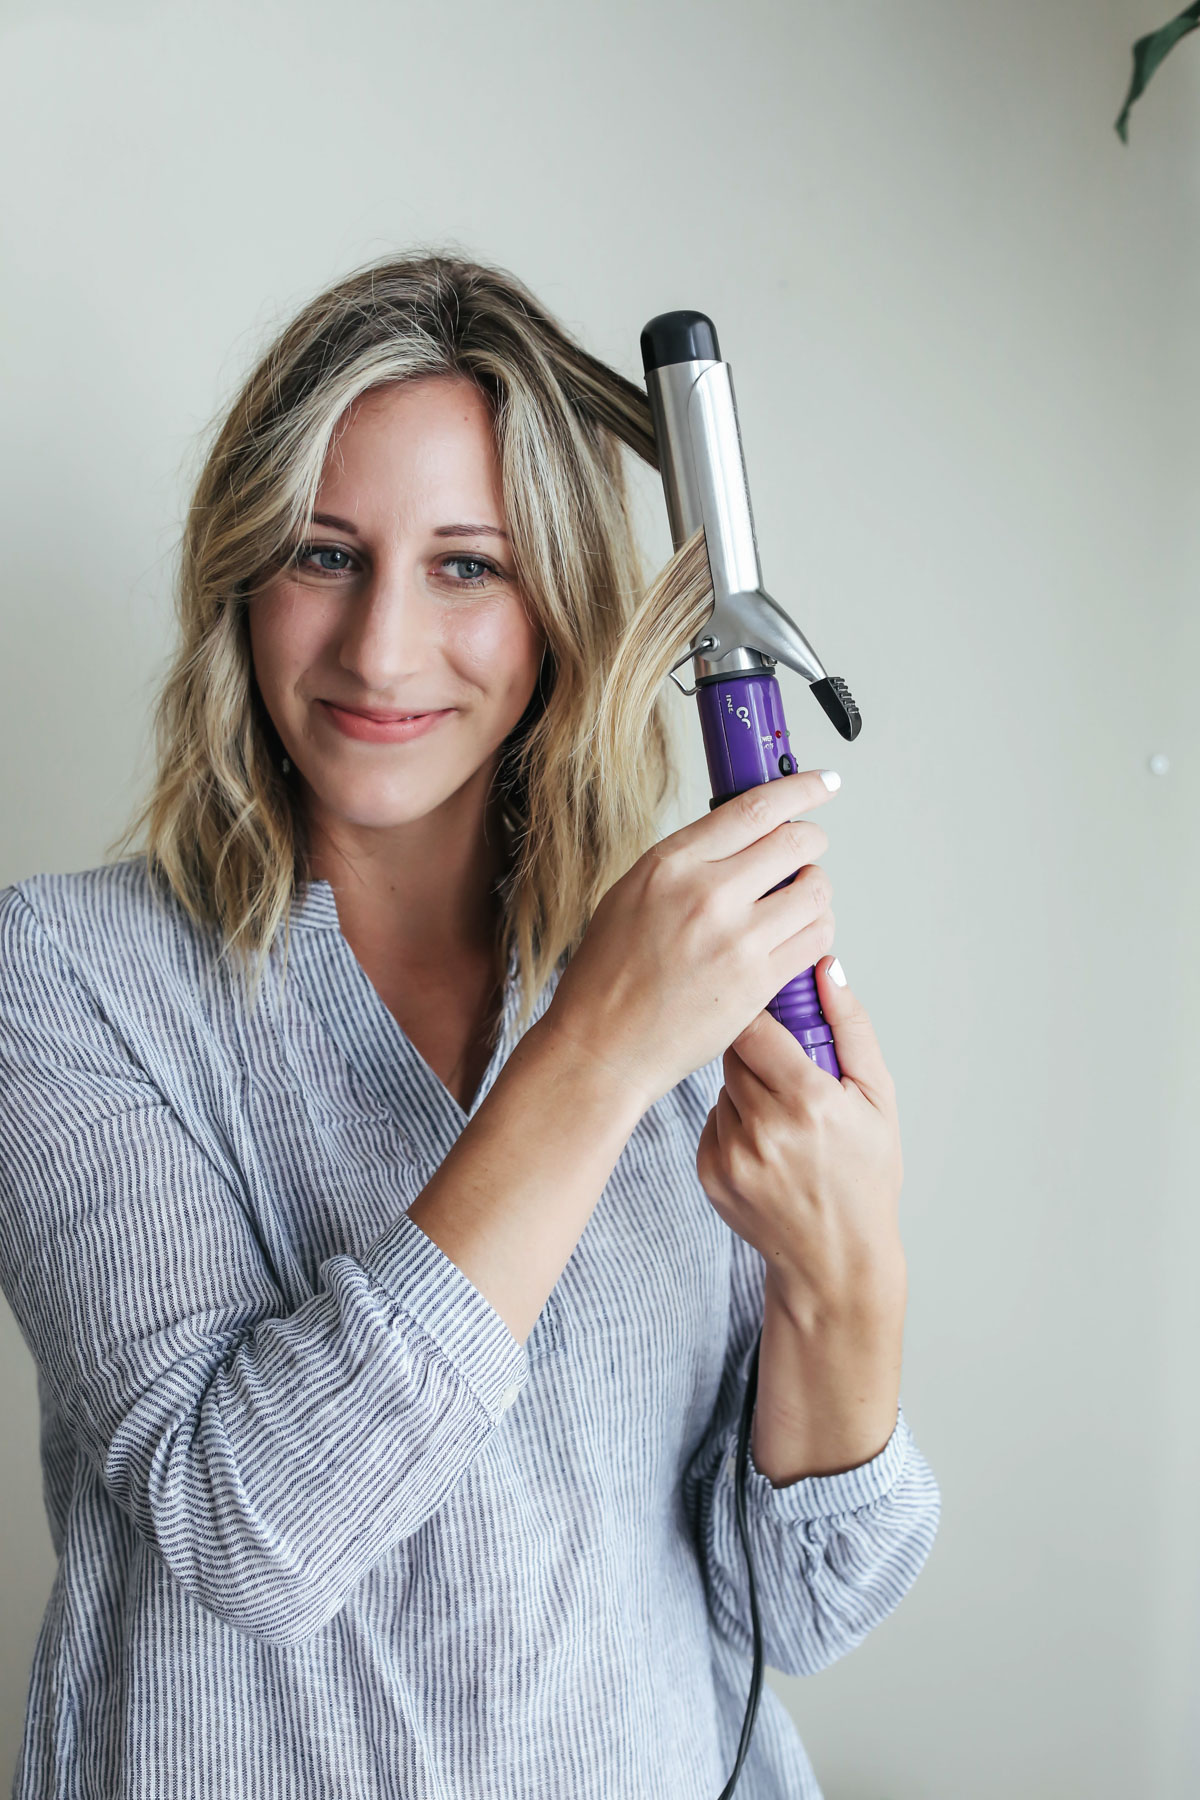
3. Alternate the direction of each curl.
Another necessary step to avoid those ringlets is to alternate the direction of each curl. If you curl every piece in the same direction, it’s easier for them to clump together into one big ringlet. Instead, start by curling the front pieces away from your face, and alternate each piece from there.
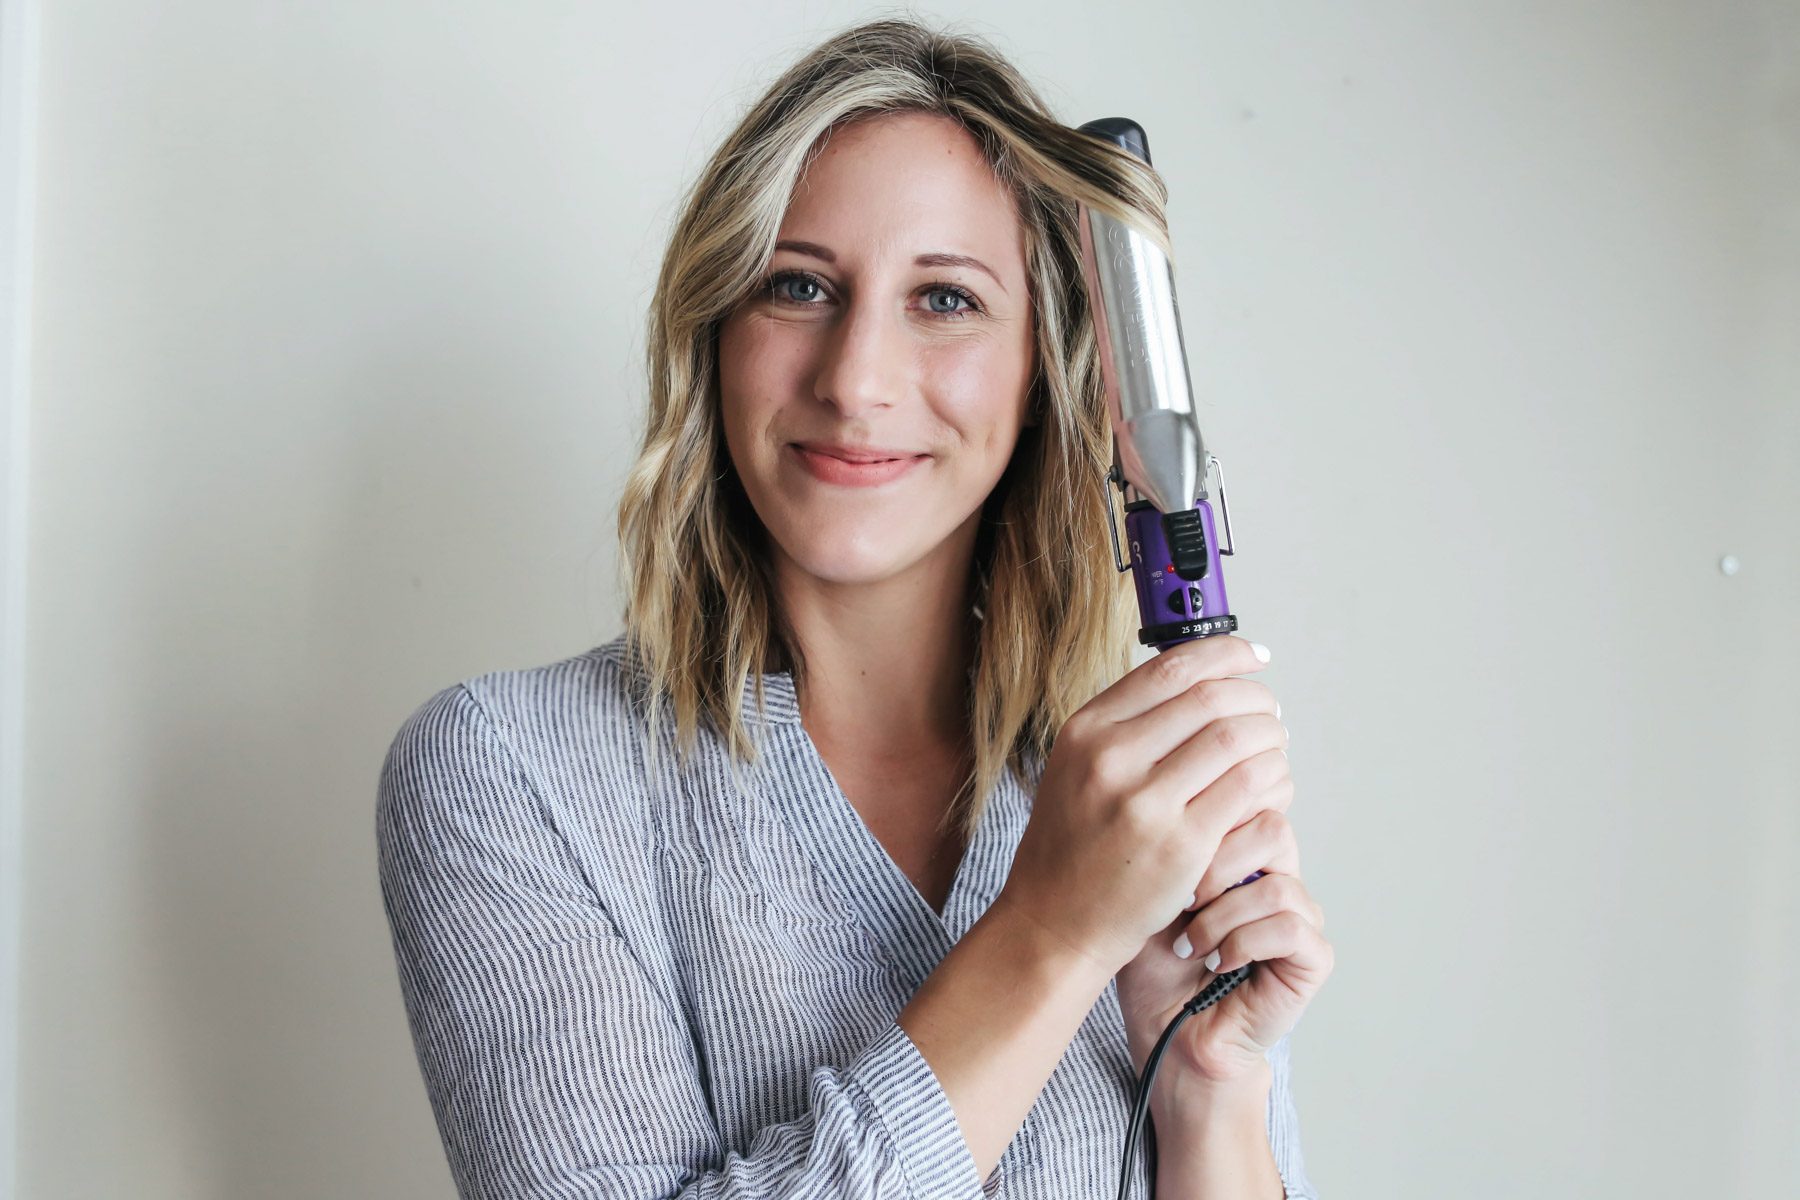
4. Make sure you curl the front lightly.
One of my favorite tips that’s made a huge difference is being much more delicate with my front pieces. Instead of curling them the same way I curl the rest of my hair, I typically run the curling iron through my front pieces quickly and lightly. This creates a softer curl in front, making the look more natural. My front pieces are also more damaged than the rest of my hair since I’m always blow drying and straightening them, so they react to the heat much quicker. Use a light touch on your front pieces, and you’ll notice a huge difference in the final look!
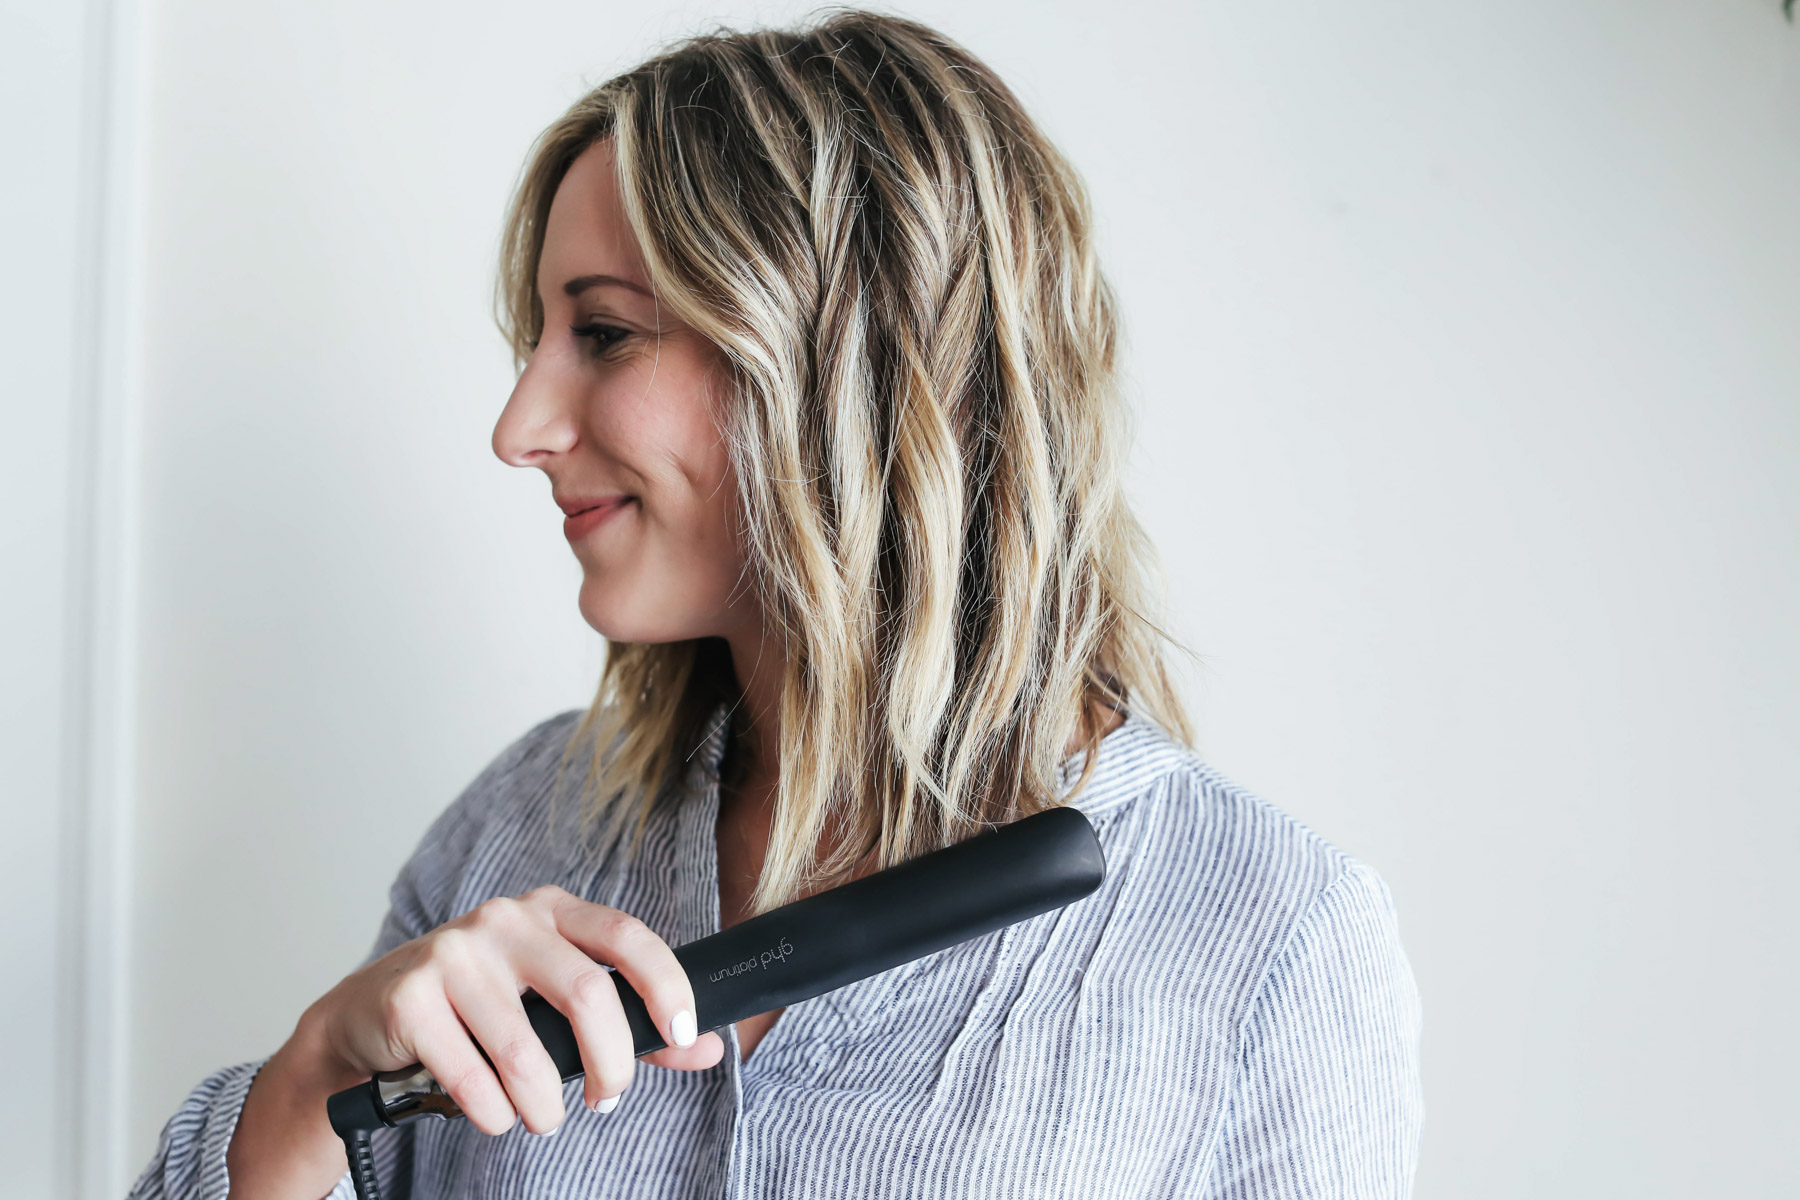
5. Straighten the ends.
If you want that more relaxed wave, I highly recommend straightening the ends of your hair once you’re done curling. It gives it an edgier, more relaxed look and helps avoid any ringlets as well. You can pull out your straightener for this or just use your curling iron by clamping down on the ends and pulling straight down.
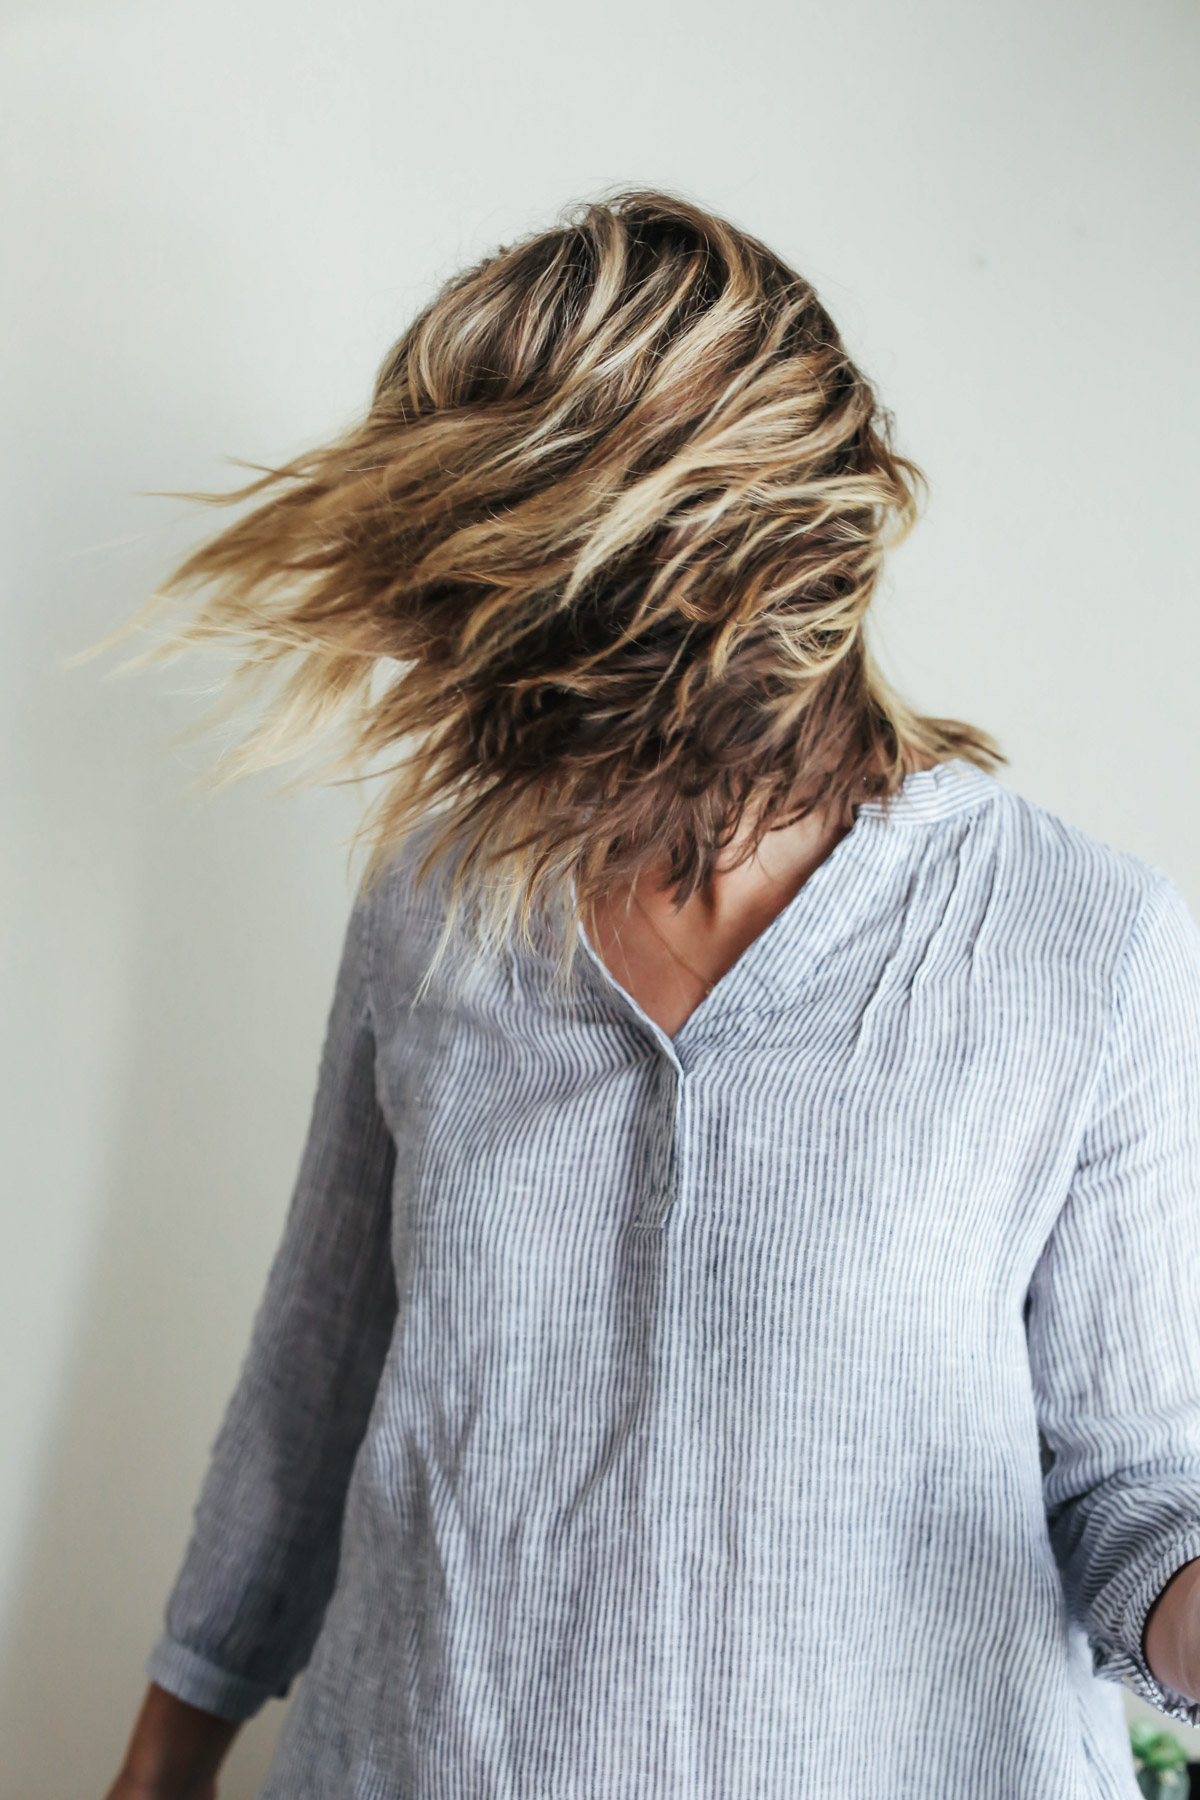
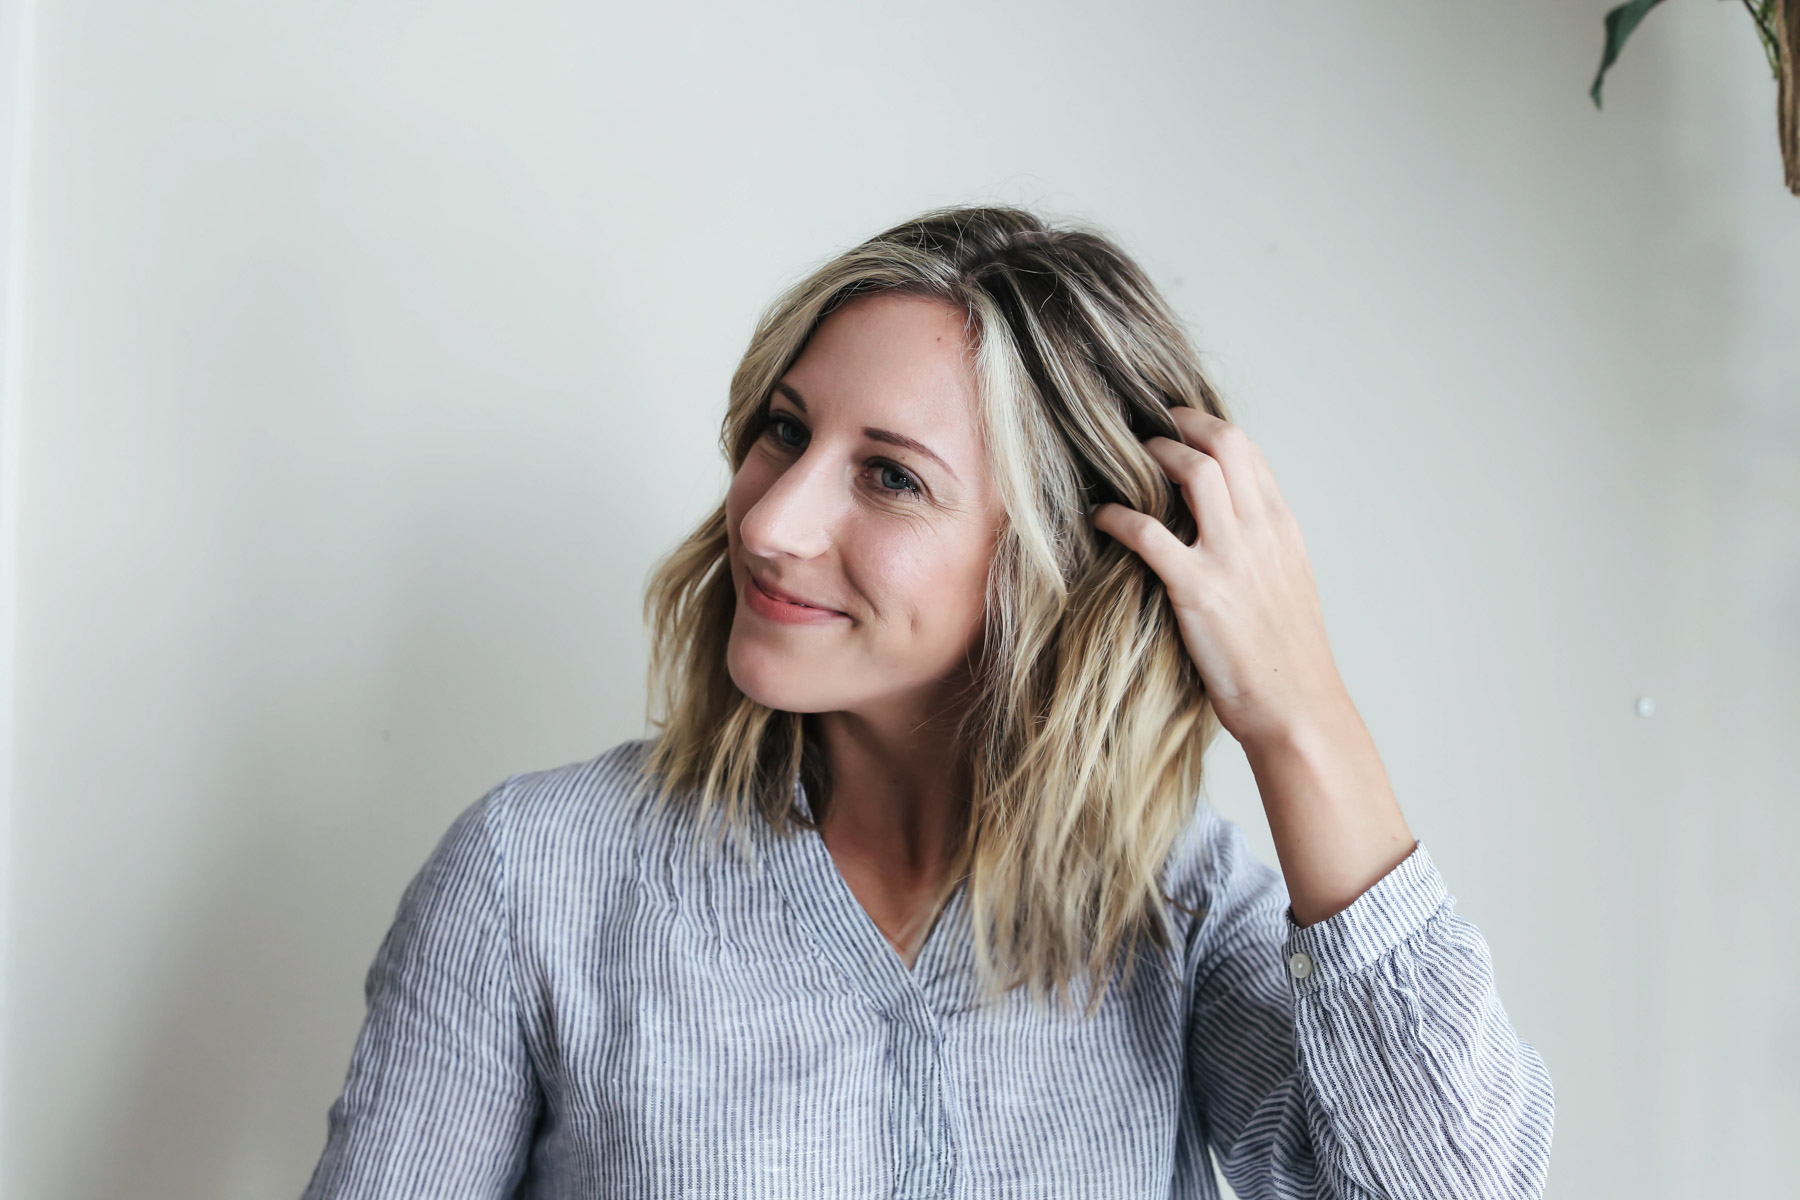
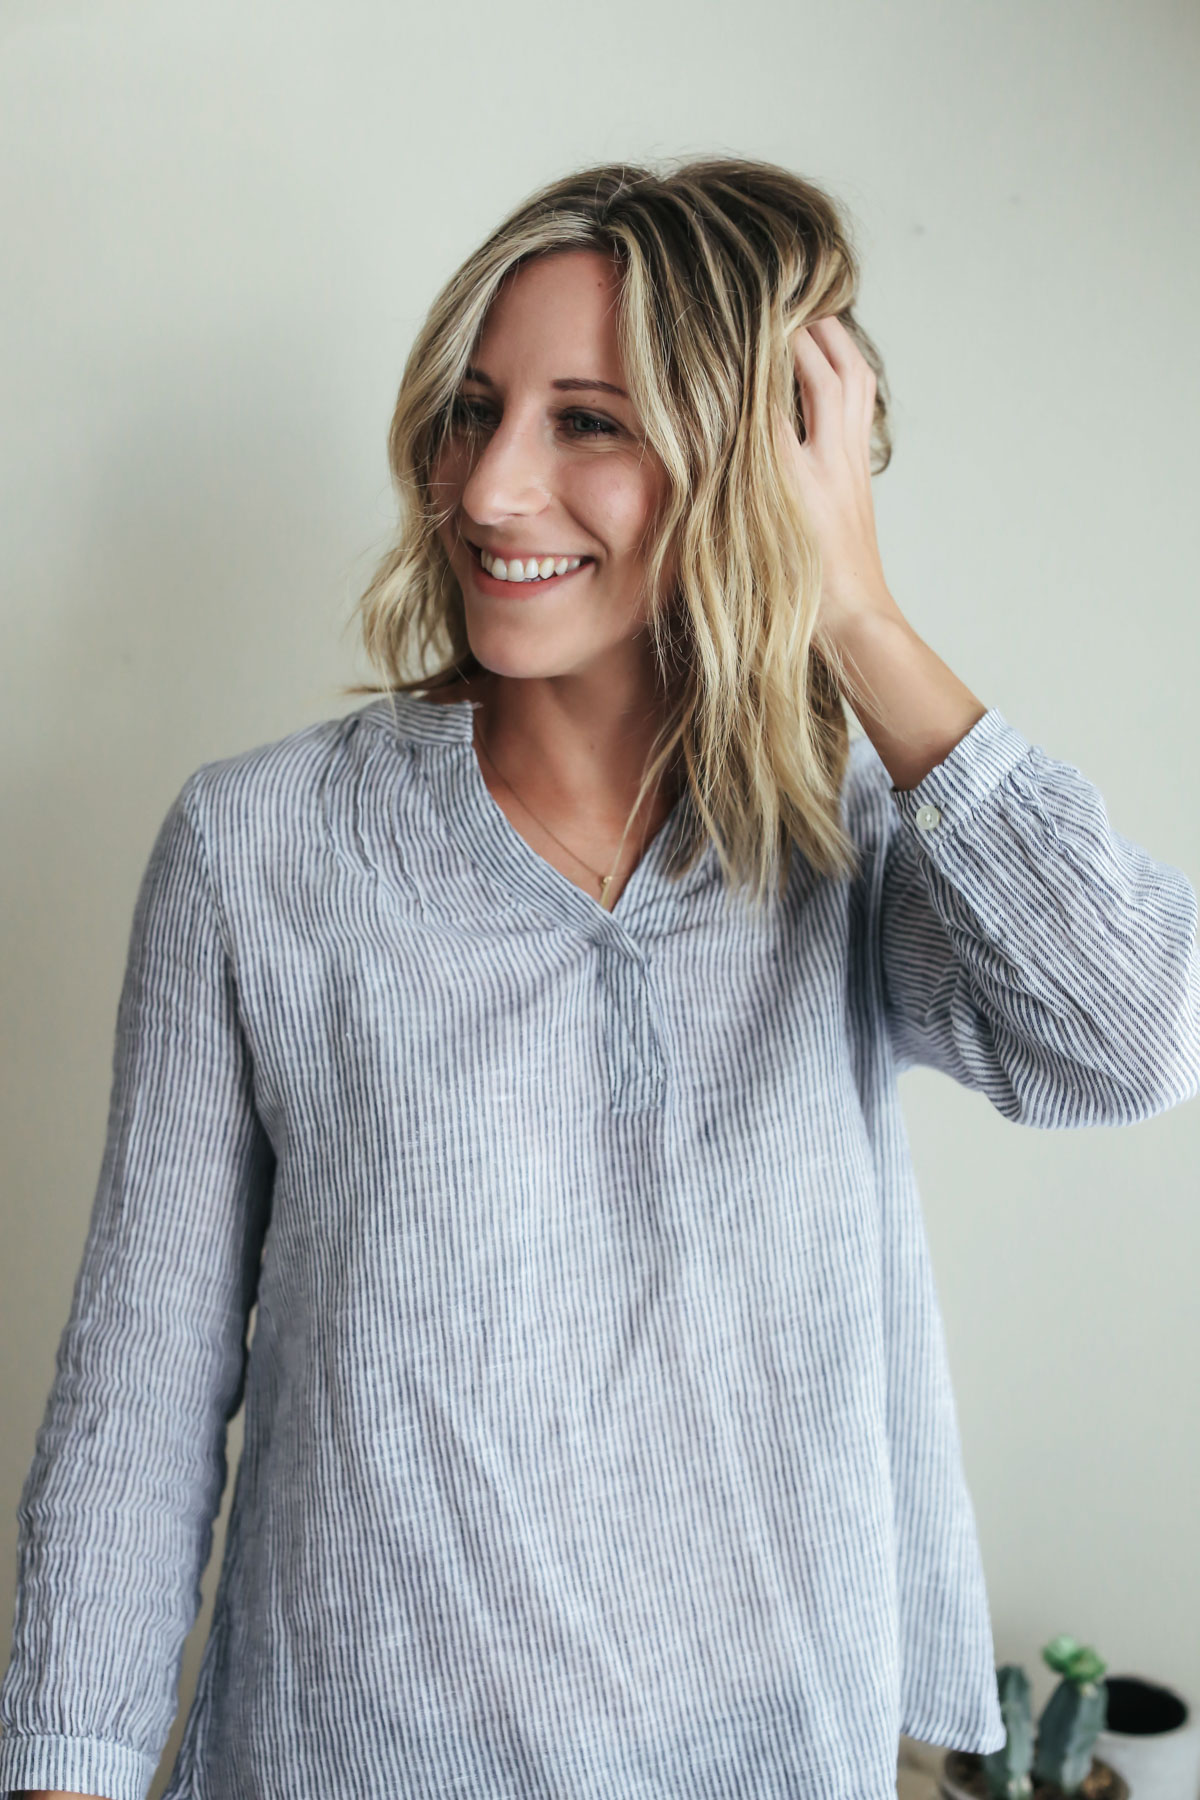
6. Rake your fingers through your hair.
This step is ESSENTIAL! After you’re completely done with your hair, don’t forget to rake your fingers through it and shake it around a bit. Otherwise, you’ll be left with very defined waves that don’t look super natural. I typically like to flip my hair forward and back, gently and just once. It will help loosen up and separate the curls to create a more natural look.
Got any tips to make sure your hair curls perfectly every time??
Carrie this fit chick Says
I’m embarrassed to say this, but I honestly fail every time I try to curl my hair! It makes really bad creases and dents… maybe I’m just using a bad tool, but I don’t get why I can’t make it work- hah!
Marissa Says
What curling iron are you using?
Katie Says
Super helpful! You have the best curls! I’ve always wondered how you did it!
Pingback: WEEKEND READS | 02 – Bloom & co.
Katherine McDermott Says
I love your curls! So pretty. One thing I love is doing my hair a day before I need it – I feel like my second day curls are so much more natural, and they stay really well.
Lana Says
Would you use texturizing spray after a heat protector spray? Or can you skip the heat protector spray with the same results?
Amanda Holstein Says
Post authorI typically use both!
Annie Says
What curling iron is this? I love the purple!
Yuan Chen Says
Can we use a comb after curling the hair? I heard somewhere that you could not use comb otherwise your curl will lightly remove.