 Using Trunk Club to Update My Spring/Summer Wardrobe
 5 Tips For Styling a Simple Summer Dress
 5 Ways to Style a Bandana
 3 Different Ways to Curl Your Hair
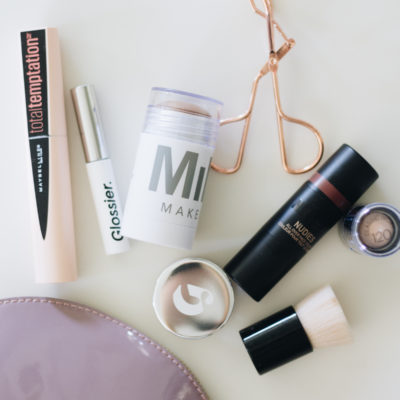 How to Master the 5-Minute Makeup Routine
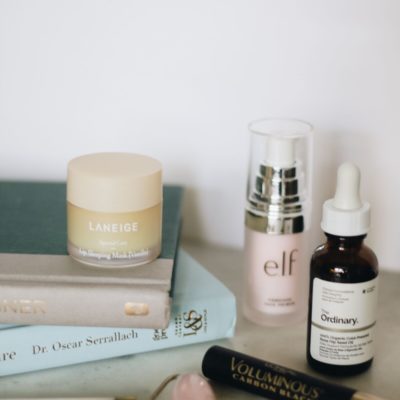 Amazon Beauty Buys Under $25
 3 Ways to Make Your next Trip More Memorable
 Tips for Digital Spring Cleaning and Organizing
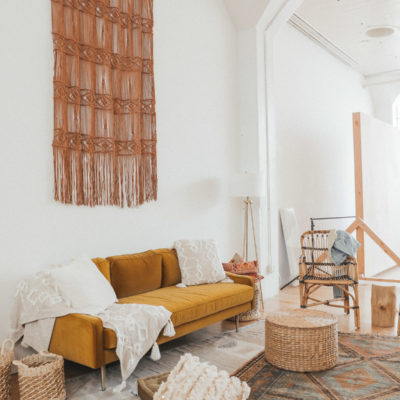 Color Trend: Marigold
 Mental Health Update: The 3 Major Changes I Made to Get Out of Depression
 5 Unexpected Ways to Unwind After Work
 How to Know You’re in a Controlling Relationship
 4 Questions I get Asked as a Professional Resume Writer
 How to Make Friends at Work
 Getting Out of the ‘Busy’ Mindset
 Ask Amanda: How do I pursue the career I want without formal training?
 Ask Amanda: How Do I Find a Therapist?
 Ask Amanda: How do I stop being jealous in my relationship?

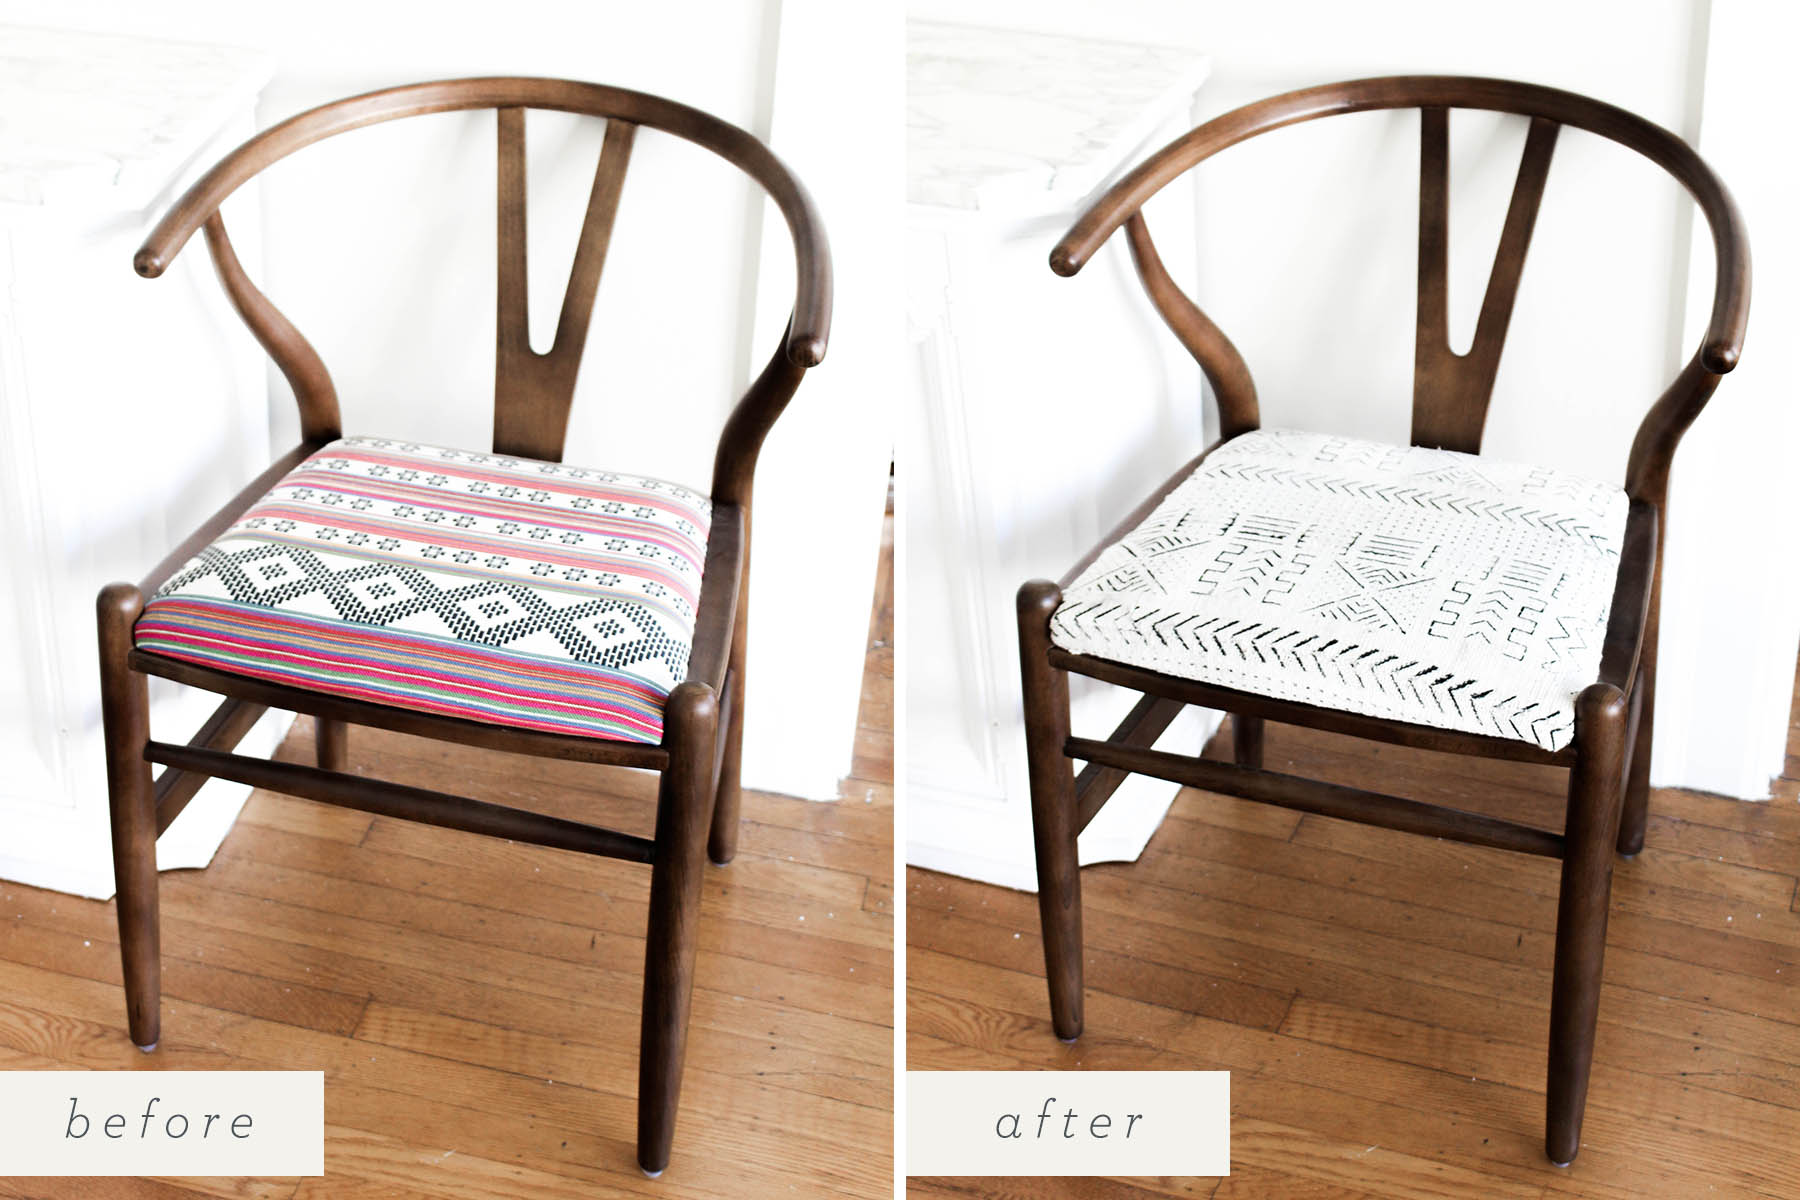
Having never shopped for dining room furniture before, I quickly learned that finding the right chairs is not an easy task. Chairs are not cheap, and once you find ones that are semi-affordable, you still have to buy at least four. After lots of research, I kept going back to these World Market chairs. I love the shape, and the color of the wood matches my table perfectly. The only problem was the print. Though I do really like the print, it just didn’t go with the look I was aiming for. So I decided I’d get the chairs anyway and find a way to make them work.
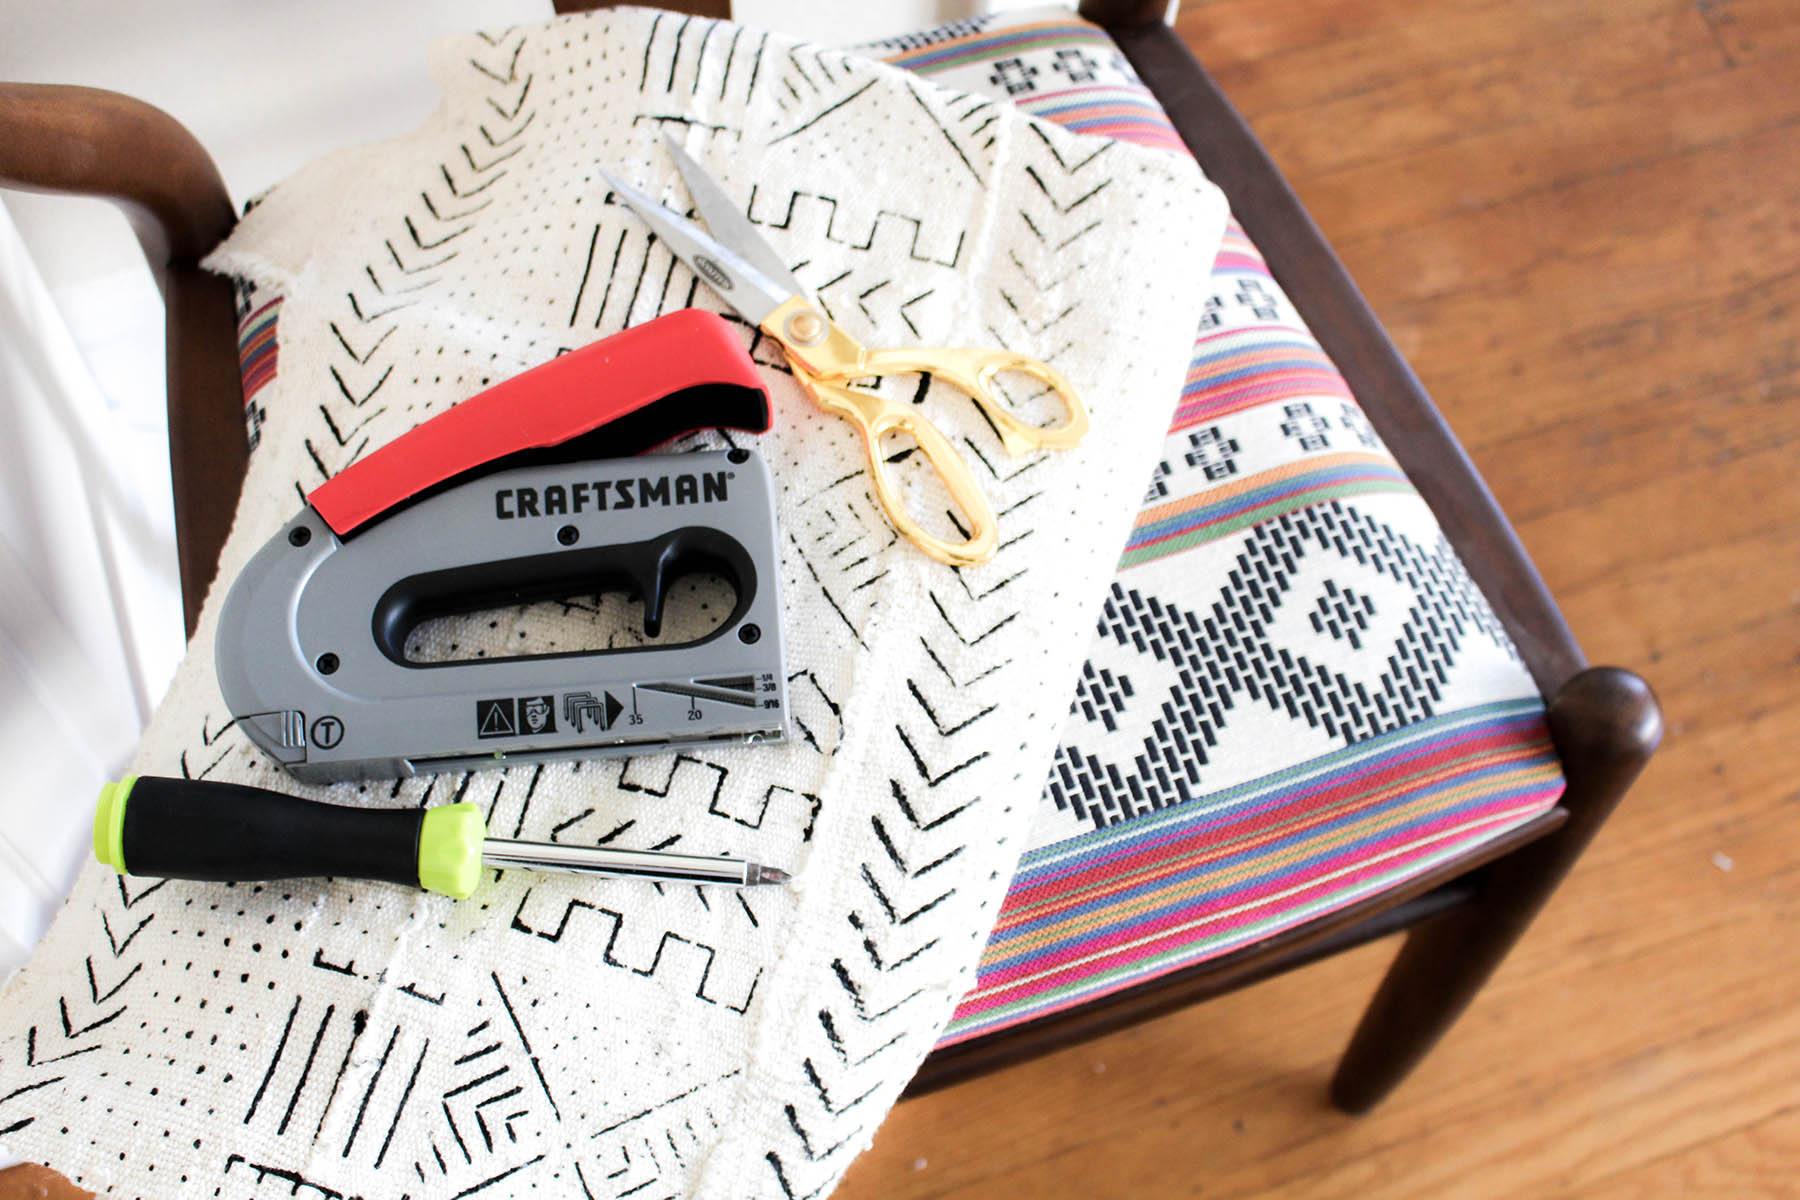
I’ve always heard upholstering was easy, so I decided to give it a try. I bought some mudcloth fabric from a flea market and a staple gun from my local hardware store. All you need after that are a pair of scissors and a screwdriver. Seriously, this was even easier than I was hoping for! Take a look at the step-by-step tutorial below.
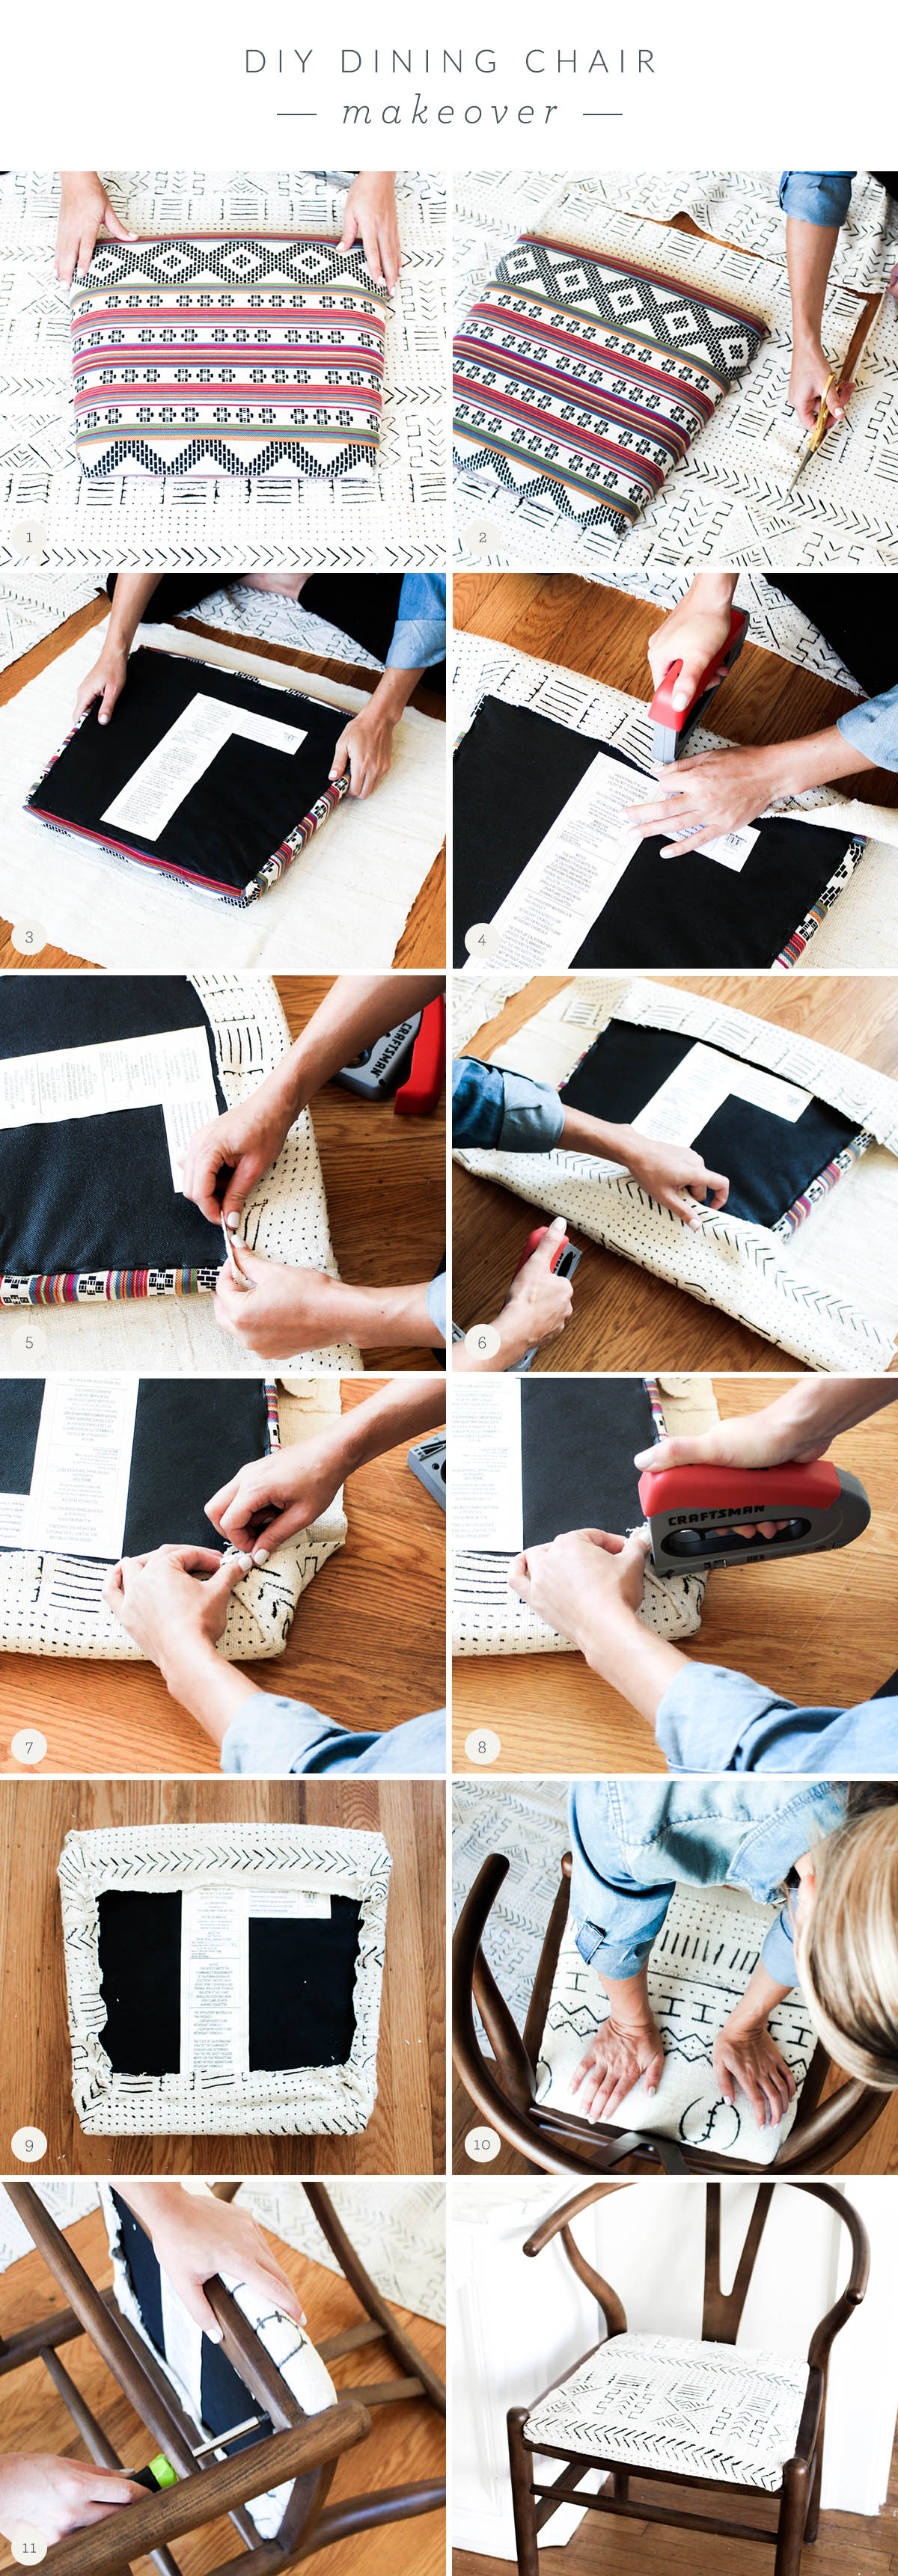
Step 1:
The great thing about these chairs is that the seat is super easy to remove. Just flip it upside down and you’ll see where it’s screwed in. After you unscrew the seat from the chair, lay it out onto your fabric where you want it to go.
Step 2:
Cut around the chair, leaving a couple inches of fabric on all sides. I like to do this face up so I can see which part of the print is going to show up on the chair when I’m finished.
Step 3:
Now flip over the fabric and lay the seat upside down on top of it, right in the center.
Step 4:
Start on the largest side and pull the fabric tight over the seat. Use your staple gun to insert your first staple in the center of your first side.
Step 5:
Now pull the fabric tight on the left side and inside and add a staple, making sure to avoid the hole where the screw goes. Add a staple on the right side and then fill in the middle, making sure to pull the fabric tight each time you staple.
Step 6:
Repeat on the opposite side of the seat.
Step 7:
Now for the corners. I’m not sure if this is the professional way to do it, but this is how I did it :). I tried to reduce the amount of lumps but folding the fabric just once, then pulling tight over the corner.
Step 8:
Add one or two staples close to where the fabric ends at the top. Just make sure again that when you staple you avoid the holes where the screws go. Repeat on all corners.
Step 9:
Finish by stapling the final two sides. For these I started on the corners and worked my way to the center, trying to avoid as many folds as I could.
Step 10:
Next place the seat on top of the chair and push down really hard to get it in place. It took a little effort to slide it in since it’s thicker than the original seat, but it’ll fit I swear!
Step 11:
Finish by reattaching the screws to the chair and you’re done!
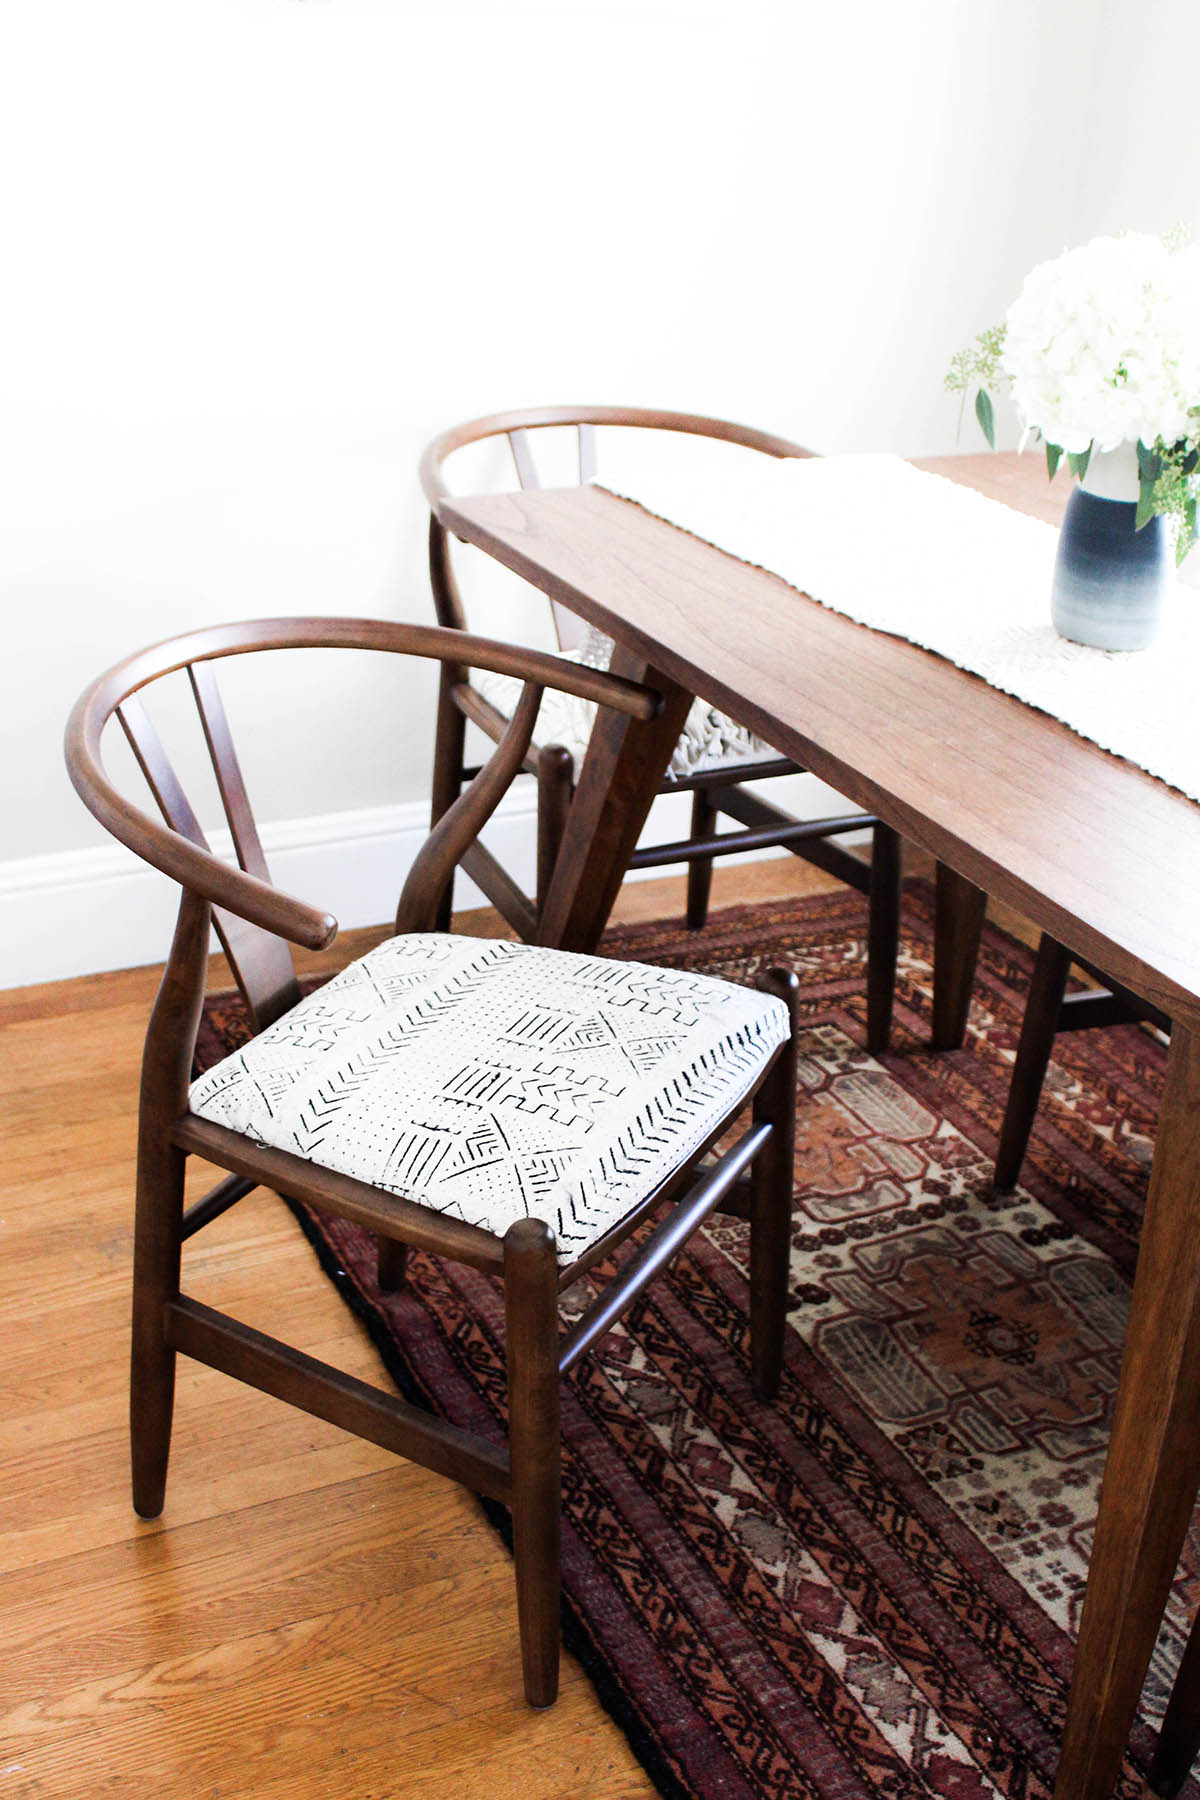
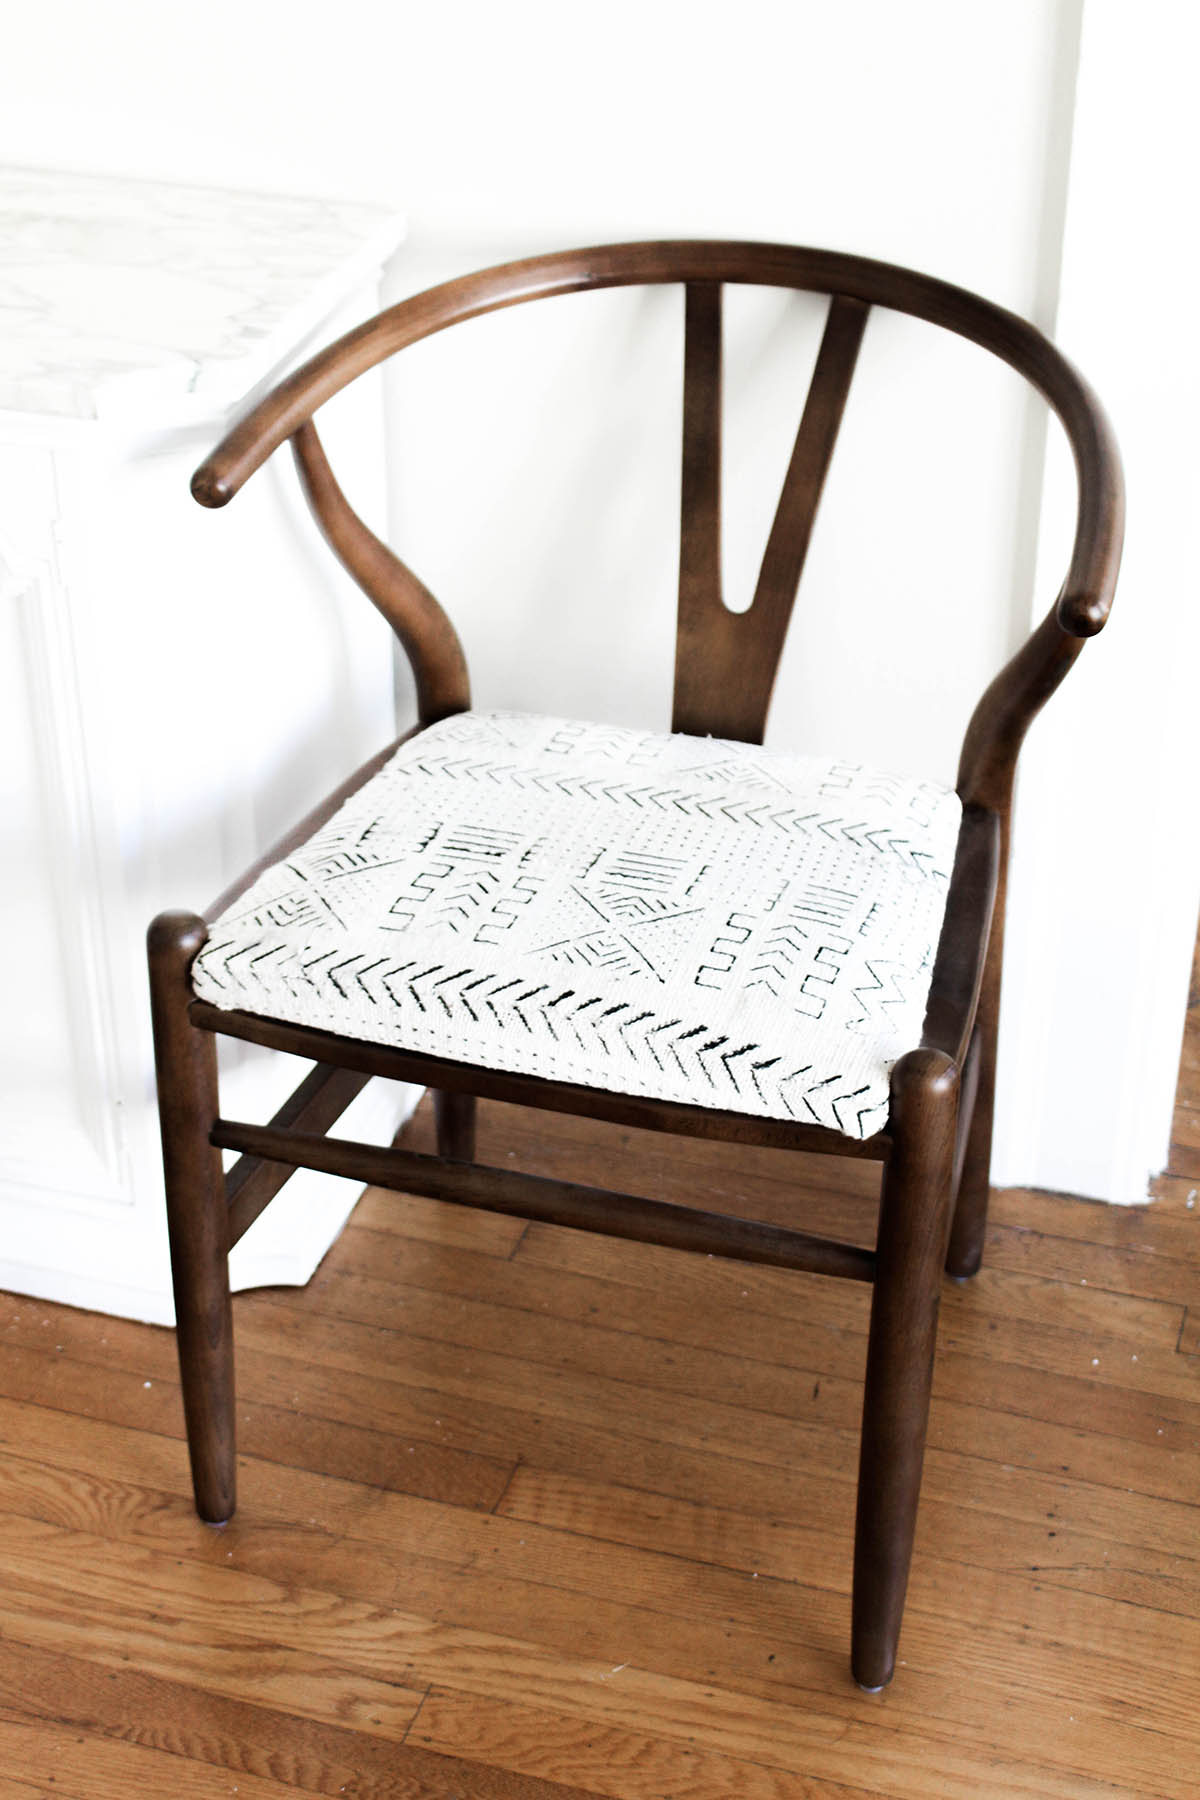
I absolutely love how it turned out and can’t wait to reveal the rest of my dining room in tomorrow’s post. Make sure to check it out!
Pingback: DIY Wall Art. | Silk Sheets and Grilled Cheese
David johnny Says
This is a great idea to decorate old chairs, i will try to decorate my chairs, i hope it will save my money too. Thank you for your information.
Pingback: 20 DIY Mud Cloth Projects - The Happy Diy'er - The Happy Diy'er
Busy Jon Says
WoW, Gread Tips, I’d Love to try! Thank you so much for your share!