 Using Trunk Club to Update My Spring/Summer Wardrobe
 5 Tips For Styling a Simple Summer Dress
 5 Ways to Style a Bandana
 3 Different Ways to Curl Your Hair
 How to Master the 5-Minute Makeup Routine
 Amazon Beauty Buys Under $25
 3 Ways to Make Your next Trip More Memorable
 Tips for Digital Spring Cleaning and Organizing
 Color Trend: Marigold
 Mental Health Update: The 3 Major Changes I Made to Get Out of Depression
 5 Unexpected Ways to Unwind After Work
 How to Know You’re in a Controlling Relationship
 4 Questions I get Asked as a Professional Resume Writer
 How to Make Friends at Work
 Getting Out of the ‘Busy’ Mindset
 Ask Amanda: How do I pursue the career I want without formal training?
 Ask Amanda: How Do I Find a Therapist?
 Ask Amanda: How do I stop being jealous in my relationship?


It’s one thing to love wine. It’s another to live in a tiny apartment and have absolutely no space to put all that wine. Oh, the struggle! While searching for a wine rack, I discovered that there are few small, stylish wine racks that can easily fit into a small space. So, in true blogger form, I decided to make one myself. The best way to take advantage of small spaces is to use your wall space, so I knew I wanted to make something I could hang. I kept it super simple and versatile enough for me to decorate however I want. Want to make one for yourself, follow these instructions below!
Supplies
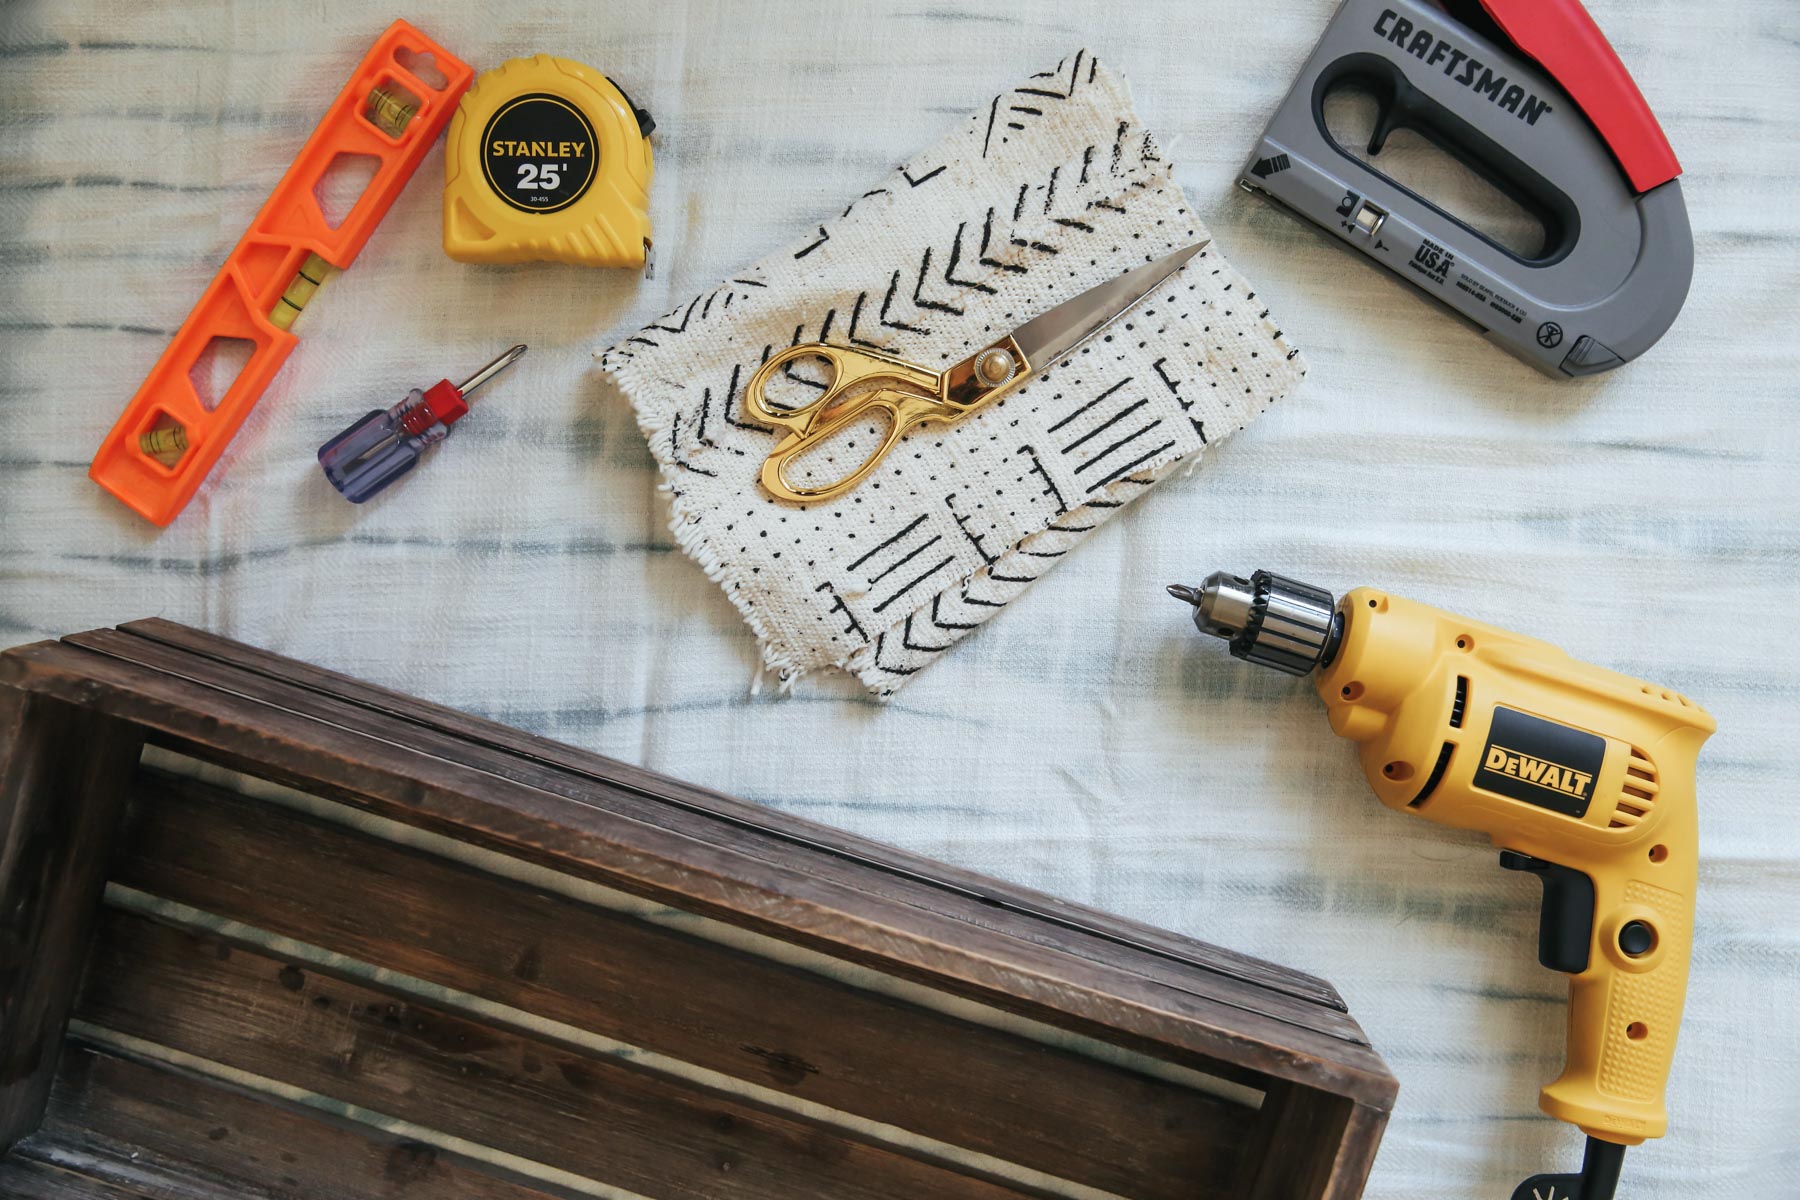
In order to create your hanging wine rack, you’ll need:
– A wooden crate
– Hooks & screws
– Fabric
– Scissors
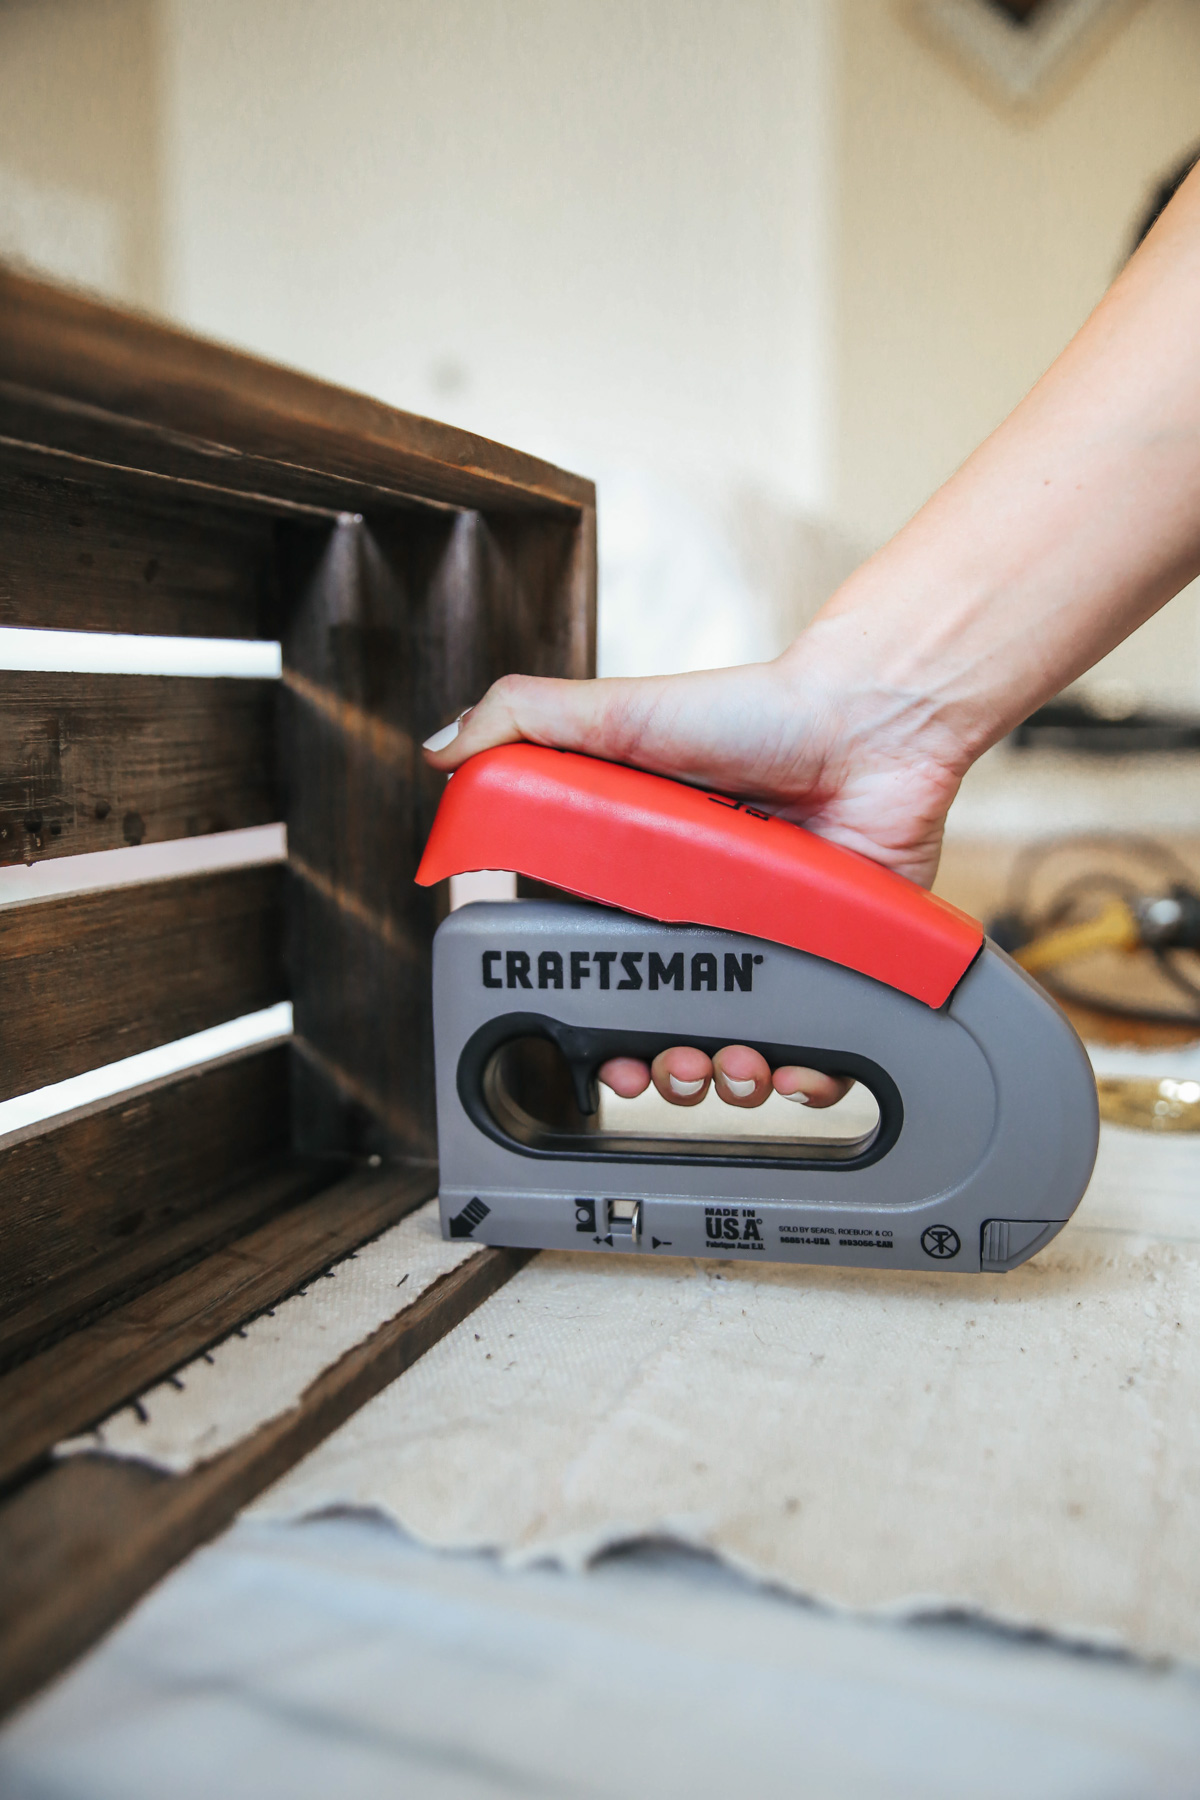
– Staplegun
– Measuring tape or ruler
– Leveler
– Screwdriver (regular & electric)
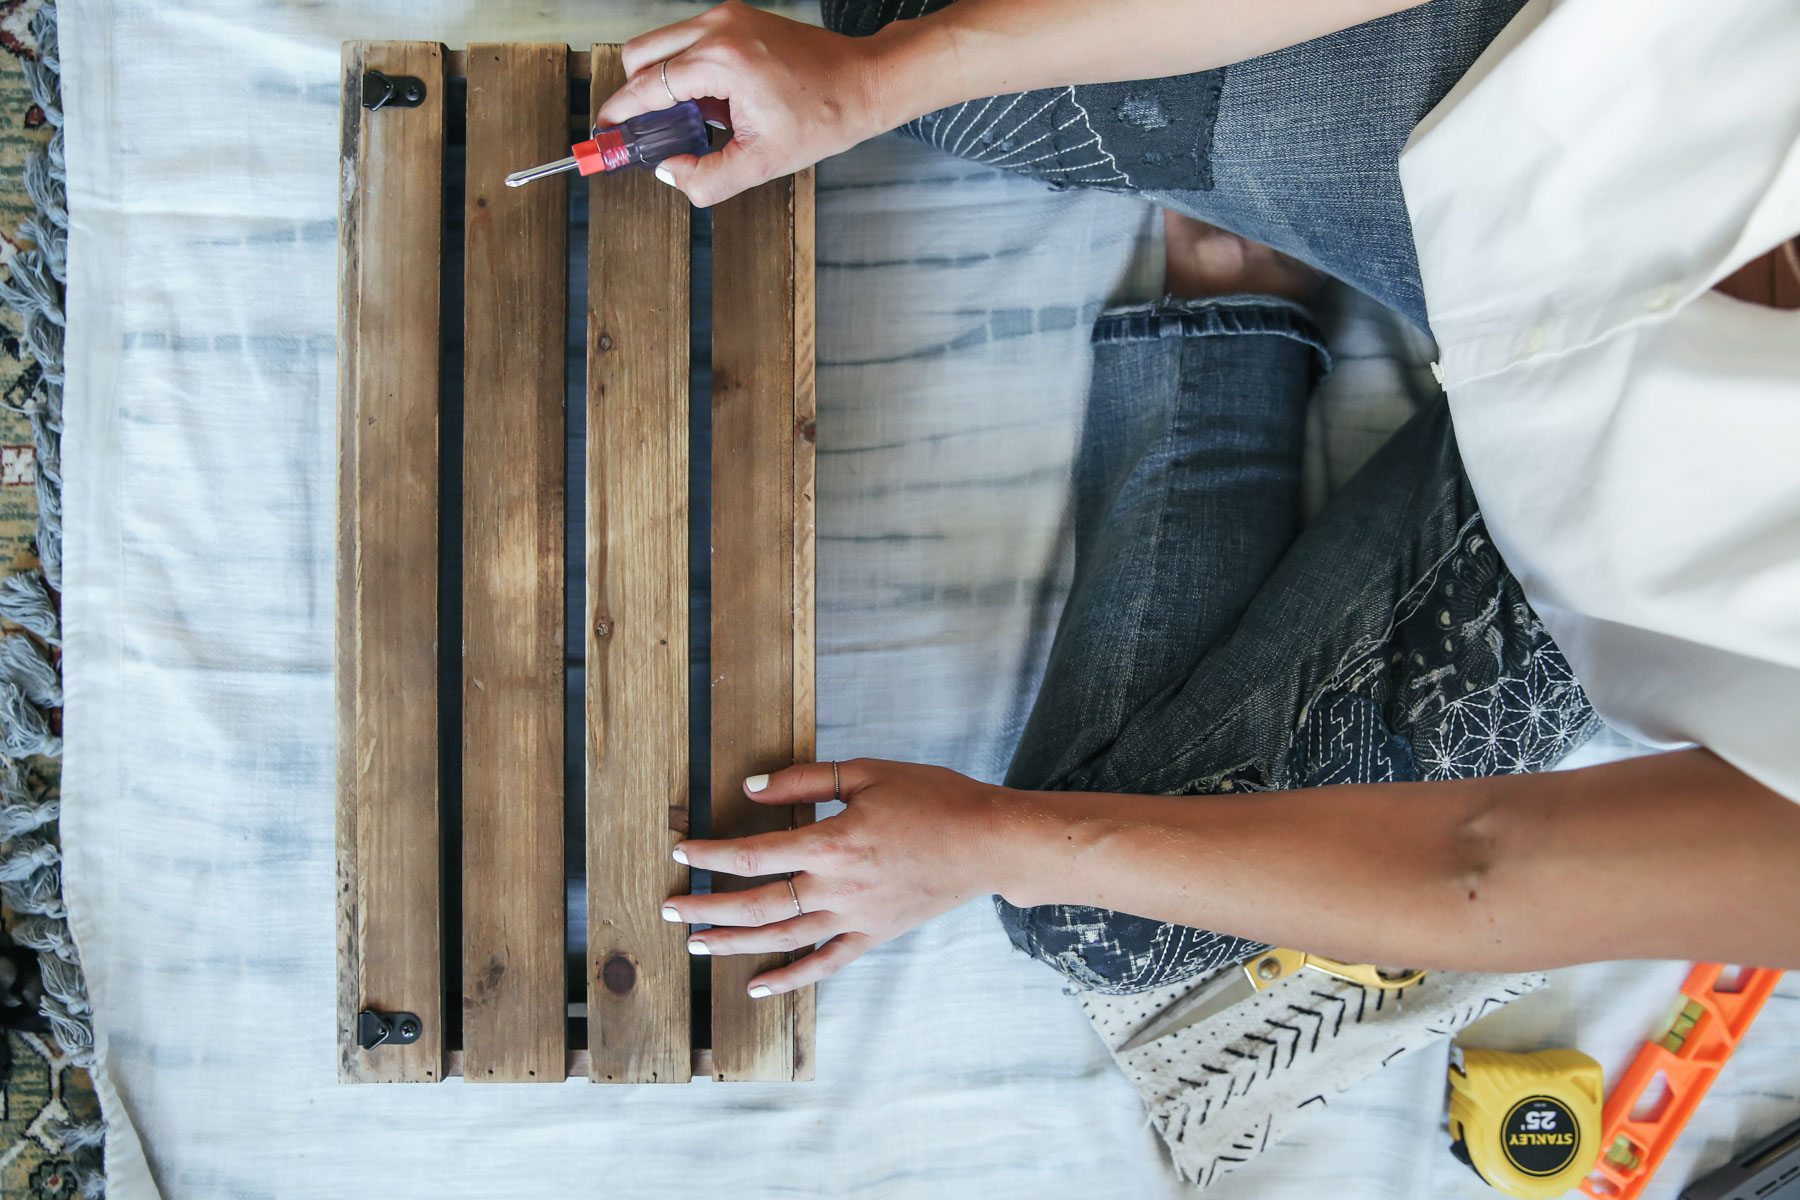
Step 1
Start by adding hooks to your wooden crate. You can buy hooks that come with the right screws, just make sure they can hold a decent amount of weight. Simply screw them on the top corners with a screwdriver.
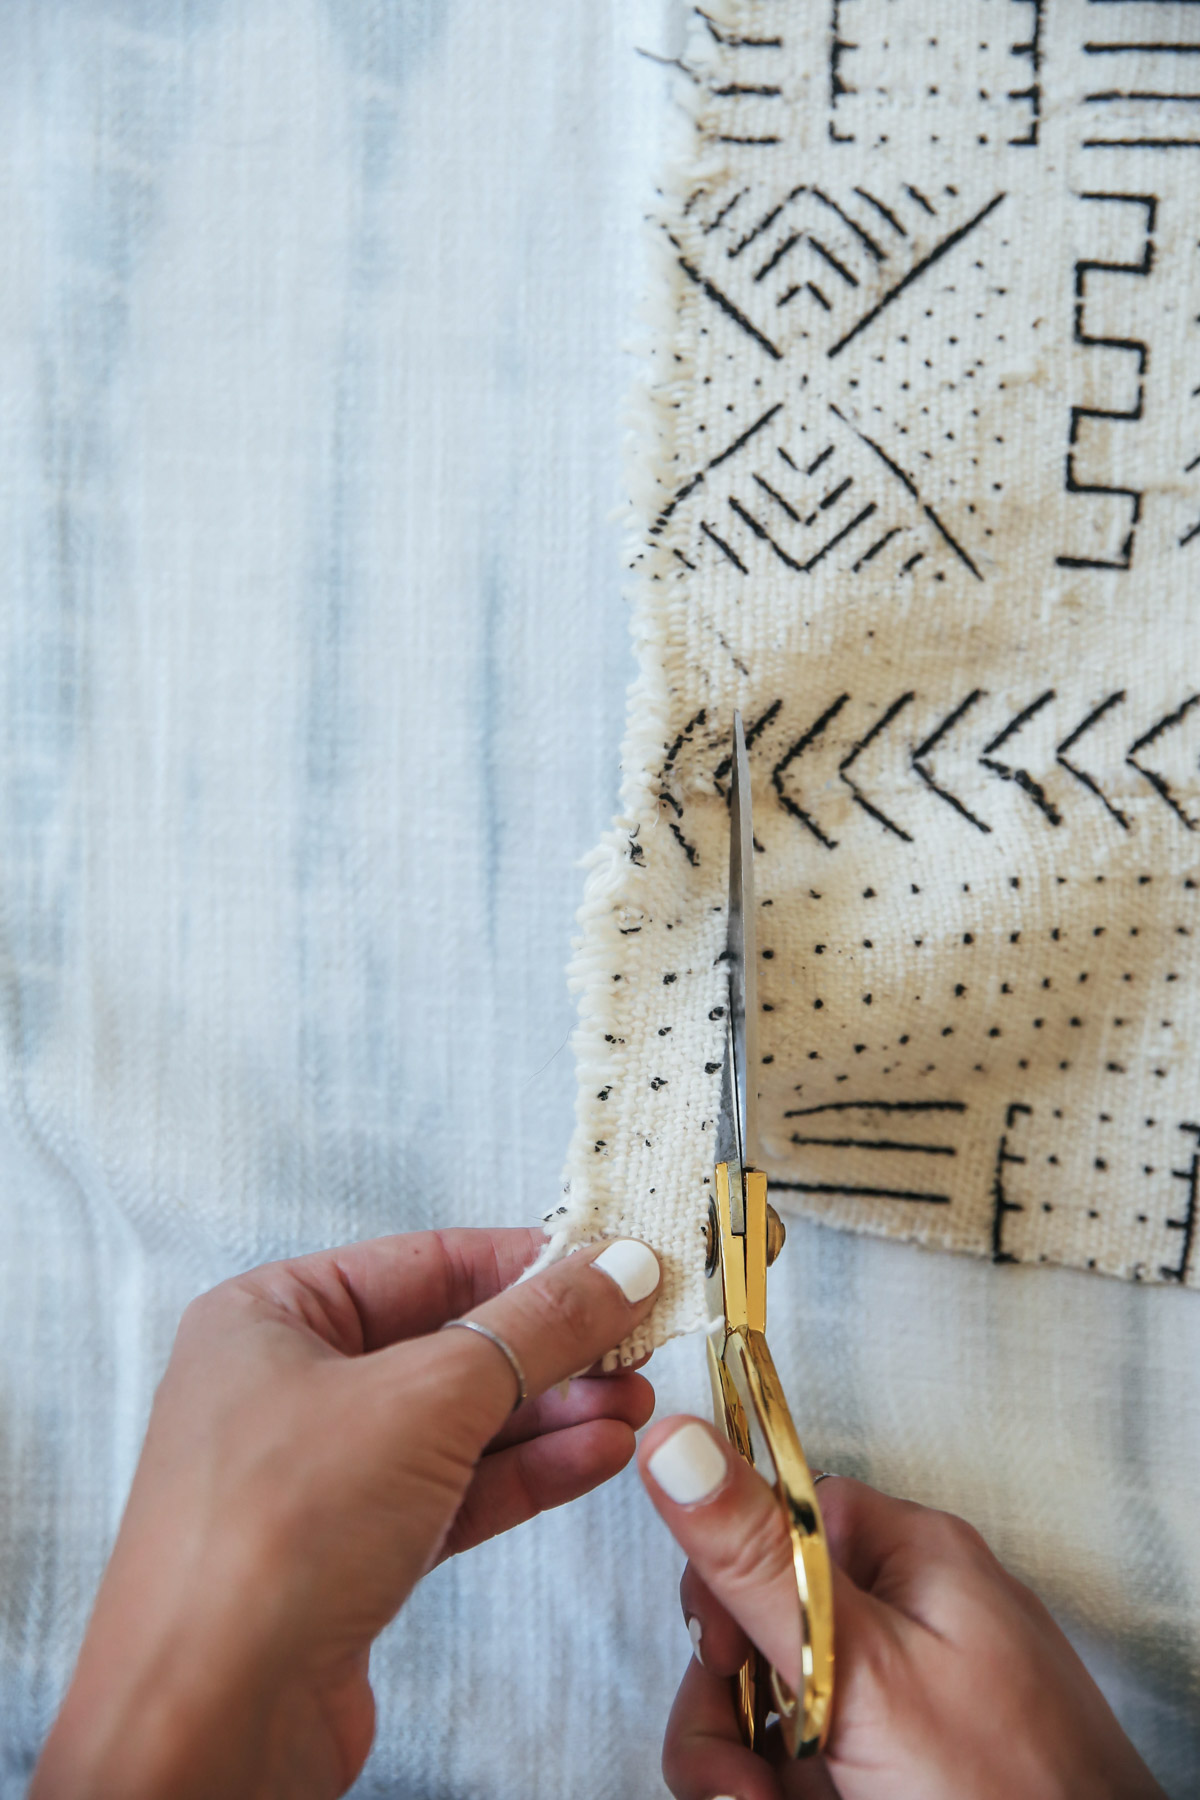
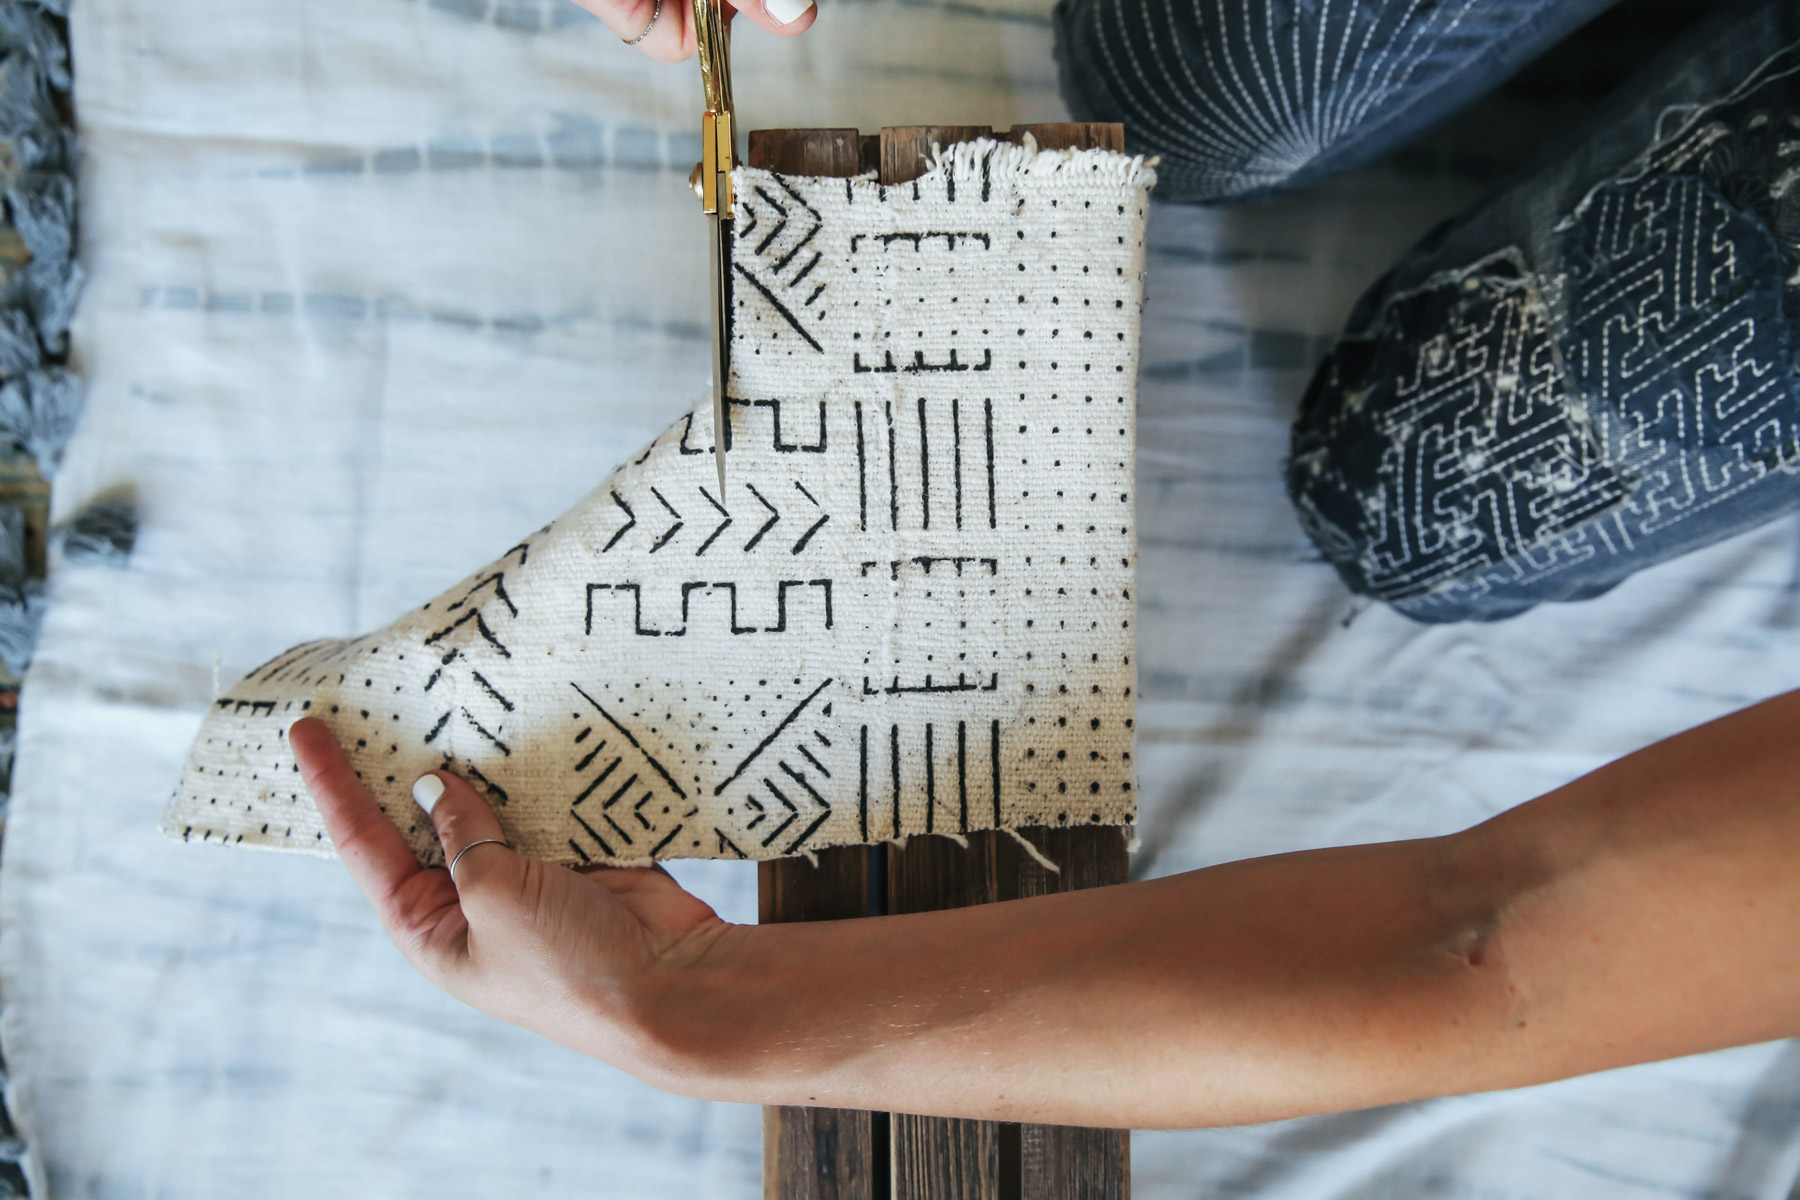
Step 2
Now it’s time to cut your fabric. Make sure it’s wide enough so that it will hold your wine bottles in place. Measure the correct length by holding it up to your crate and adding a couple inches on either end.
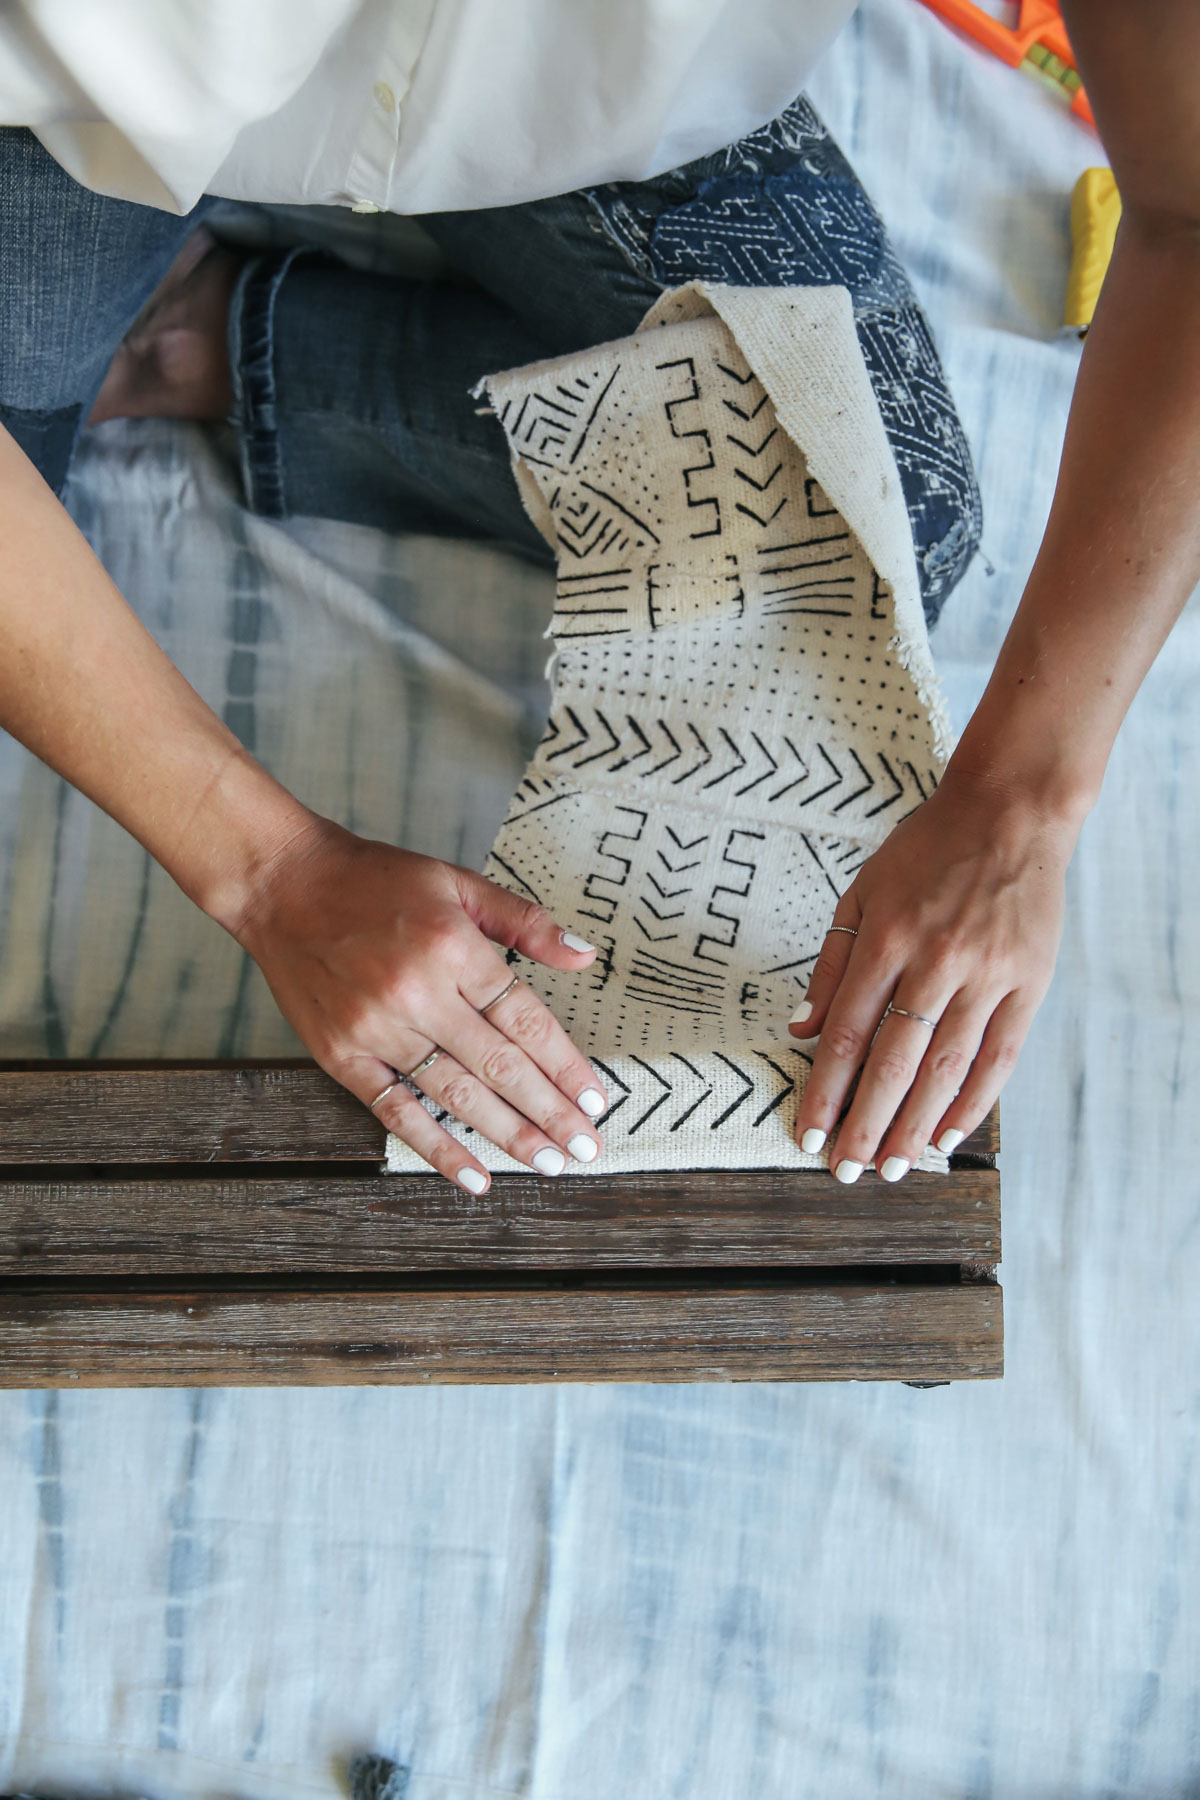
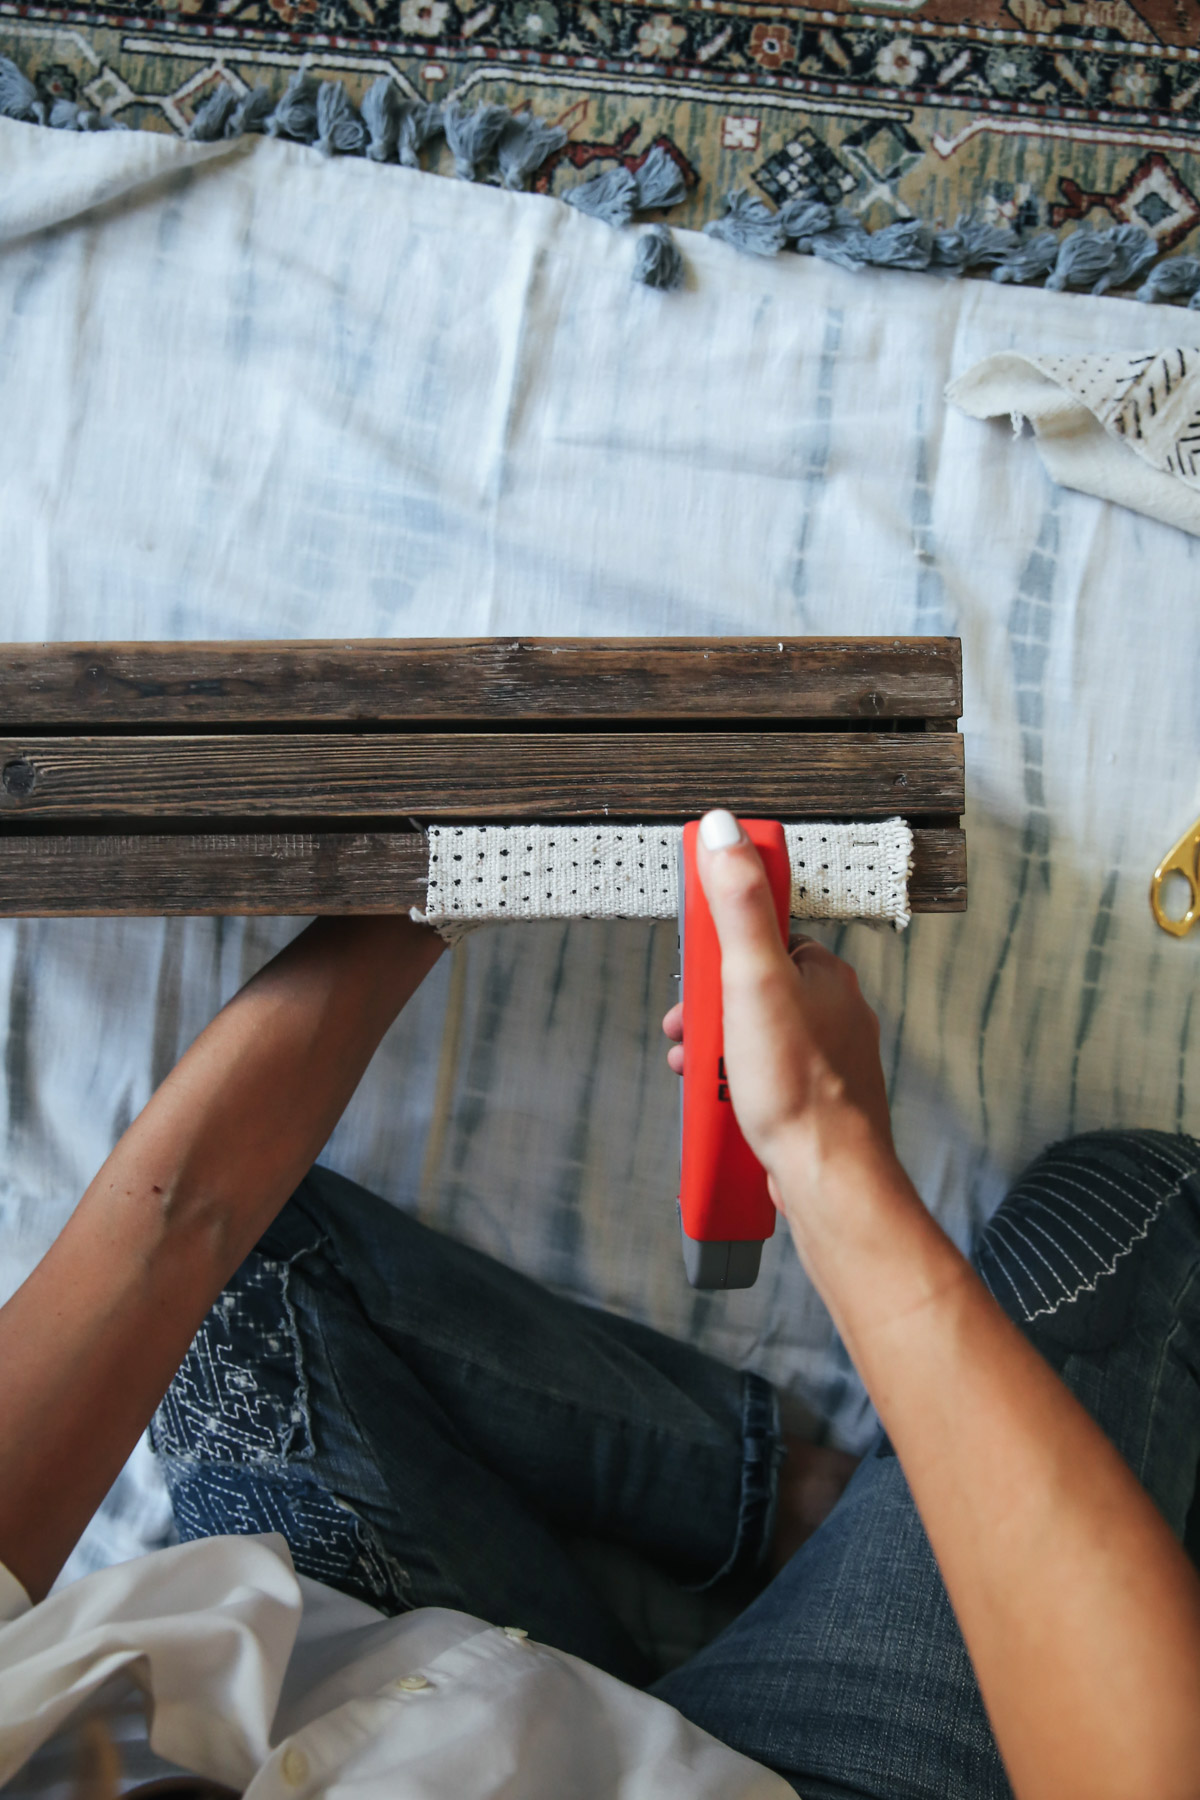
Step 3
Use your staple gun to secure the fabric to the crate. Start by wrapping the fabric around one plank of wood at the top of the crate, stapling it on the inside of the crate. Then wrap it tightly around a plank of wood at the bottom of the crate. You may not be able to reach the inside of the crate to staple at this point, so you can staple the fabric to the bottom of the crate. (No one will see the staples since it’s at the bottom).
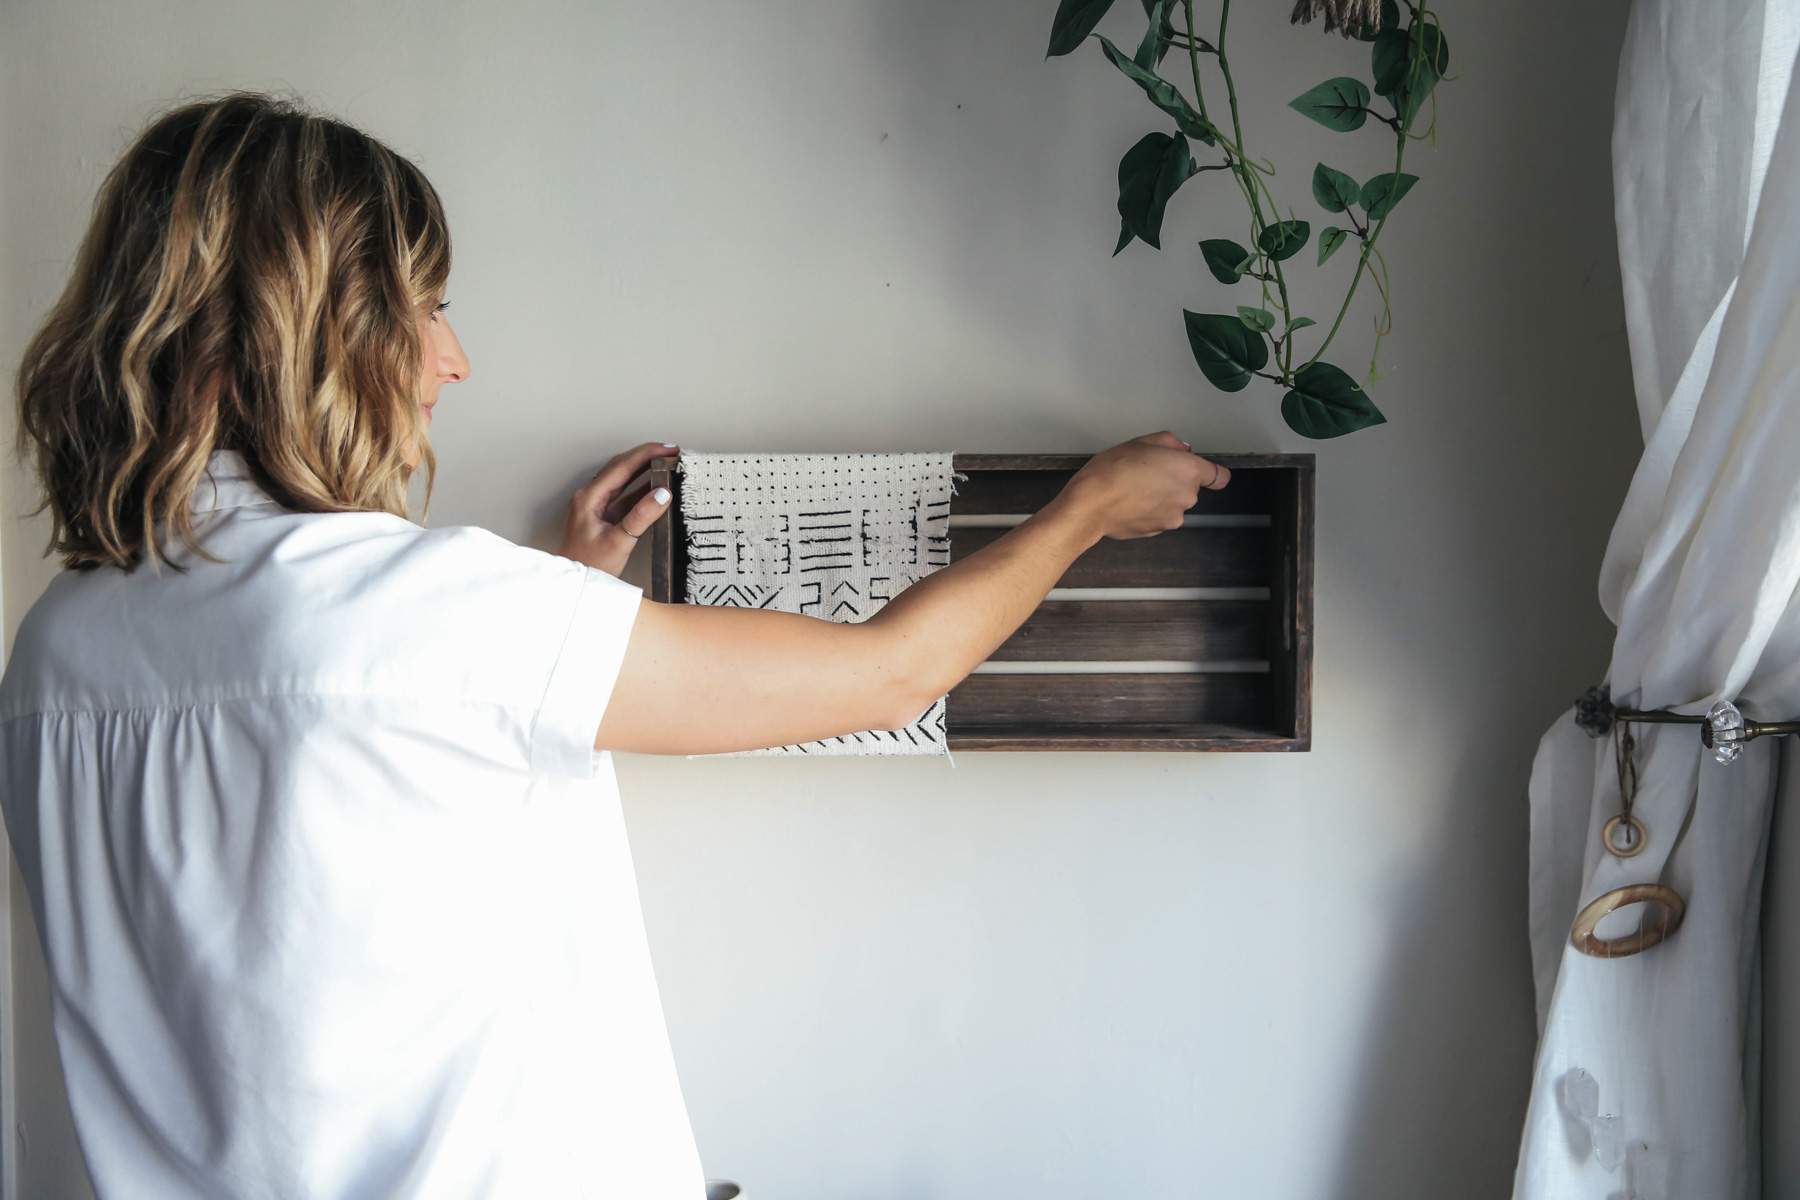
Step 4
Now it’s time to hang your wine rack! Start by measuring the distance between the two hooks on the back of the crate. Then hold up your measuring tape on the wall where you’d like the top of the wine rack to be. Using your leveler to make sure you hold the measuring tape straight, mark either end (on the wall) where the hooks will be. Use your electric screwdriver to secure two screws into the wall, one on each mark. Don’t screw it in all the way because your hooks will hang on the edge of the screws.


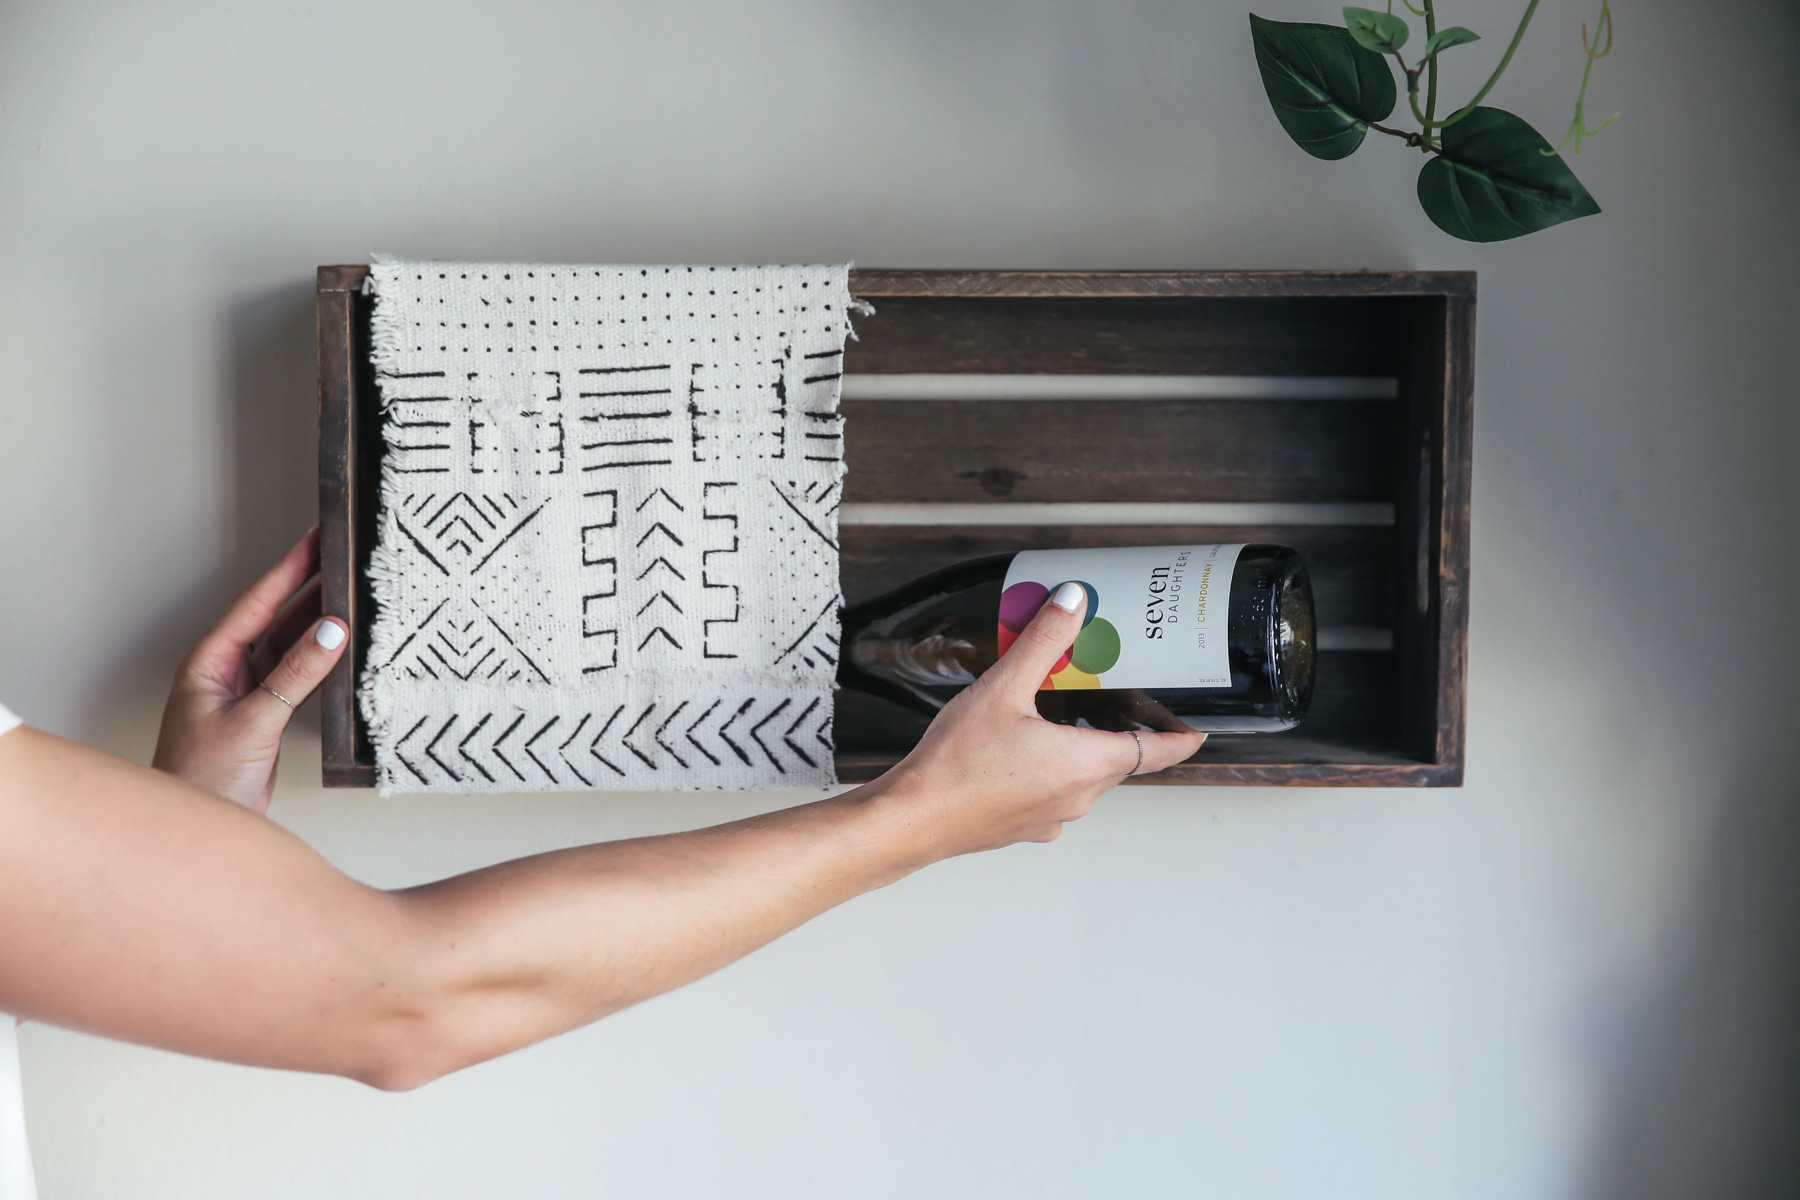
Step 5
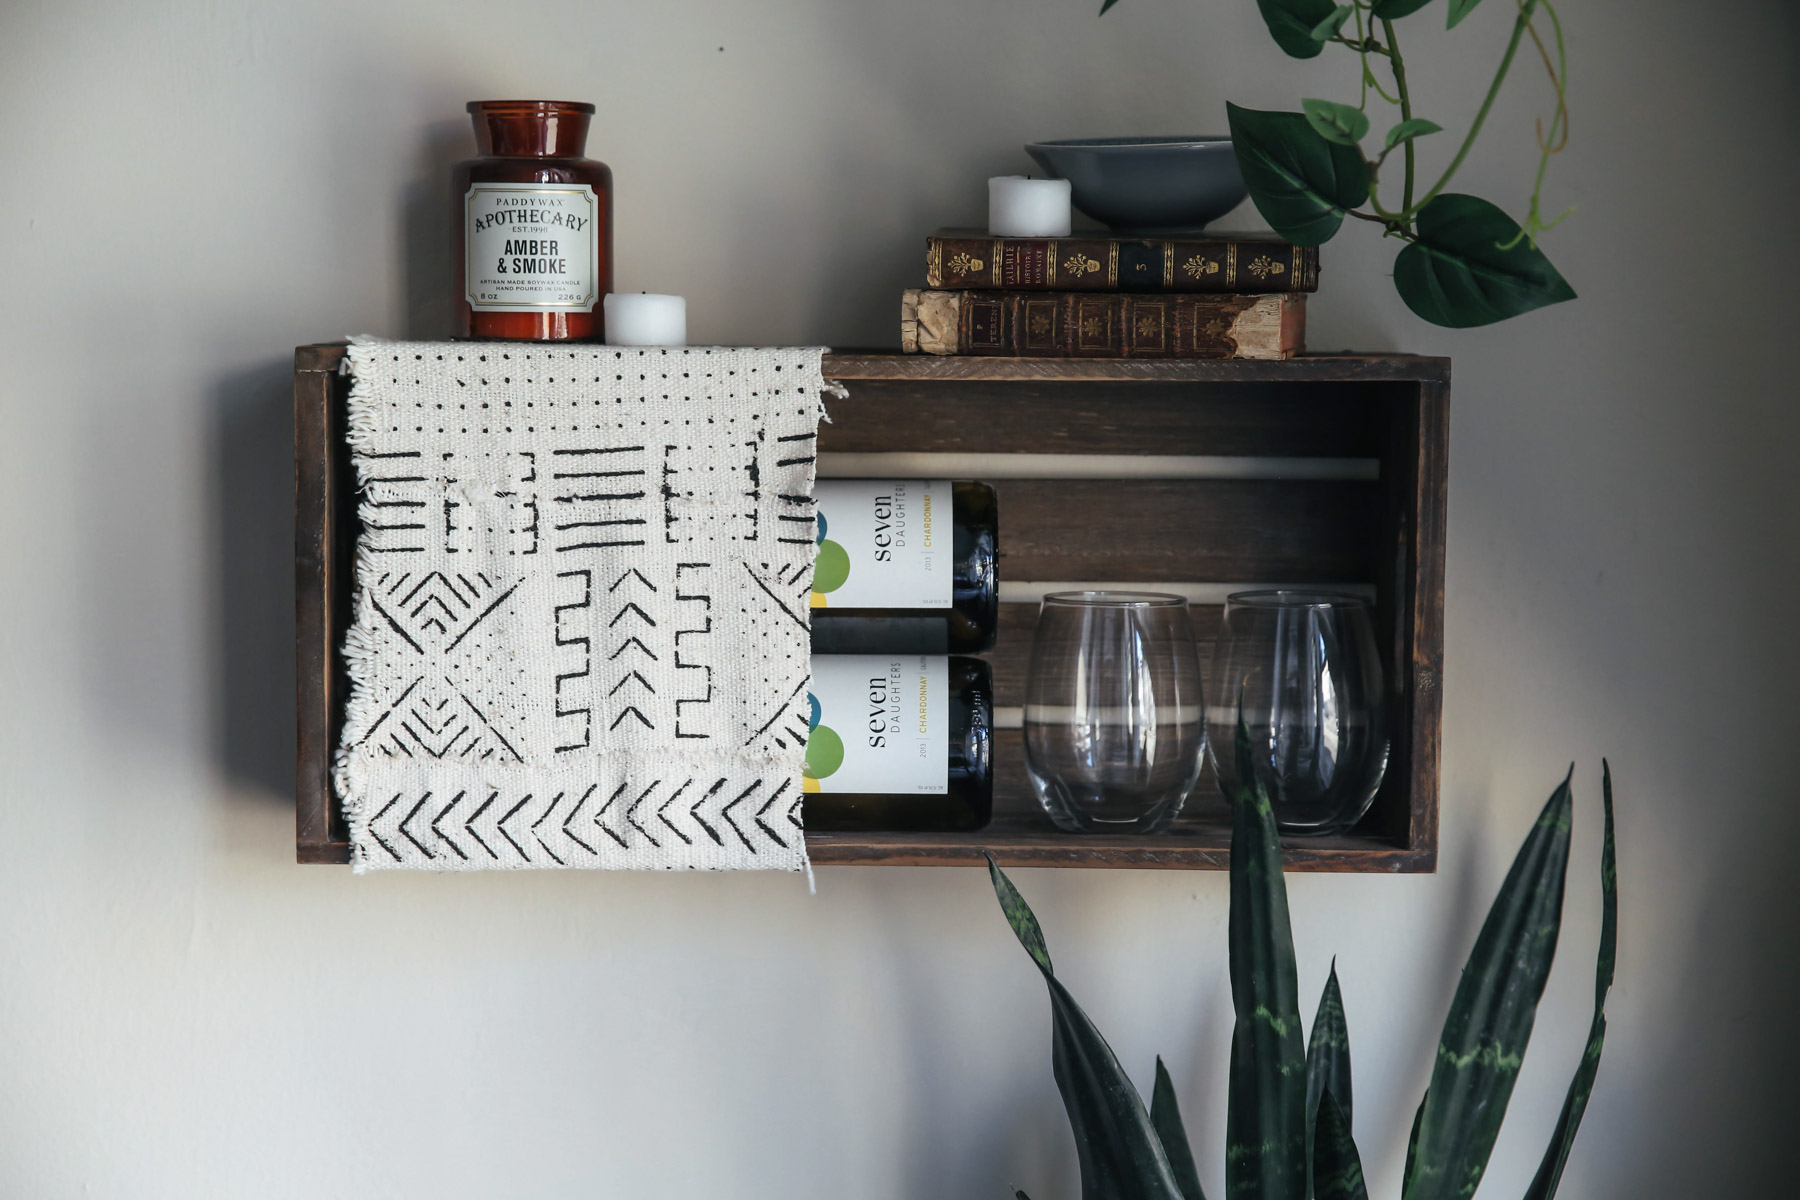
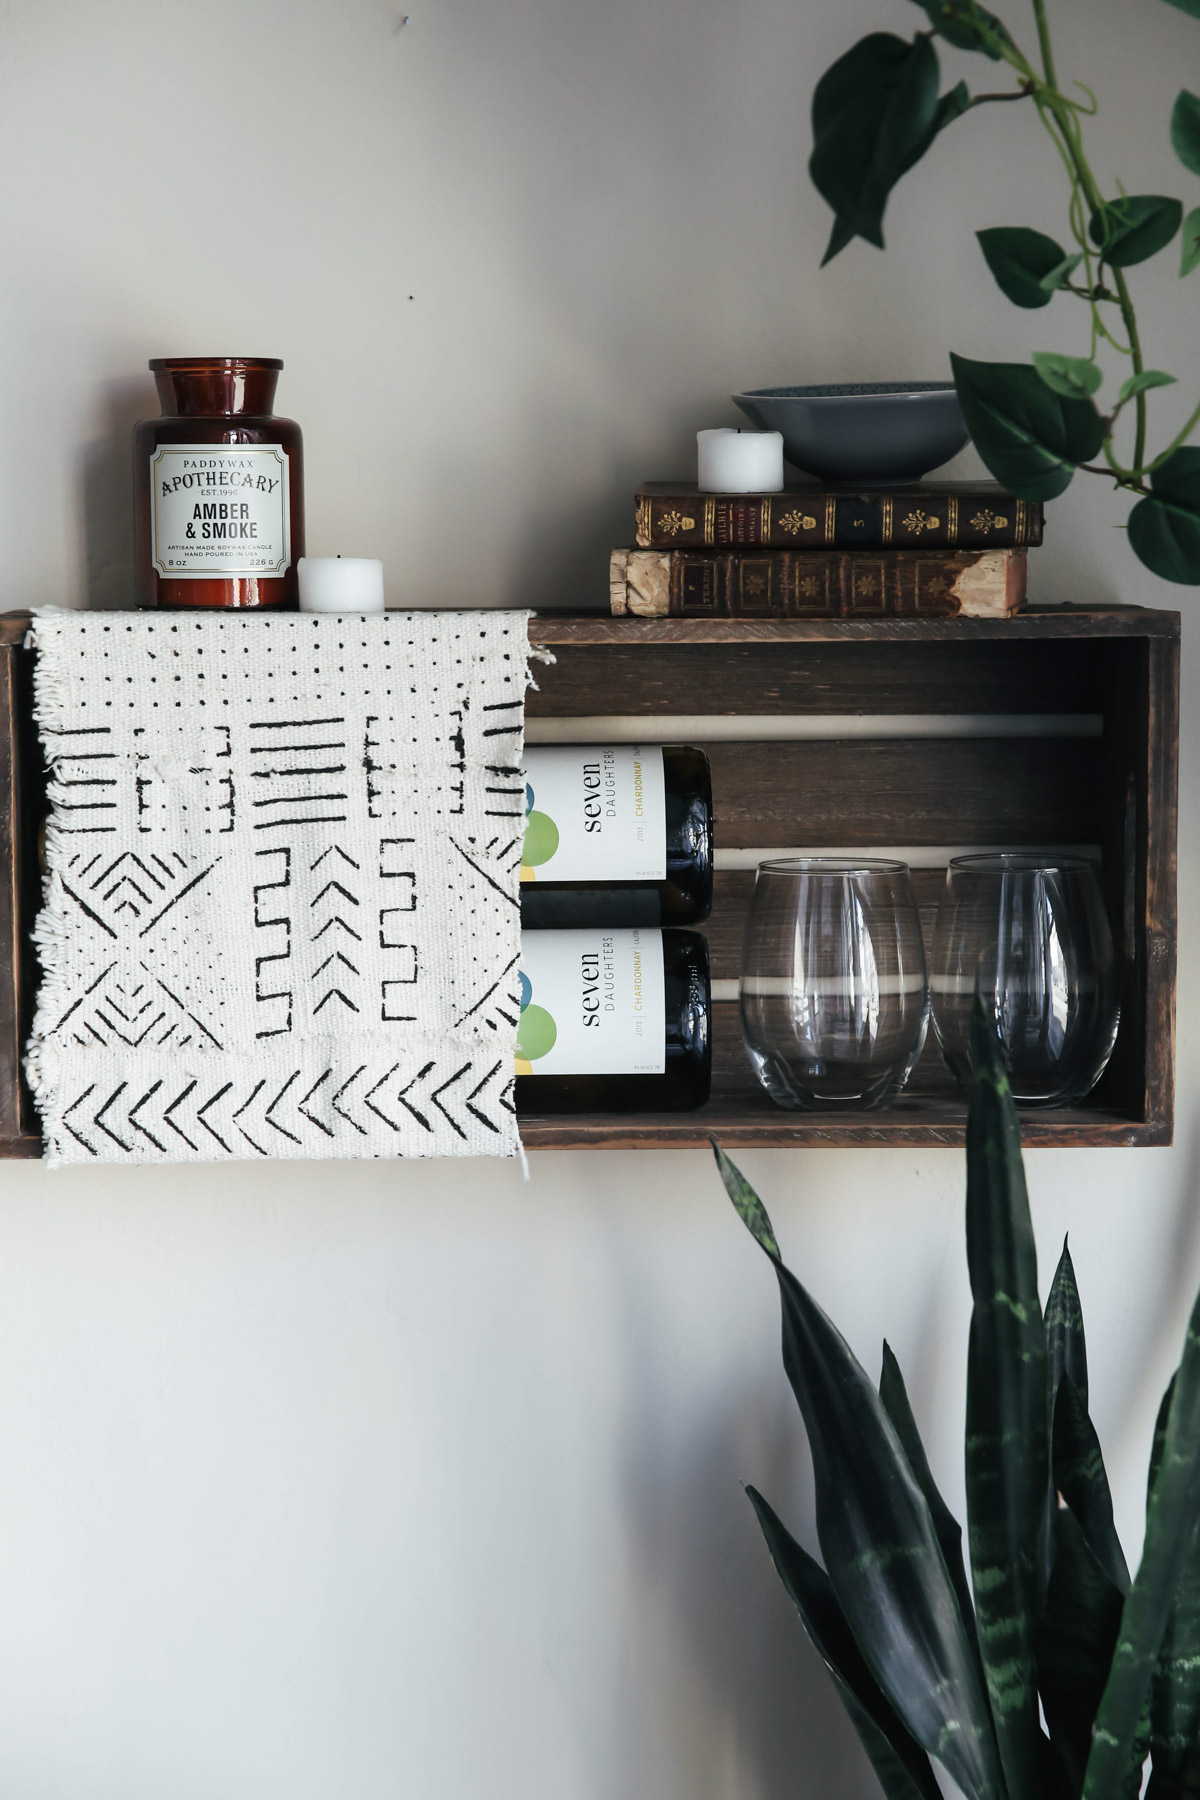
Now it’s time to add your wine! I went with a smaller crate that fits two wine bottles and two glasses, but you could always size up to fit more. Of course, I stocked mine full of Seven Daughters Chardonnay, my go-to! The fabric helps keep the wine in place and there’s just enough room for two glasses.


Step 6
Finish by adding some small items to the top of the crate, like candles, flowers etc. This will help make your wine rack look complete. Rather than a big crate on your wall, it will feel more like a rustic shelf that happens to hold wine and other knick-knacks!

Thank you Seven Daughters Wine for sponsoring this post!


Allison Says
I LOVE this. My condo is fairly big, but I just have so much stuff on the counters that I definitely need to utilize my wall-space more.
Katherine McDermott Says
I love this! So cute and creative. We just bought a new home this month, and I can’t wait to decorate – so definitely trying this out!
Sarah Says
Your wine rack looks awesome and i have just a wine table. Now i have to make a plane i will make this type of wine rack where i take all bottles of wine with glass. I will make 5 feet long and 2.7 feet width. This type of wine cabin i will make in 5 days.