Yes, that is my pet pig. Pretty appropriate for a pigtails tutorial, I think!
Ever just need a lazy hair day? I do. If I’m honest, most days are lazy hair days for me! I hate washing my hair, and after about 2-3 days of dry shampoo I have to pull a rabbit out of the hat, so to speak. Amanda caught me on such a day! I was headed to a brunch that Amanda attended as well, and I was having one of those mornings. By the time I finished all the last minute to-dos I didn’t have time to wash and blow dry my hair before the event. I was running late and had to do something quick, easy, and dirty hair friendly.
Amanda liked my little hair trick so much that she asked me to share it with you all! These braids take just a few minutes and are incredibly easy to throw in last minute to make your hair look stylish and cute. Throw a hat on top and no one’s the wiser ;).
Step 1: Texturize your hair!
I love using the Oribe texture spray to give my hair more hold for the braids. If you don’t have any texture spray, a light spritz of hairspray will do the trick.
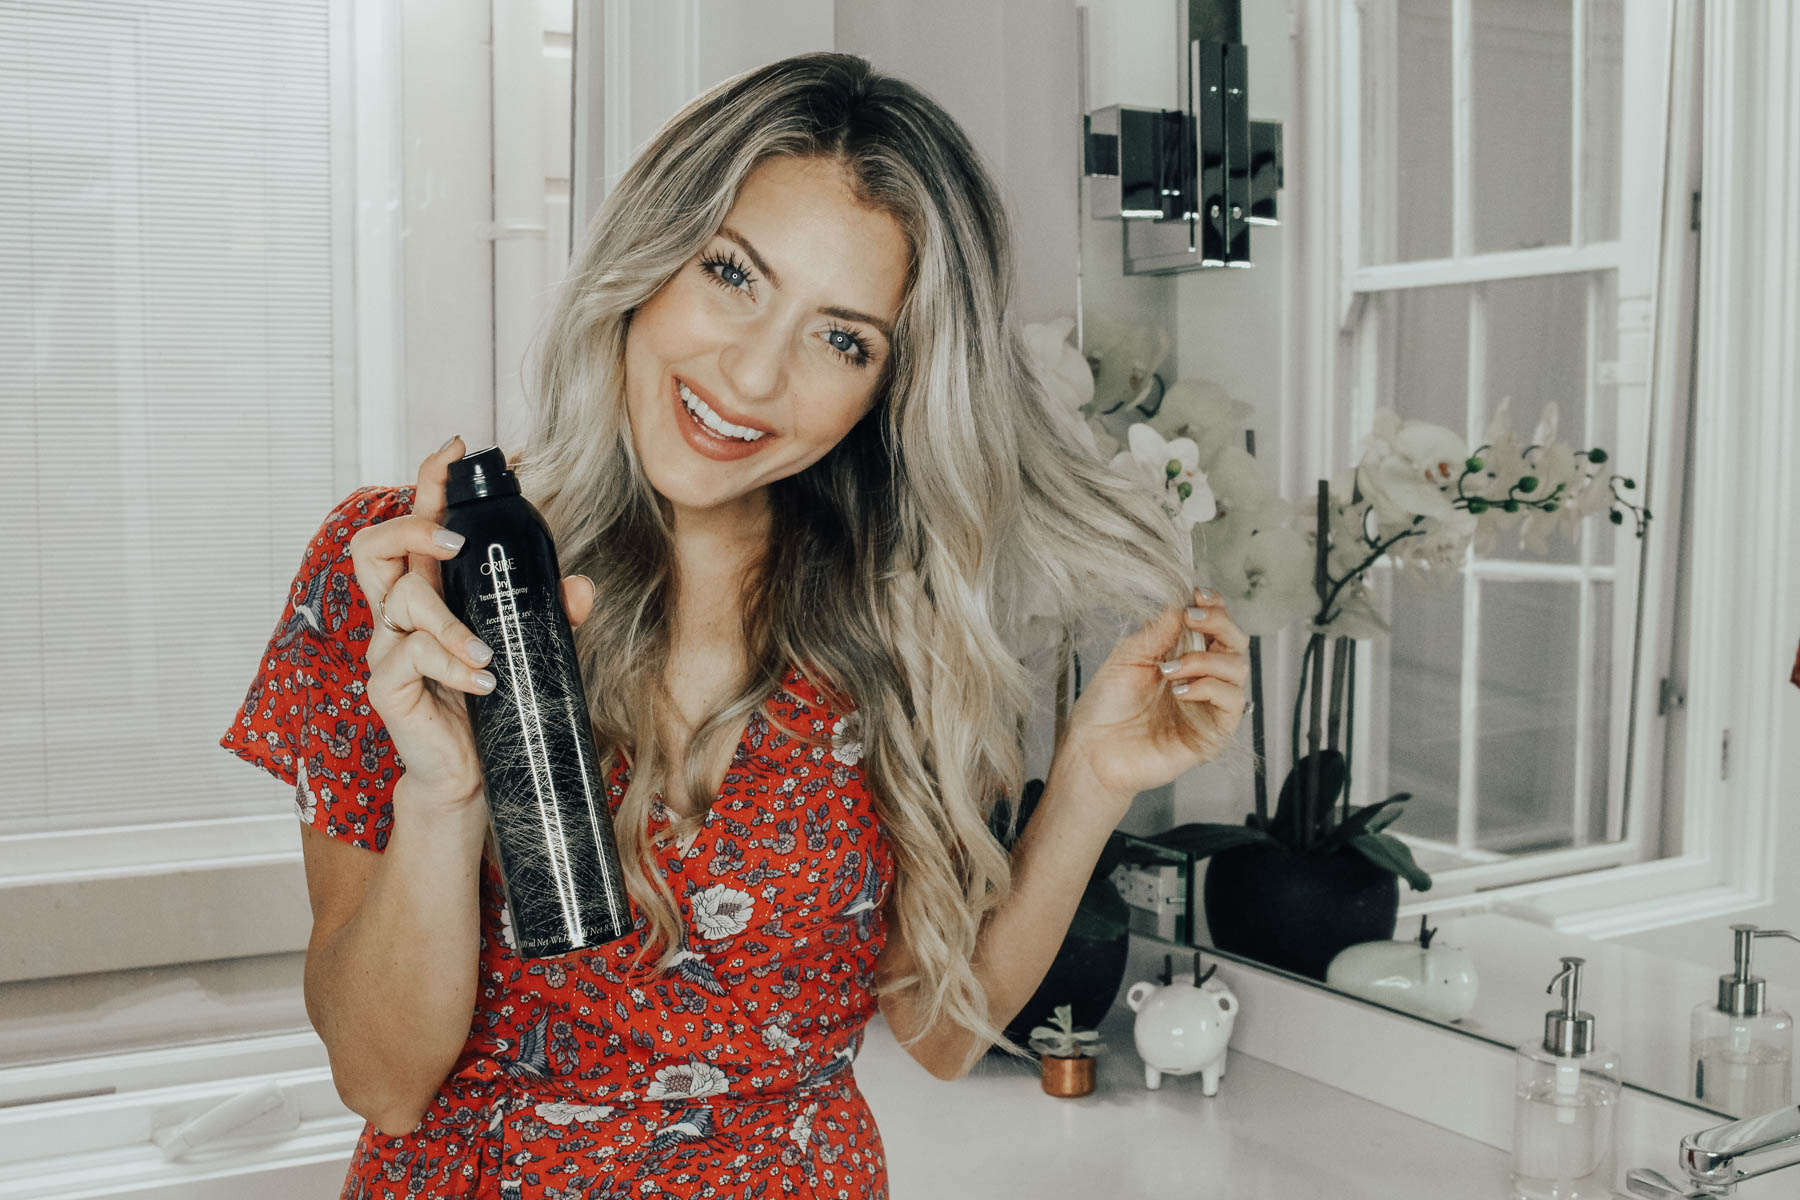
Step 2. Pigtails
Create classic, low pigtails down the middle or side part, whichever you prefer. I like the messy look so I don’t use a comb, I just do a messy part and then pigtail them up! (Did I mention I actually have a mini pig! Haha…yes, he’s pretty dang awesome!).
Step 3: Create a knot
For the knot, you literally tie your hair into a knot. Start by splitting the pony in half. Tie the two pieces into a knot by crossing the hair to create a number 4 (or backwards number 4) shape. Pull the hair through the hole you’ve created and pull tight. Secure a clear elastic at the base of the knot.
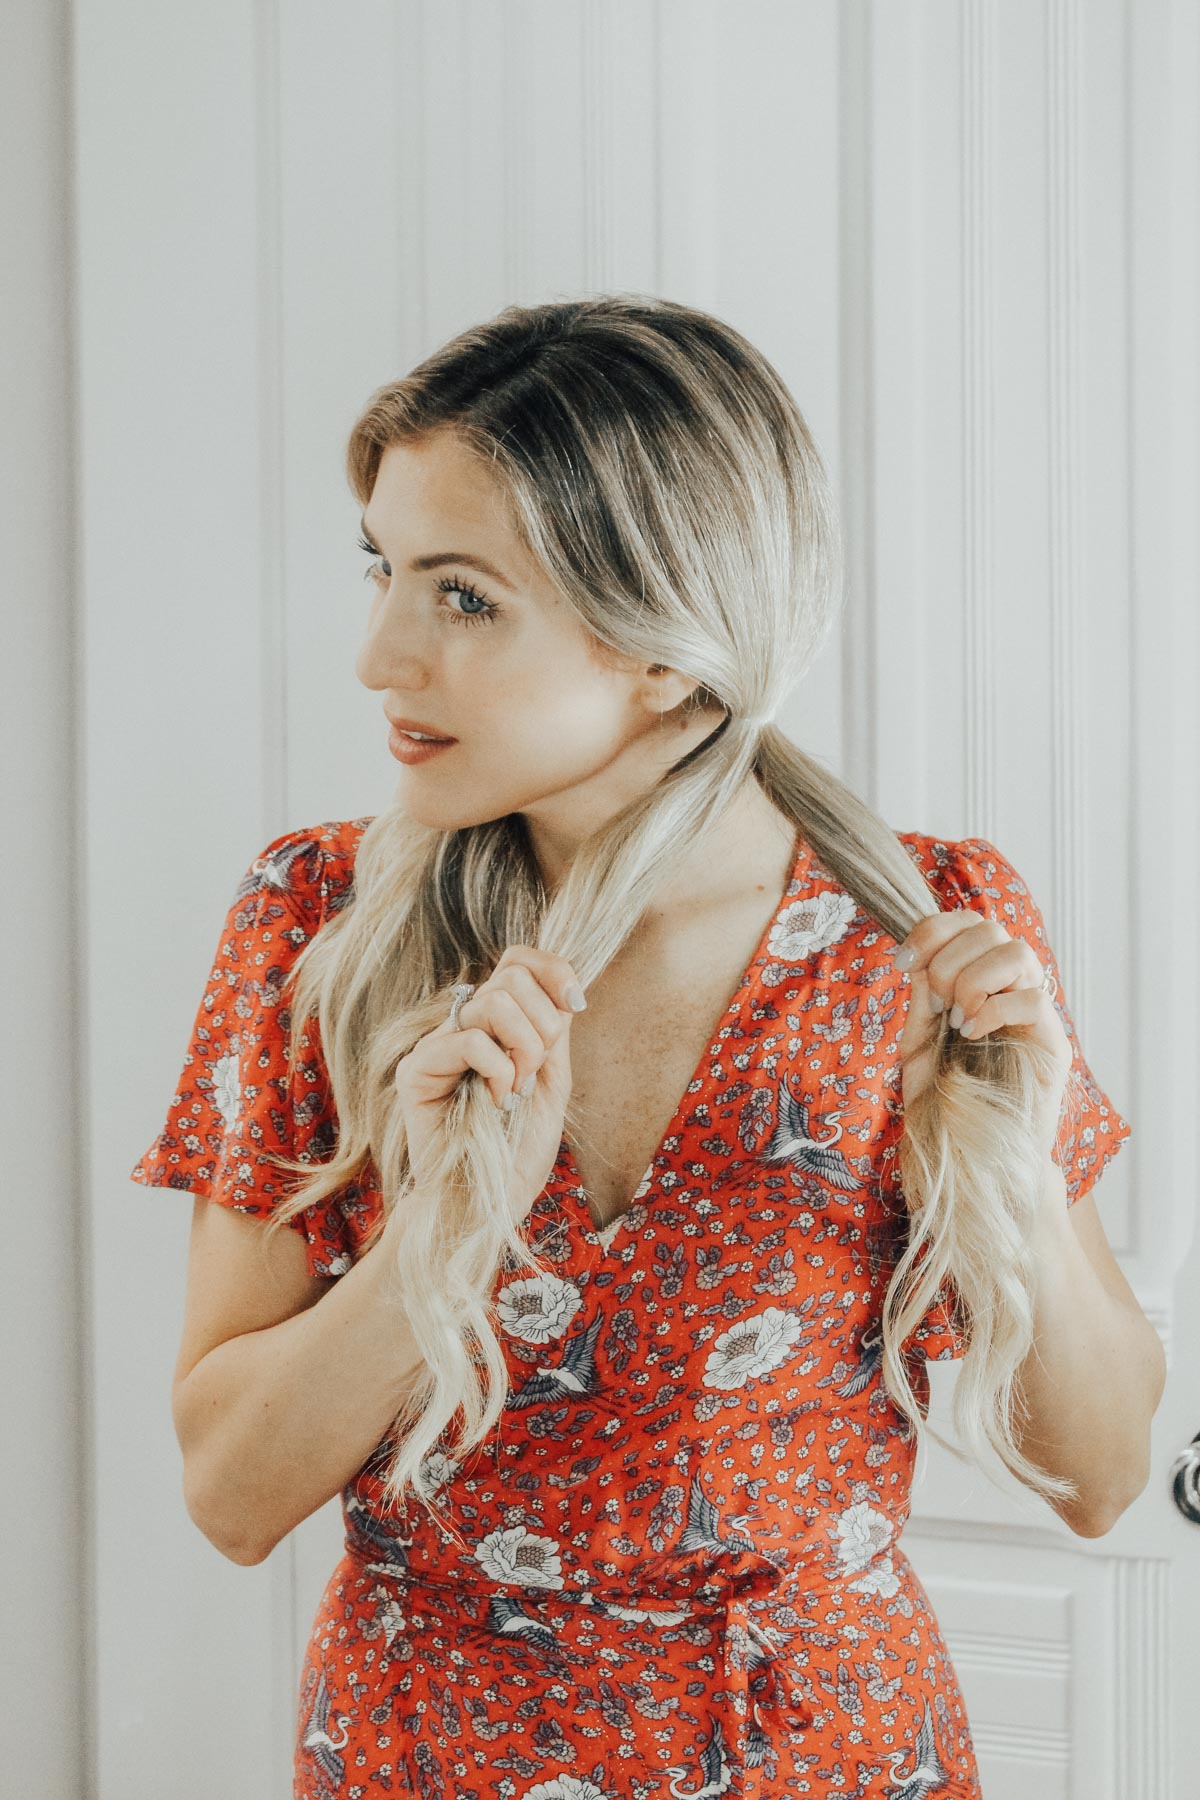
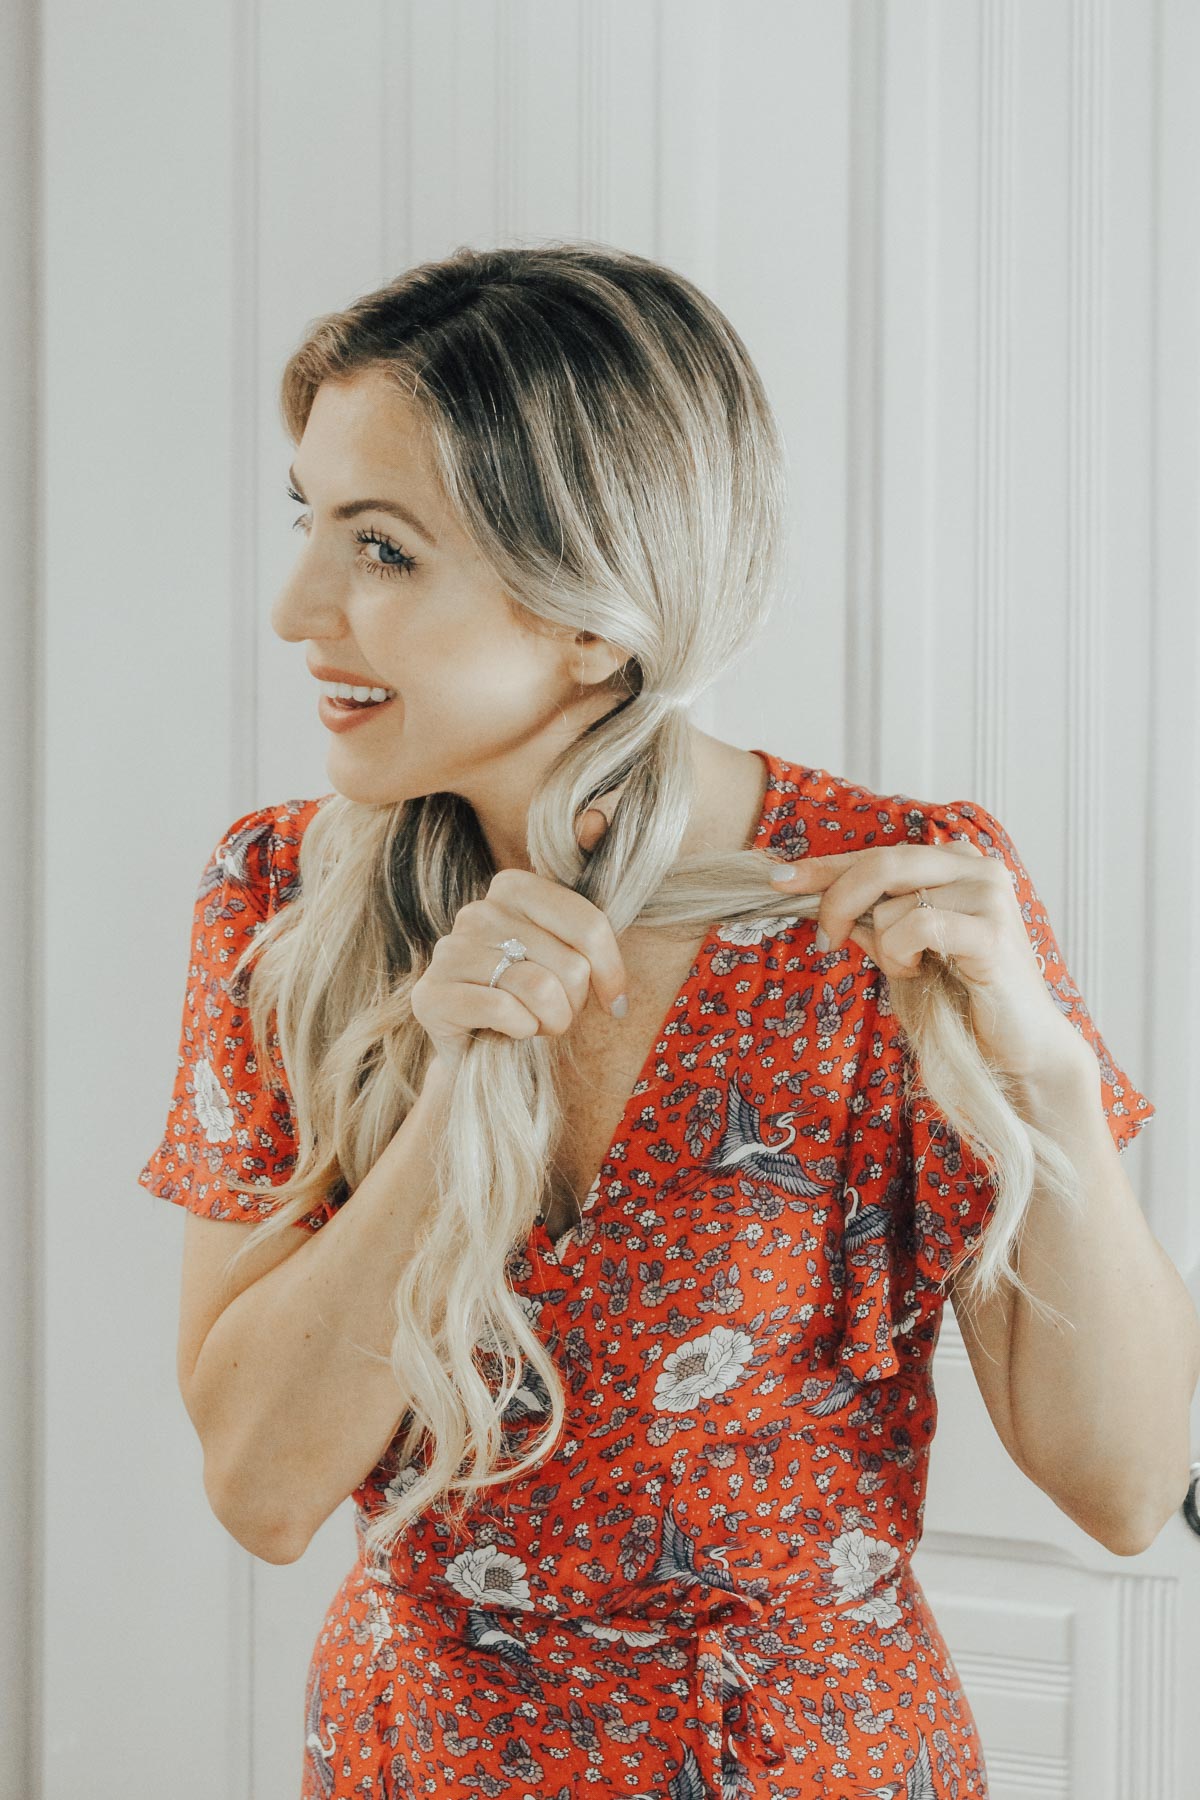
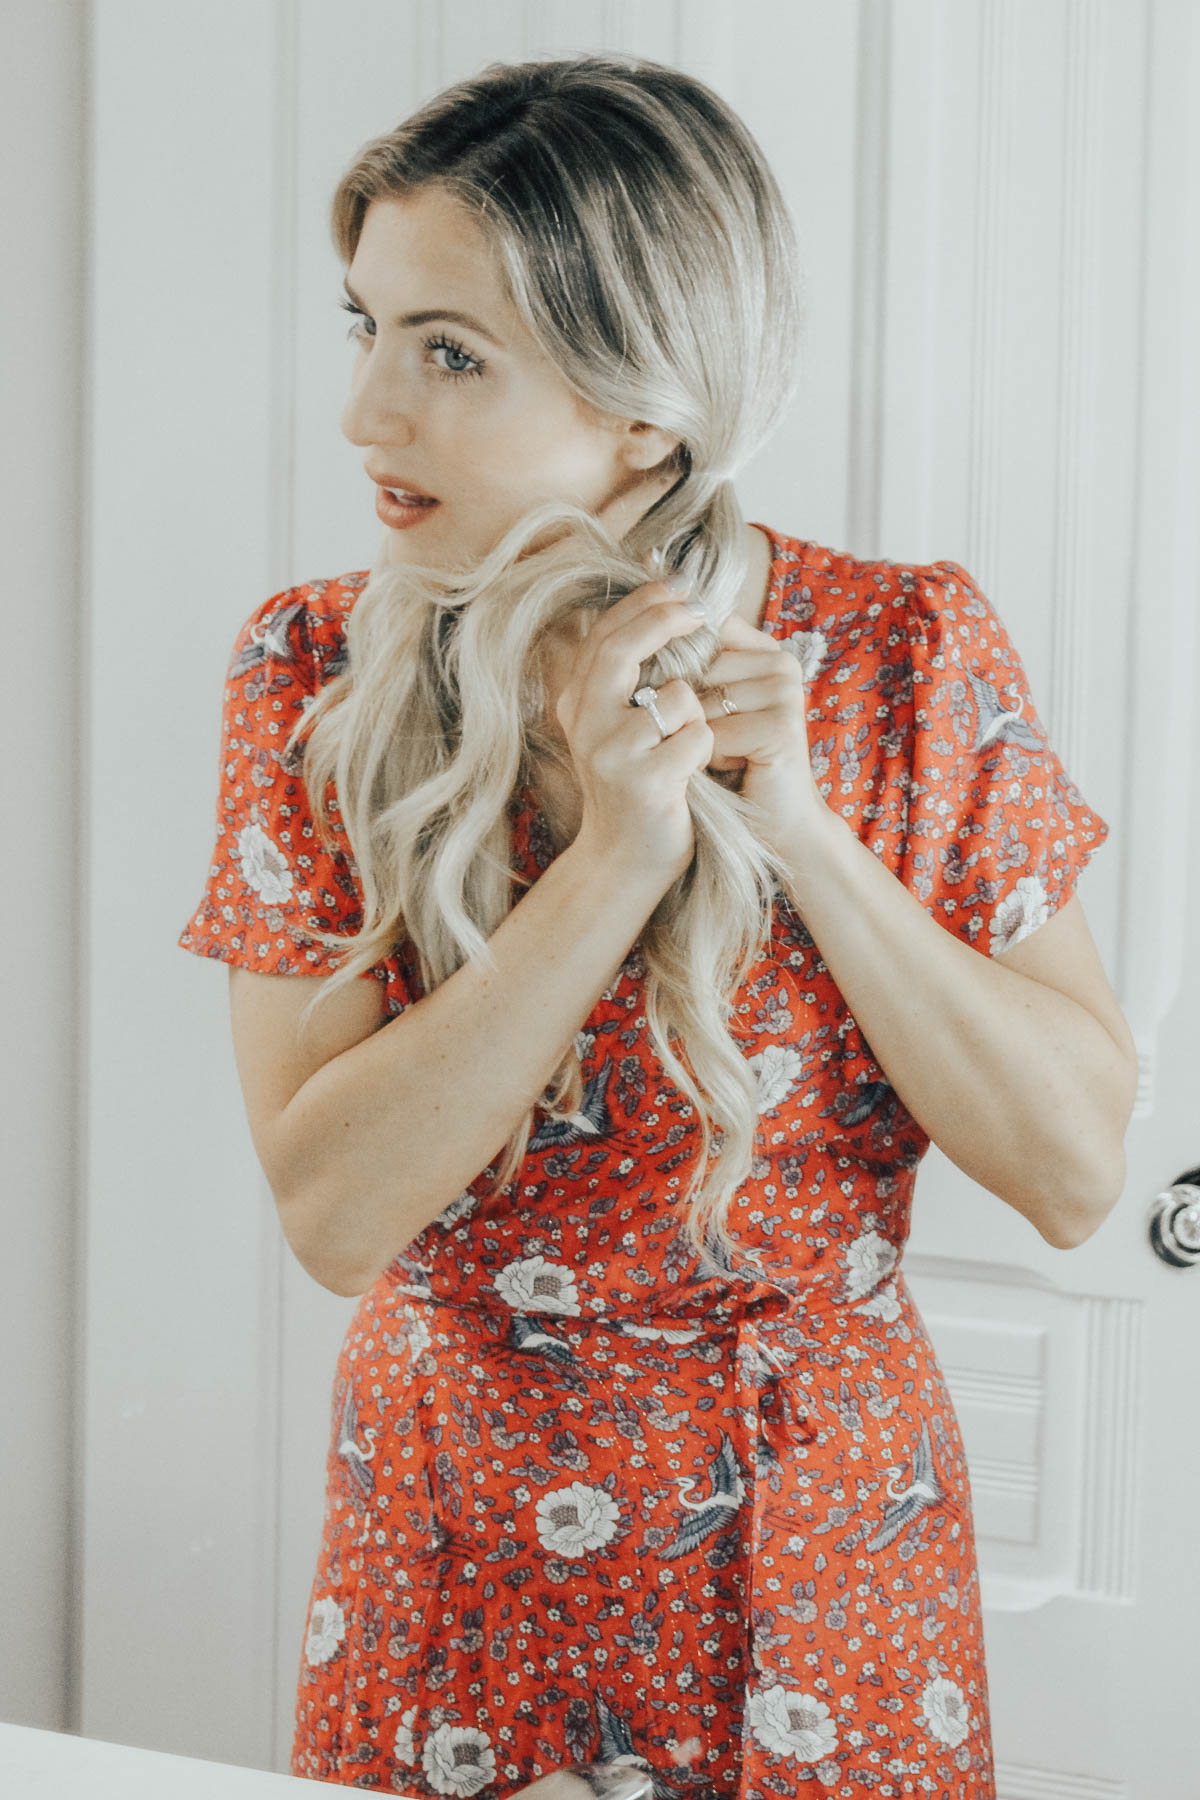
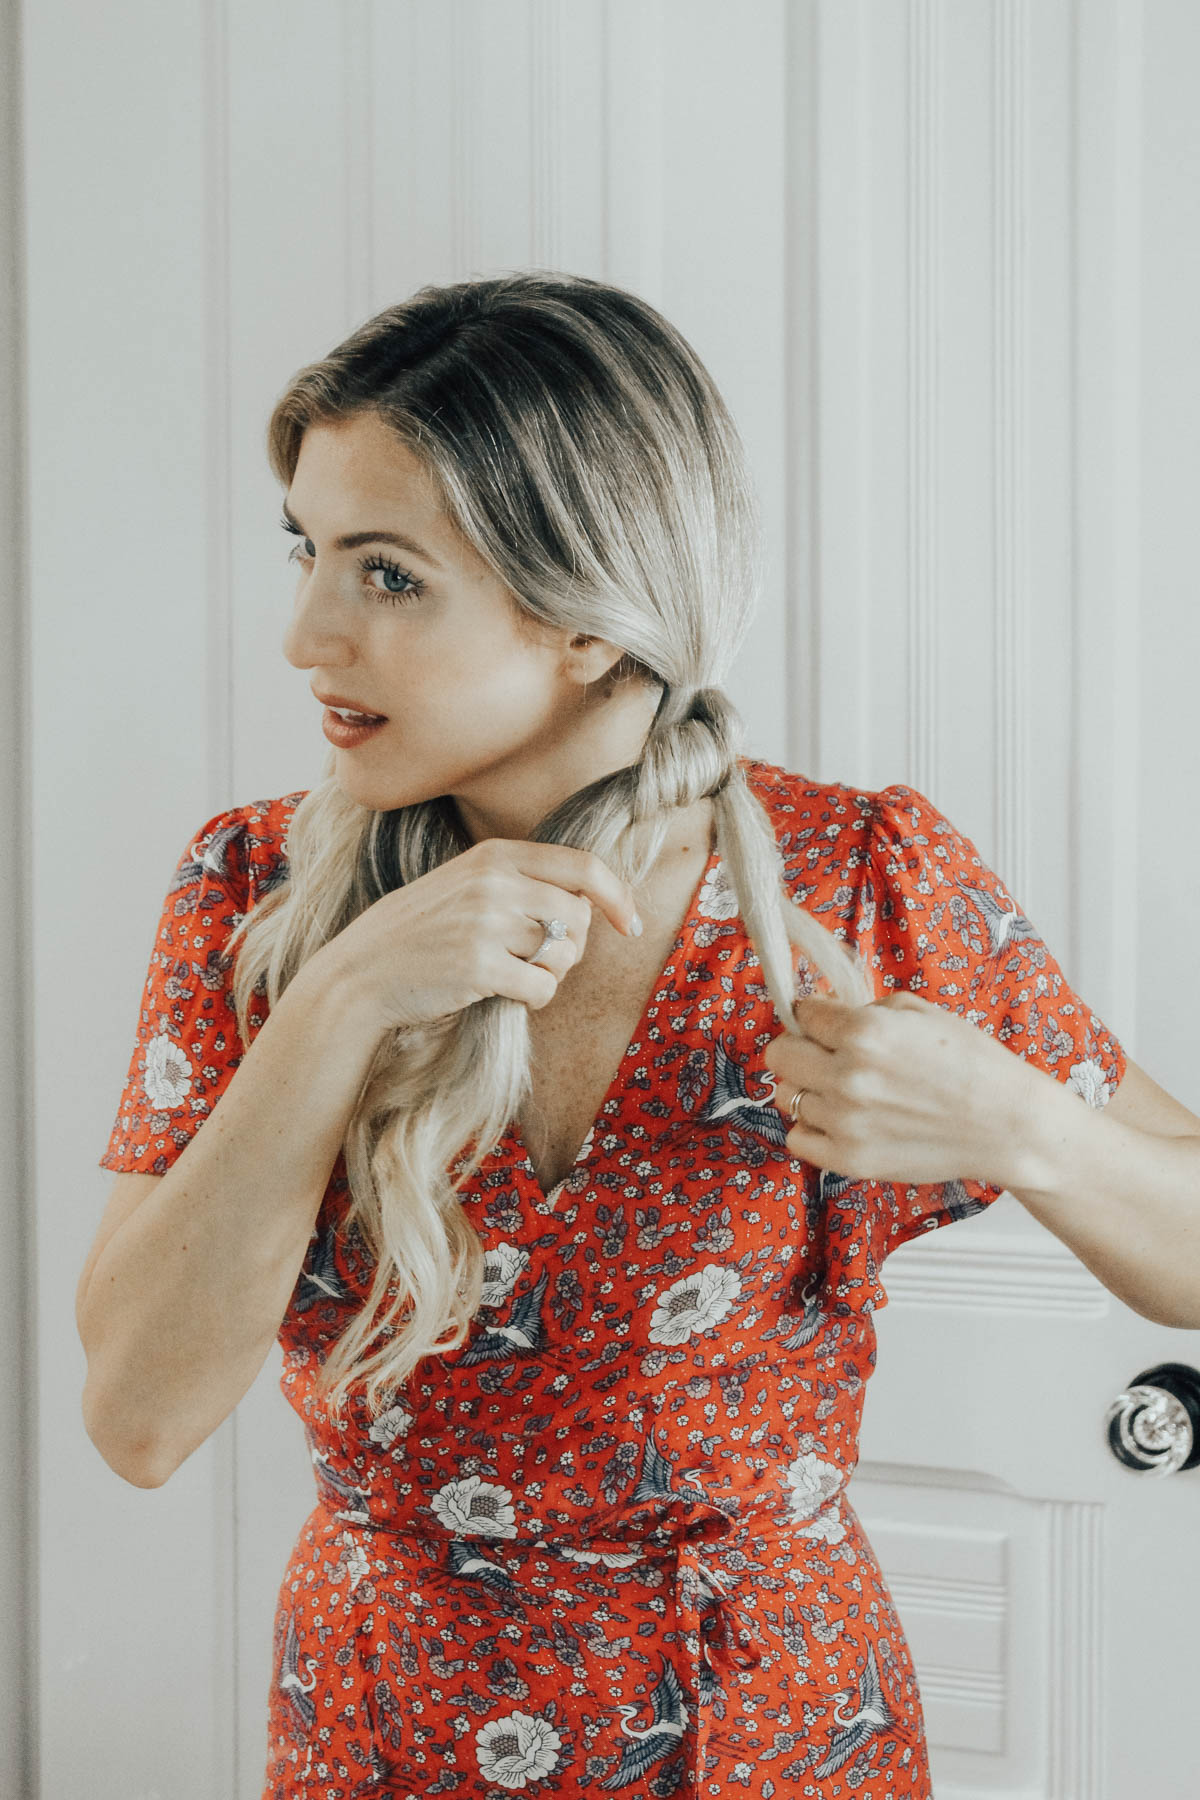
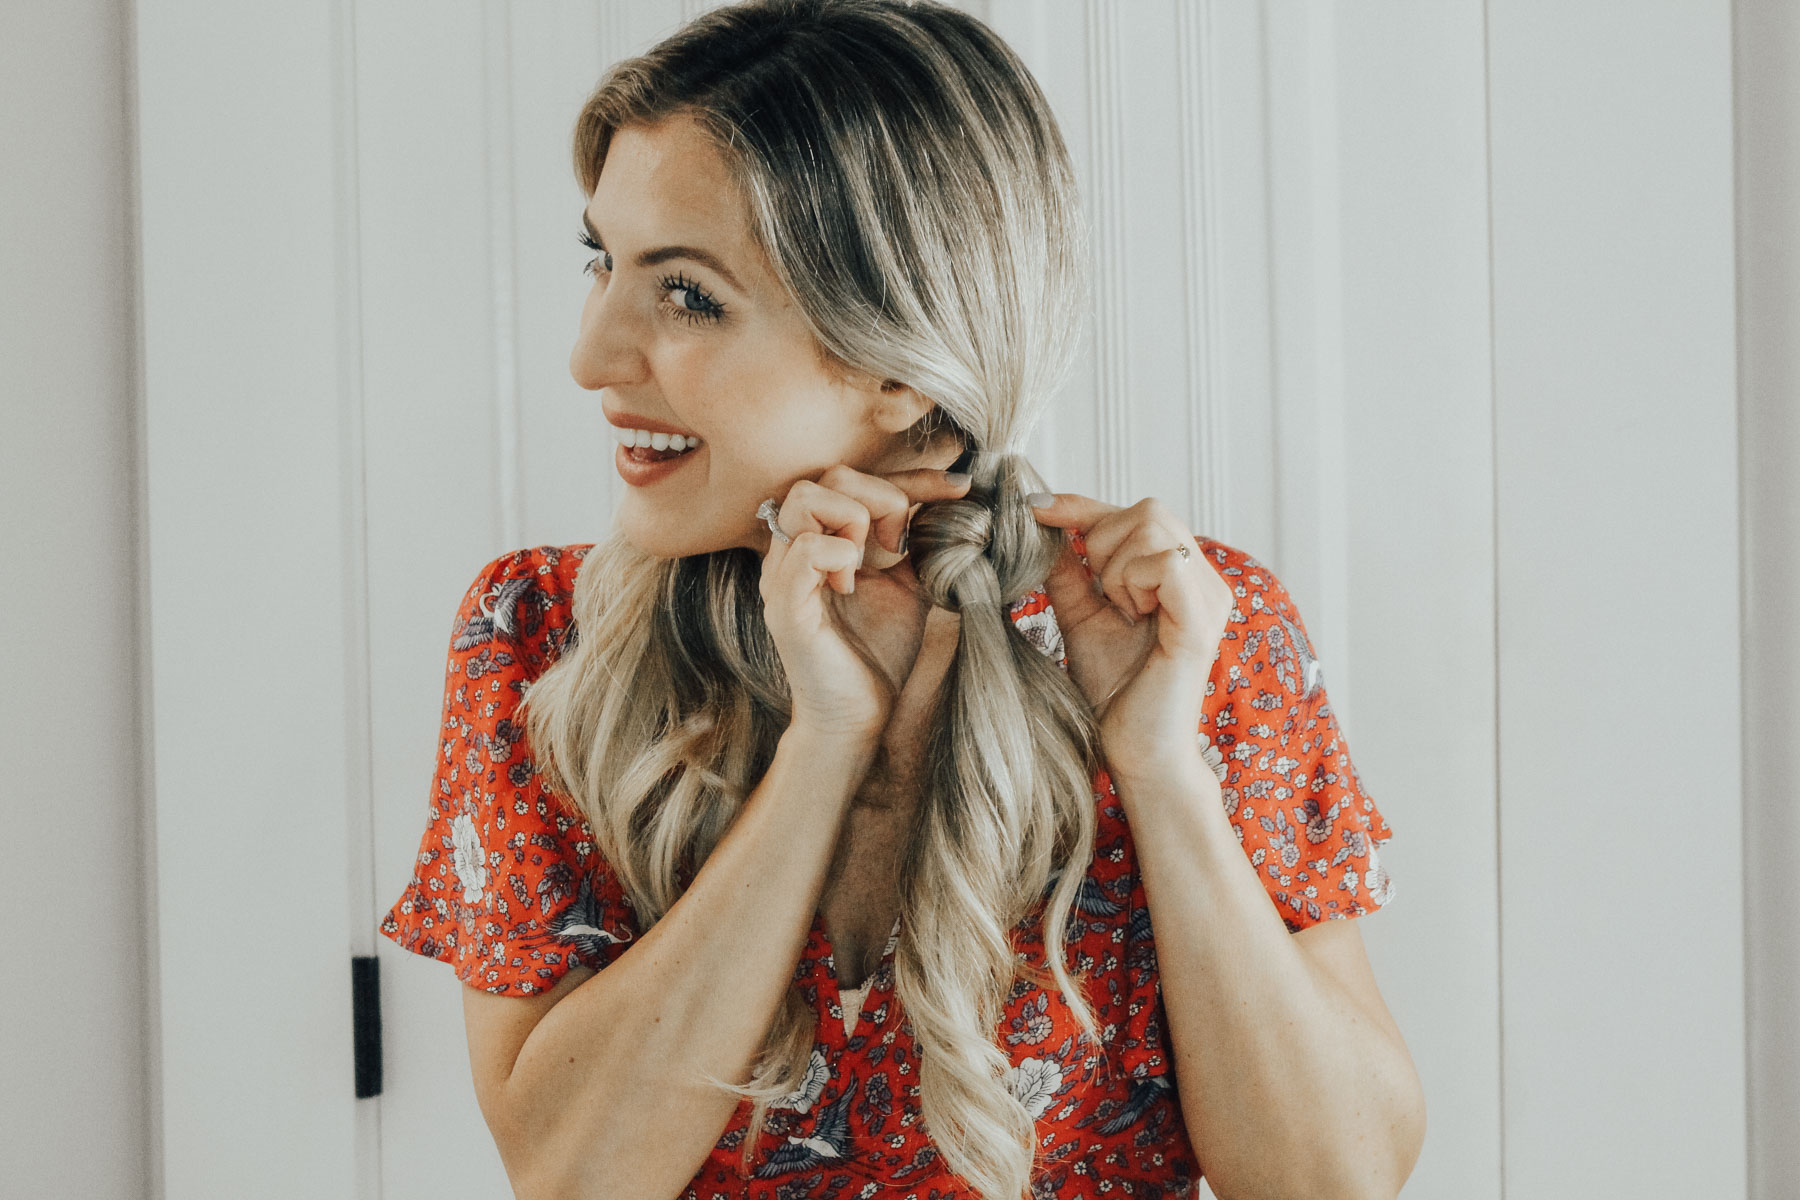
Step 4: Repeat!
Continue creating knots and securing them with clear elastics until you reach the end of your pigtail. Repeat this process on the other side as well.
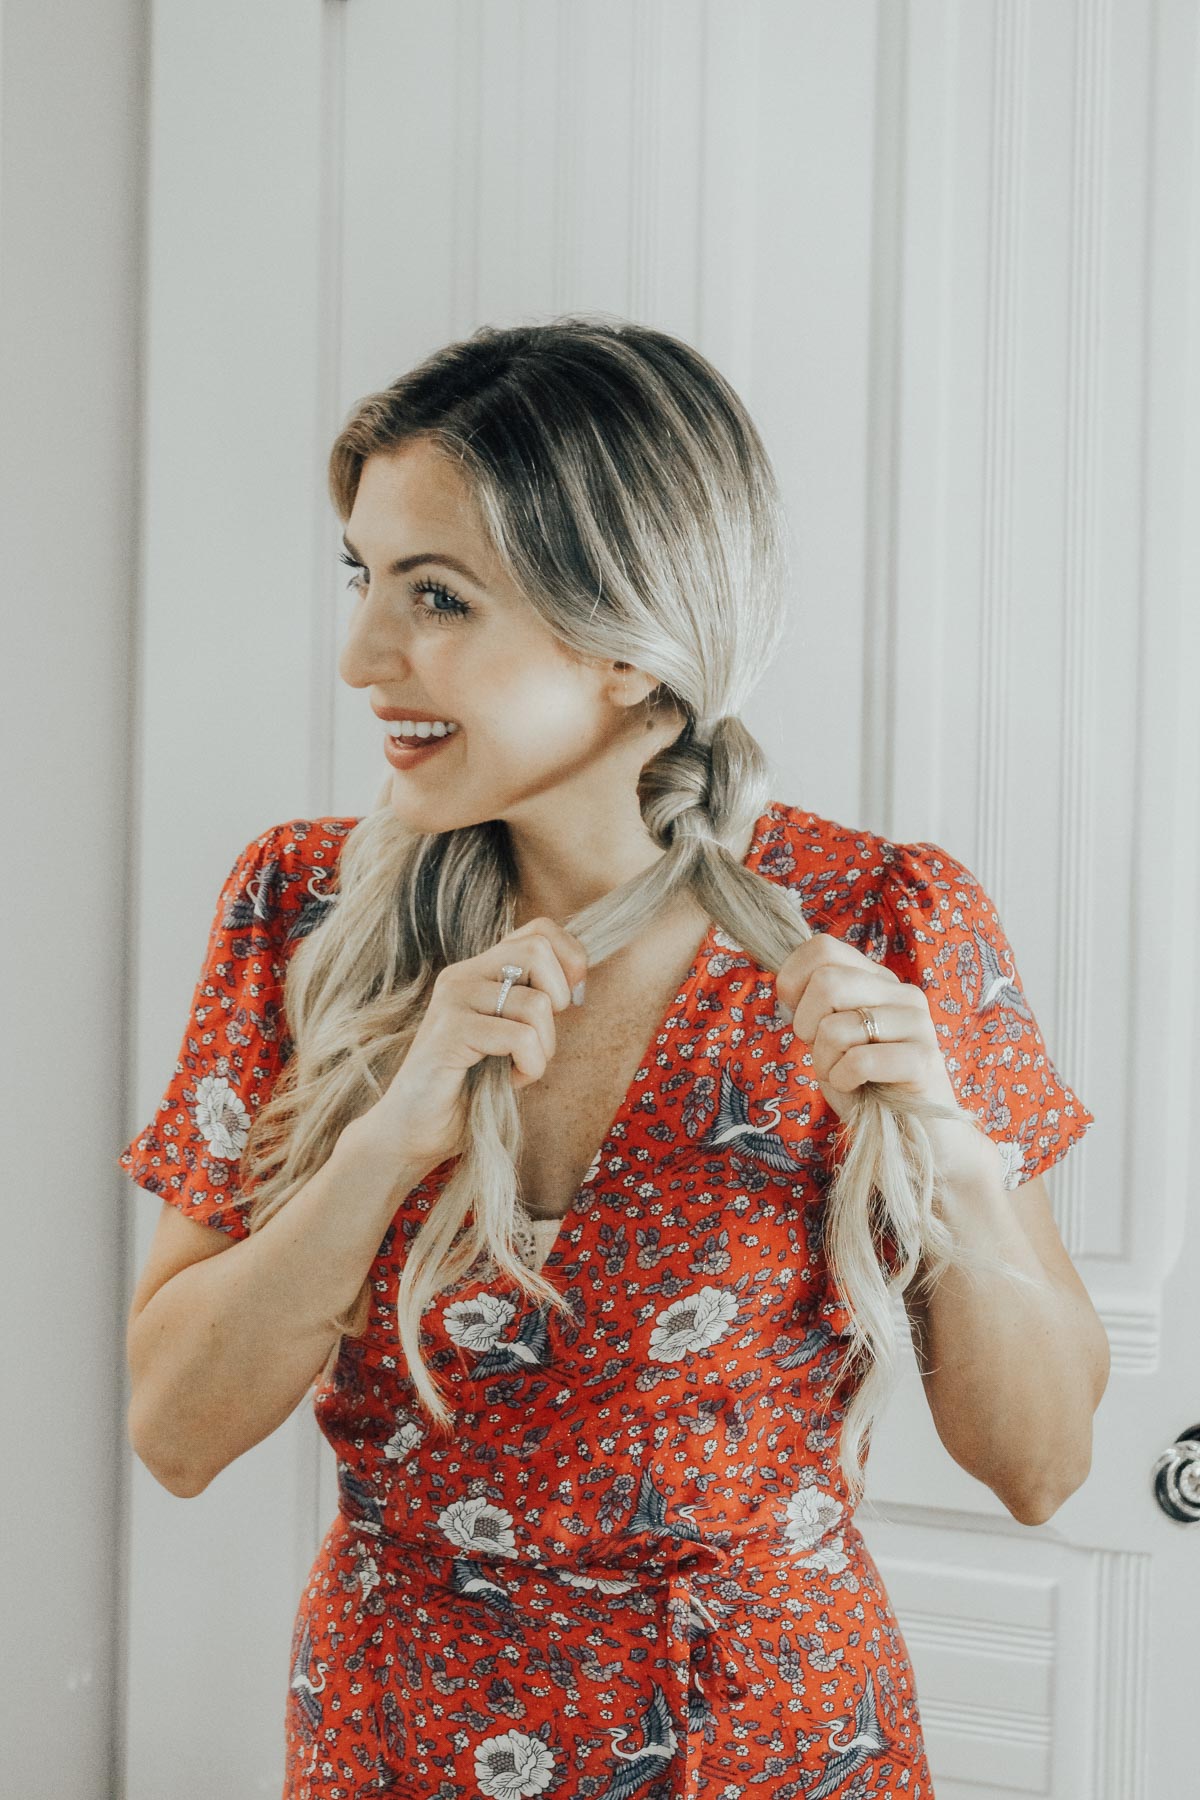

Step 5: Pull the hair apart
Make the knots look a bit fuller by gently pulling them apart. It’ll feel like you’re about to ruin your masterpiece, but trust me, this step is so necessary! The messier and fluffier the better ;).
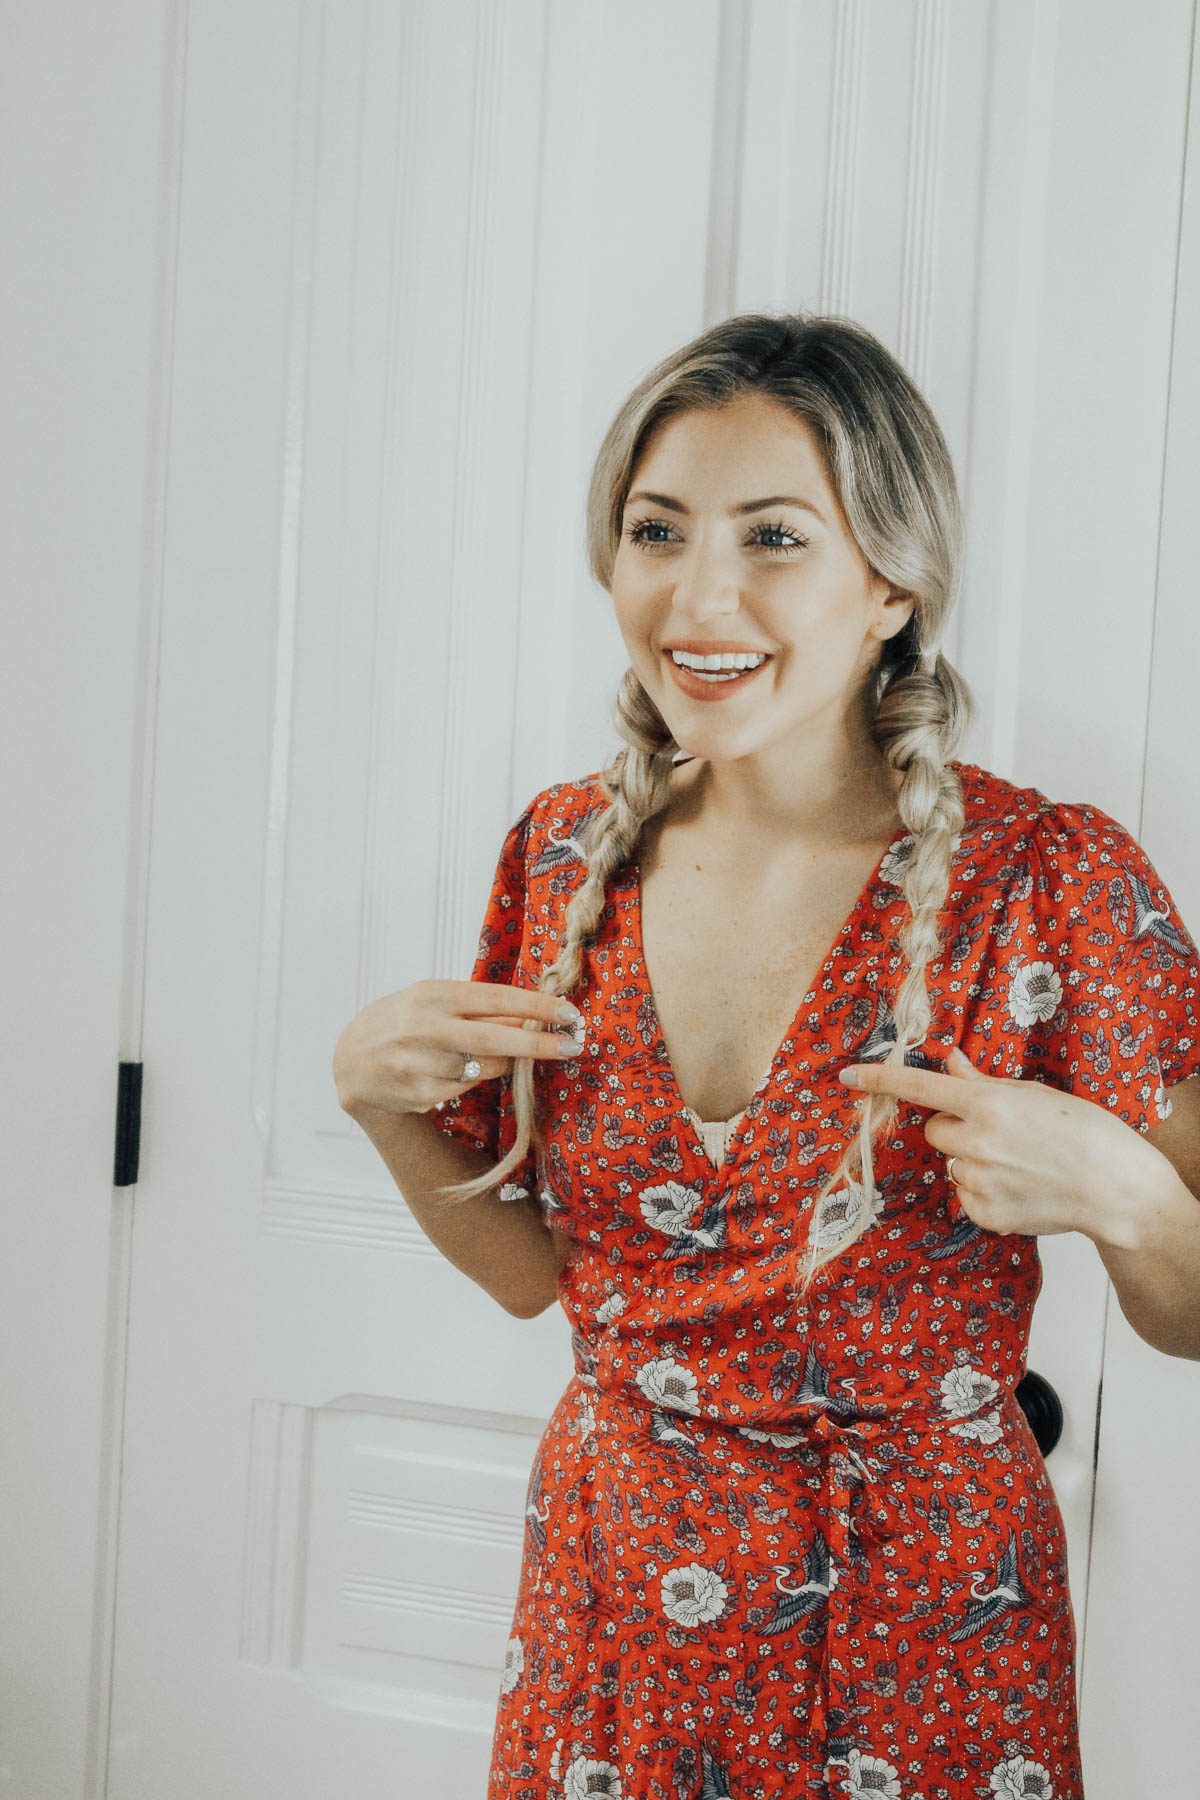
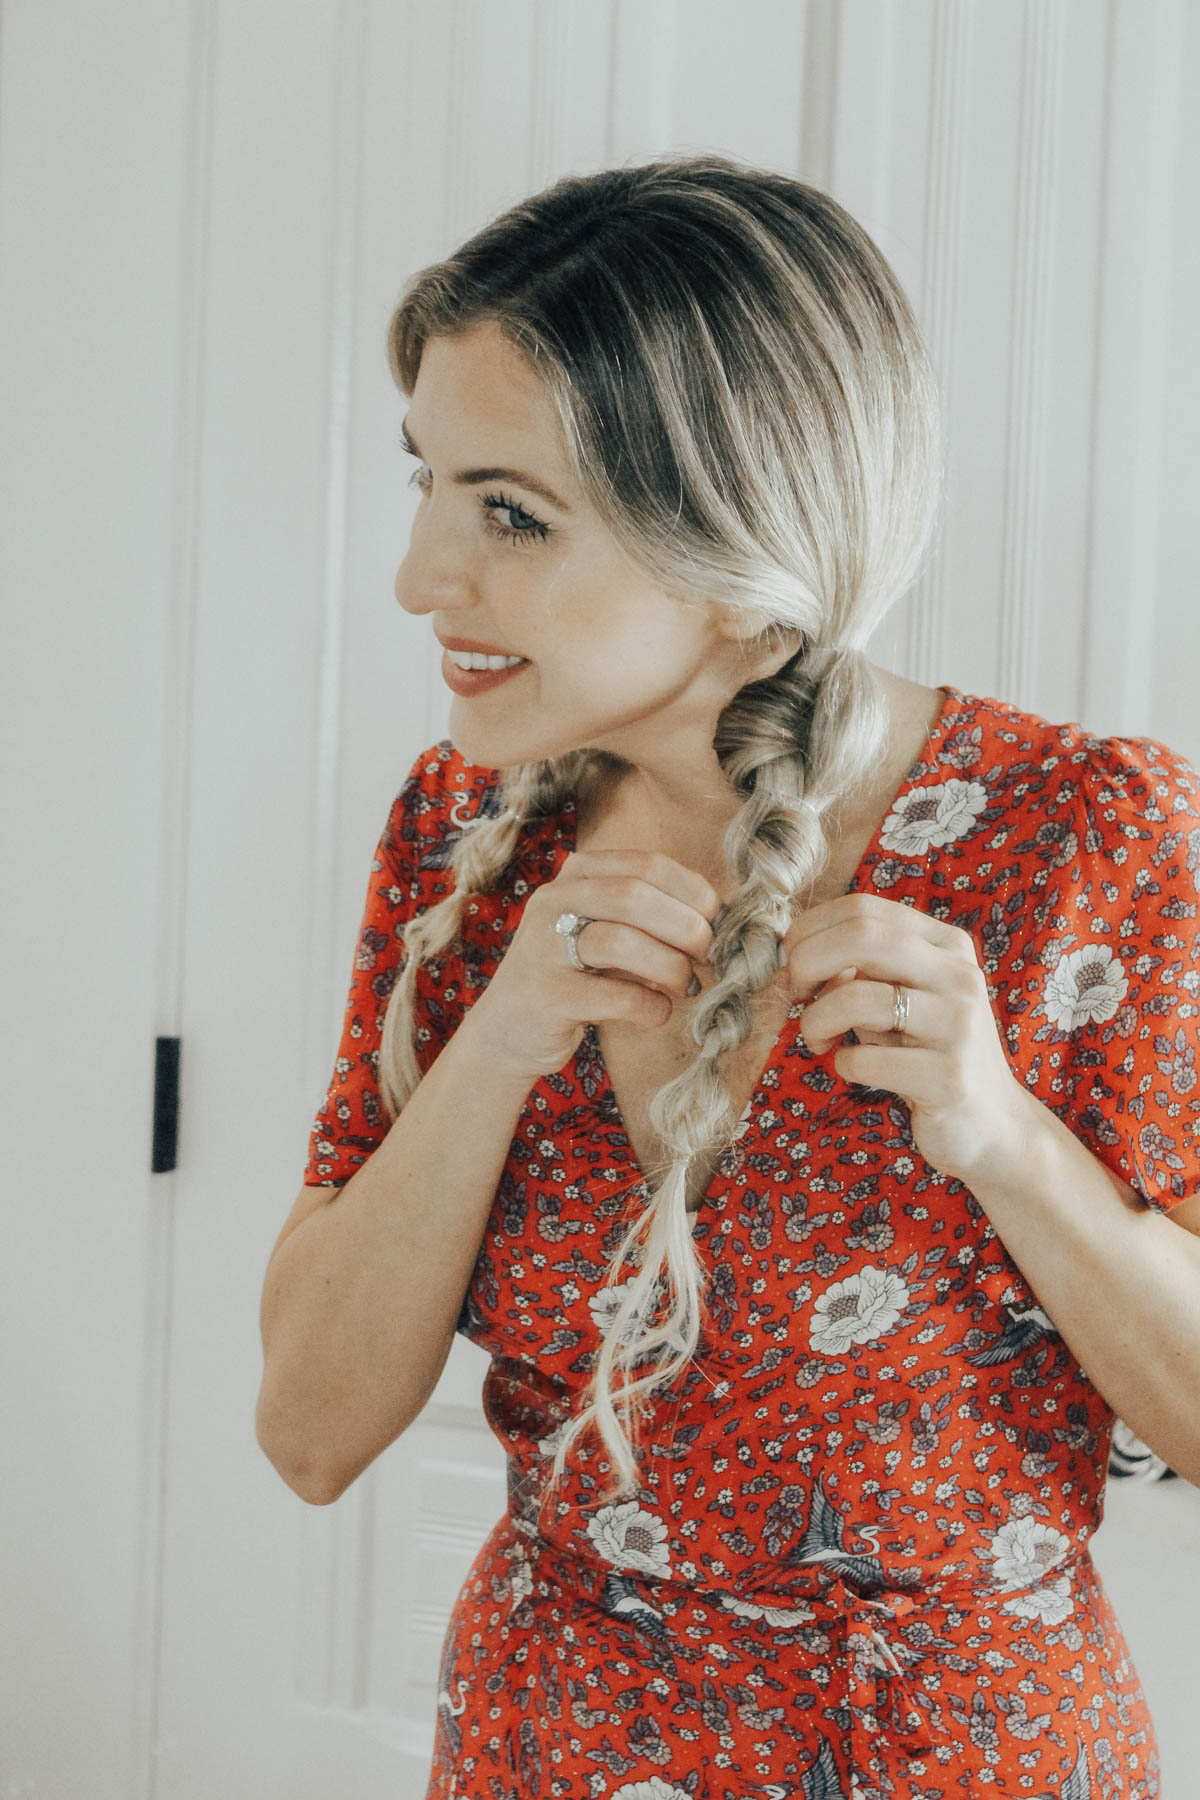
Step 6: Add a hat
Put on a hat (or don’t) and head on out!
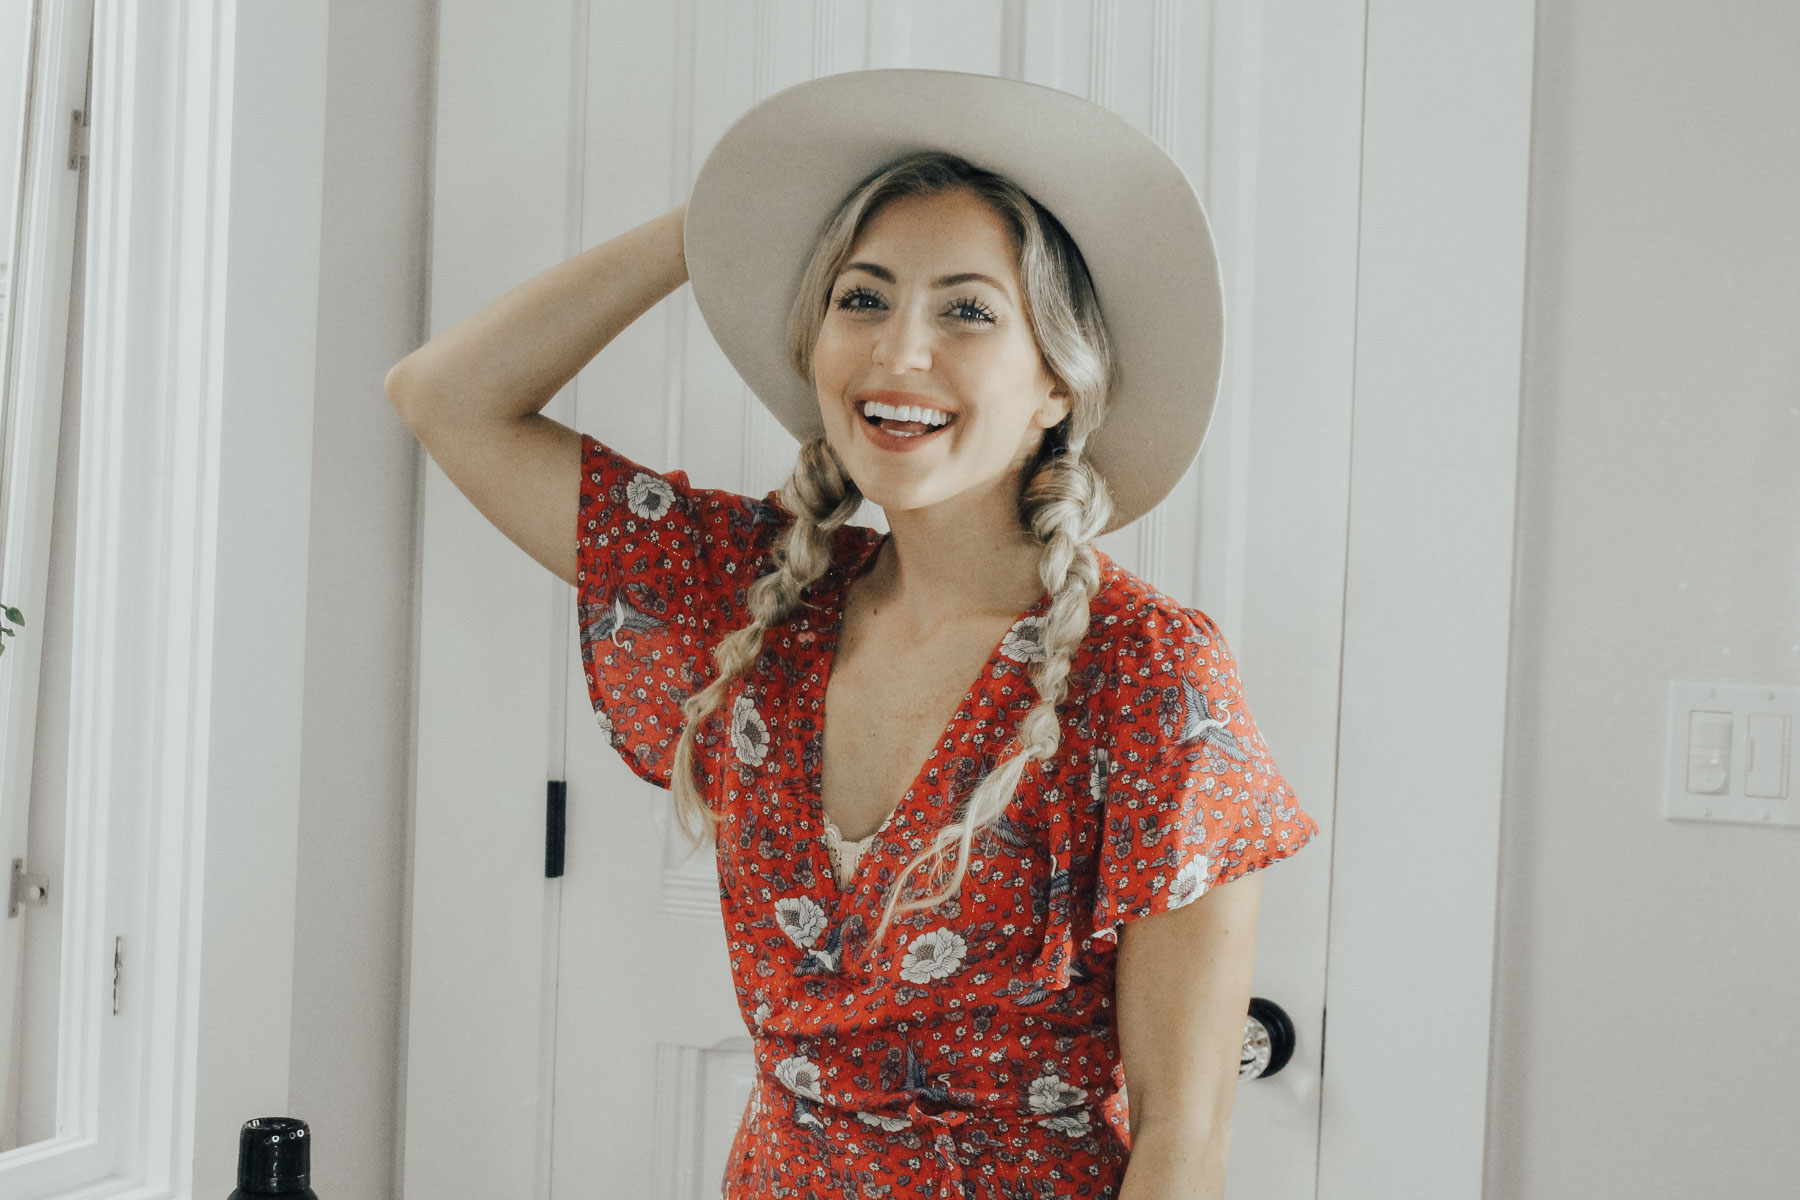
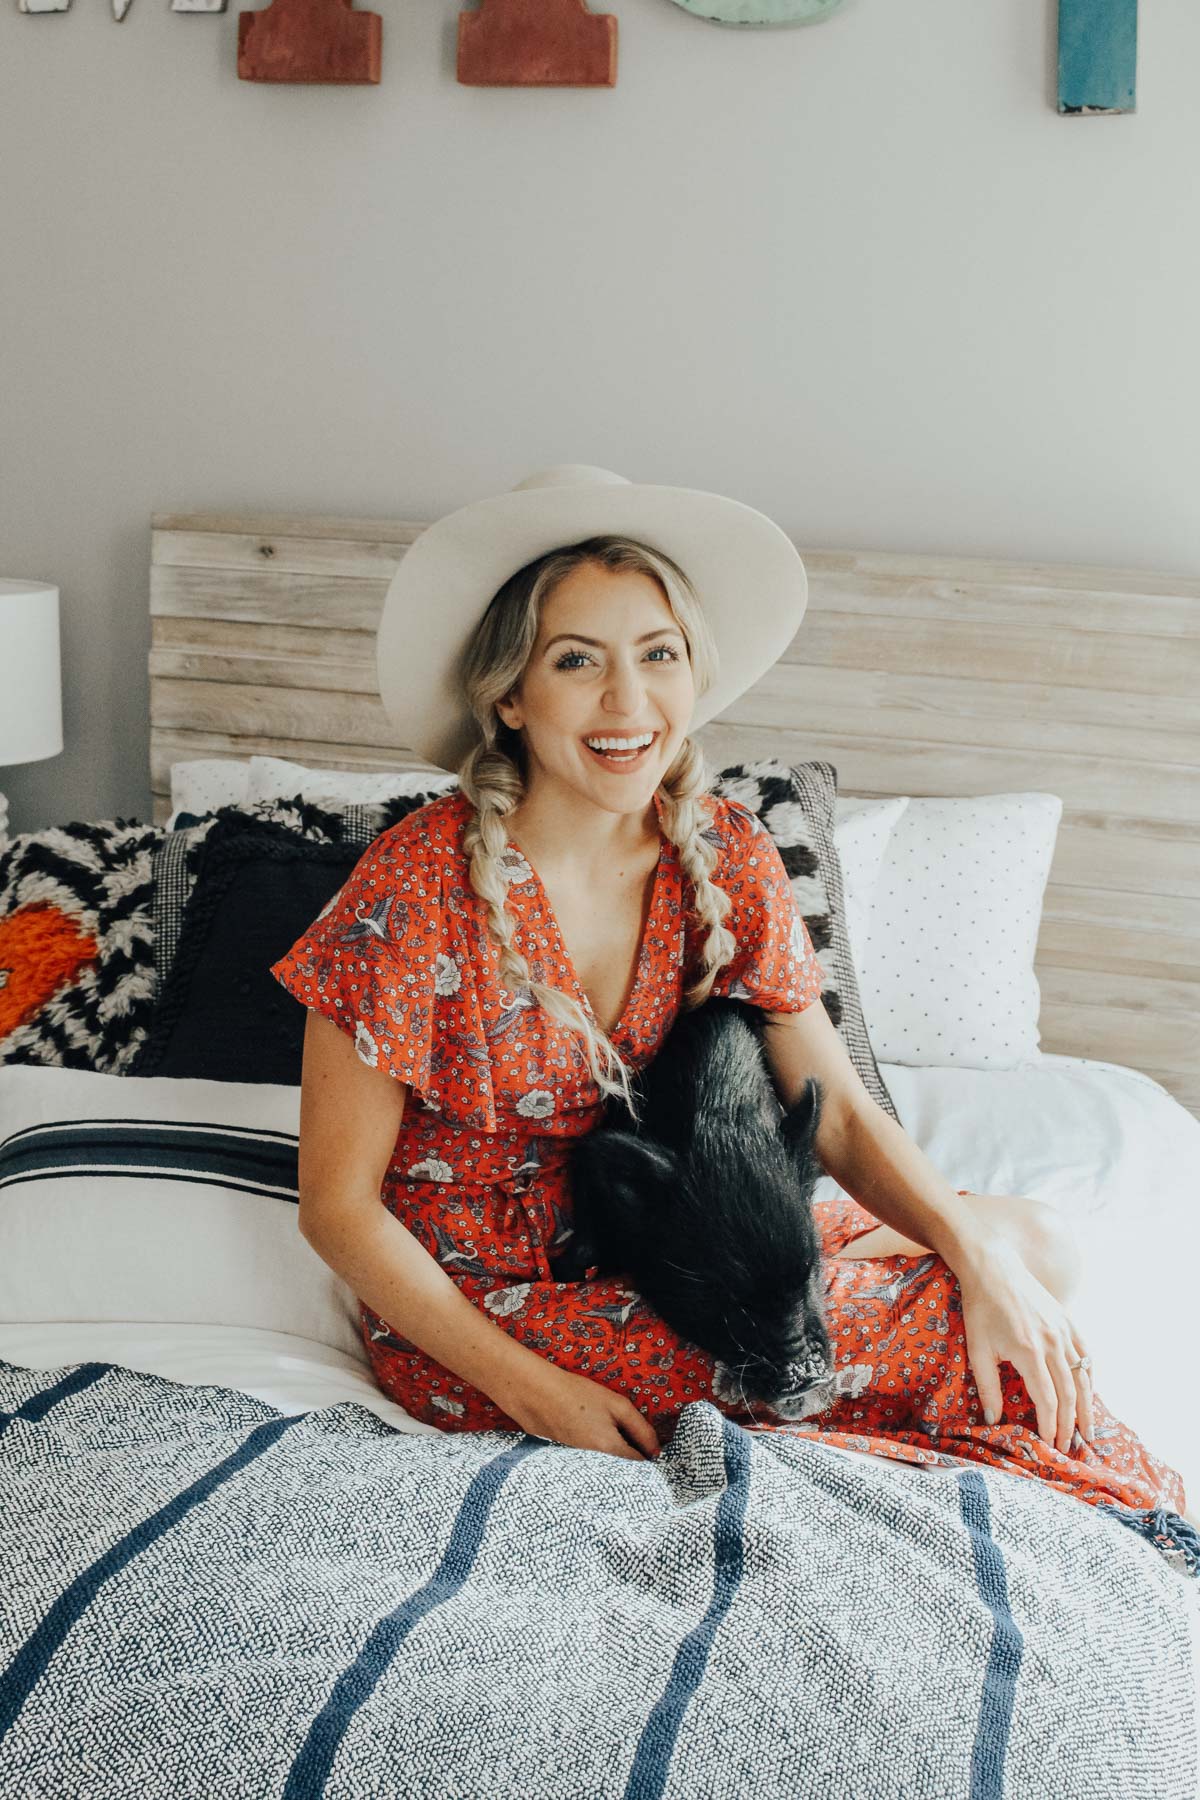
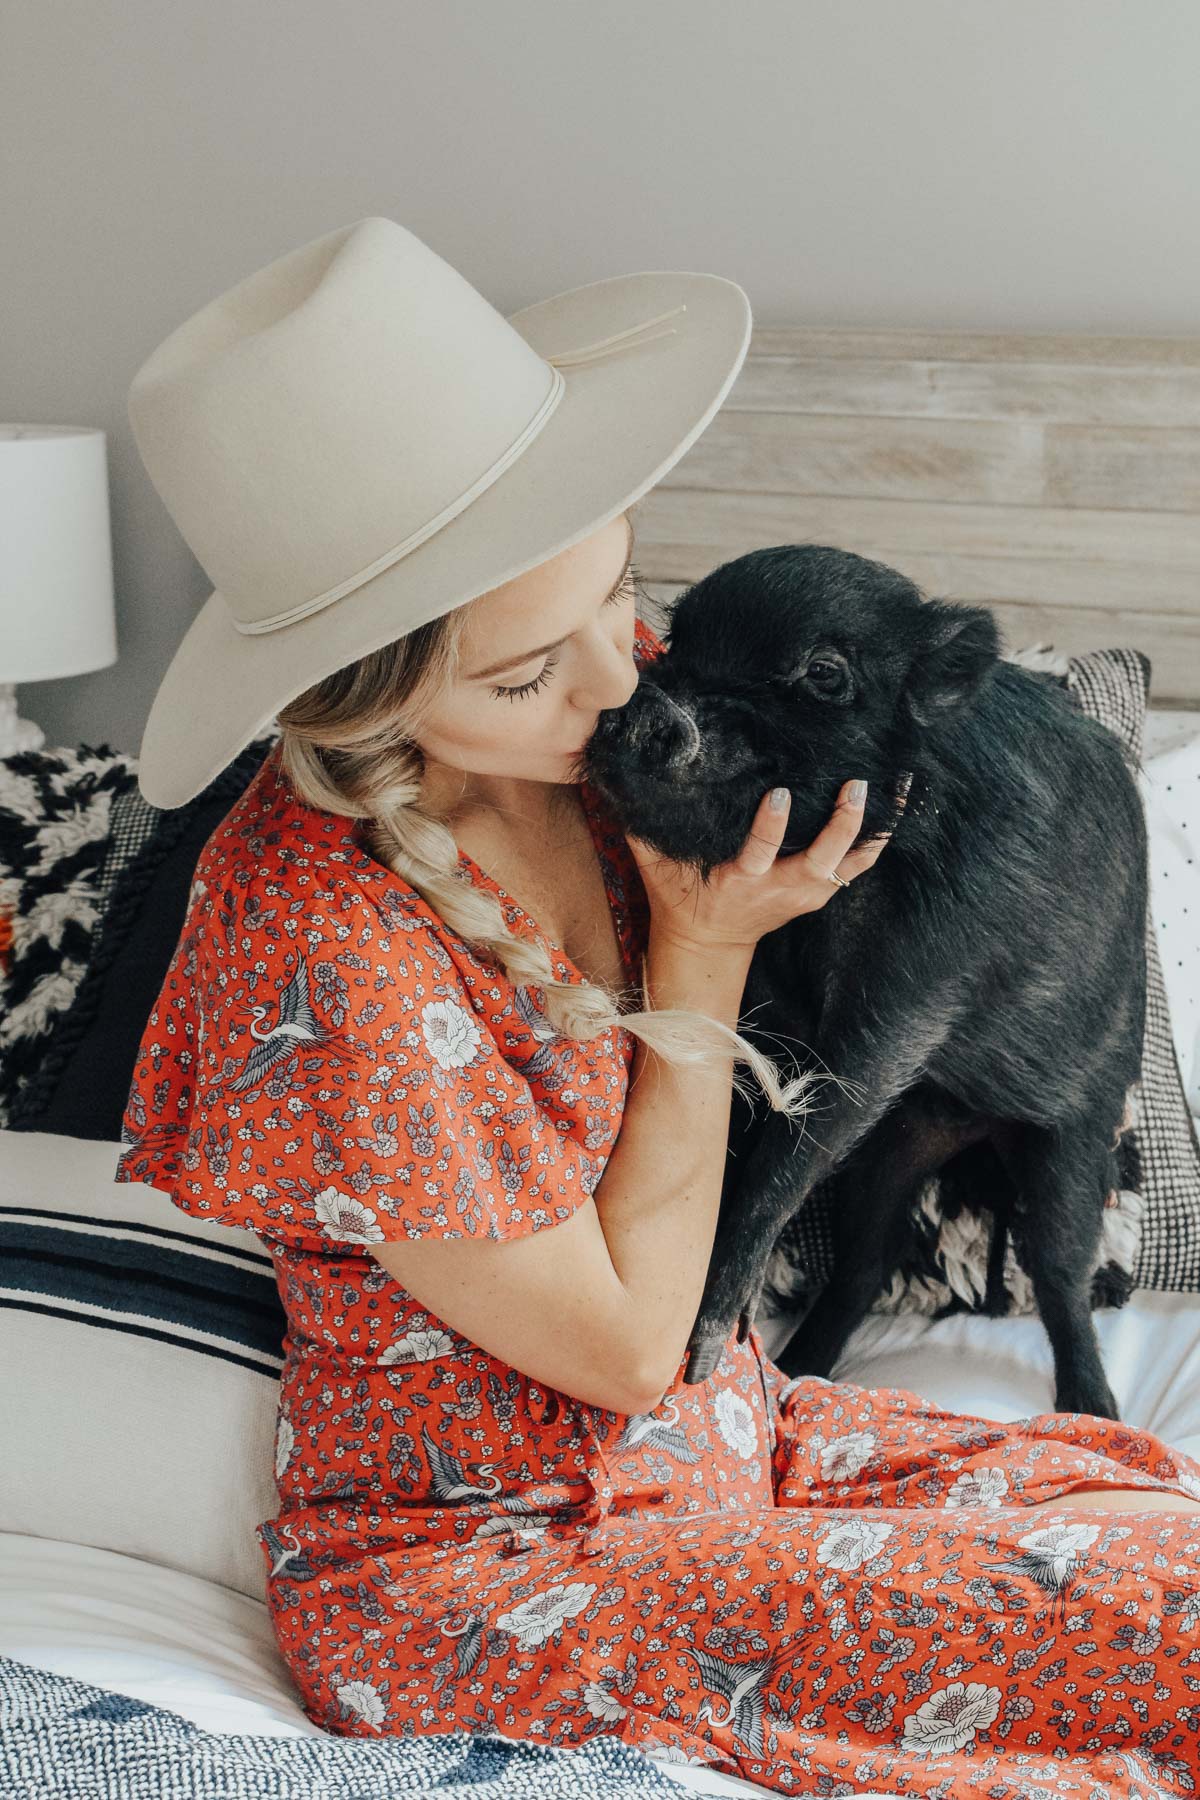
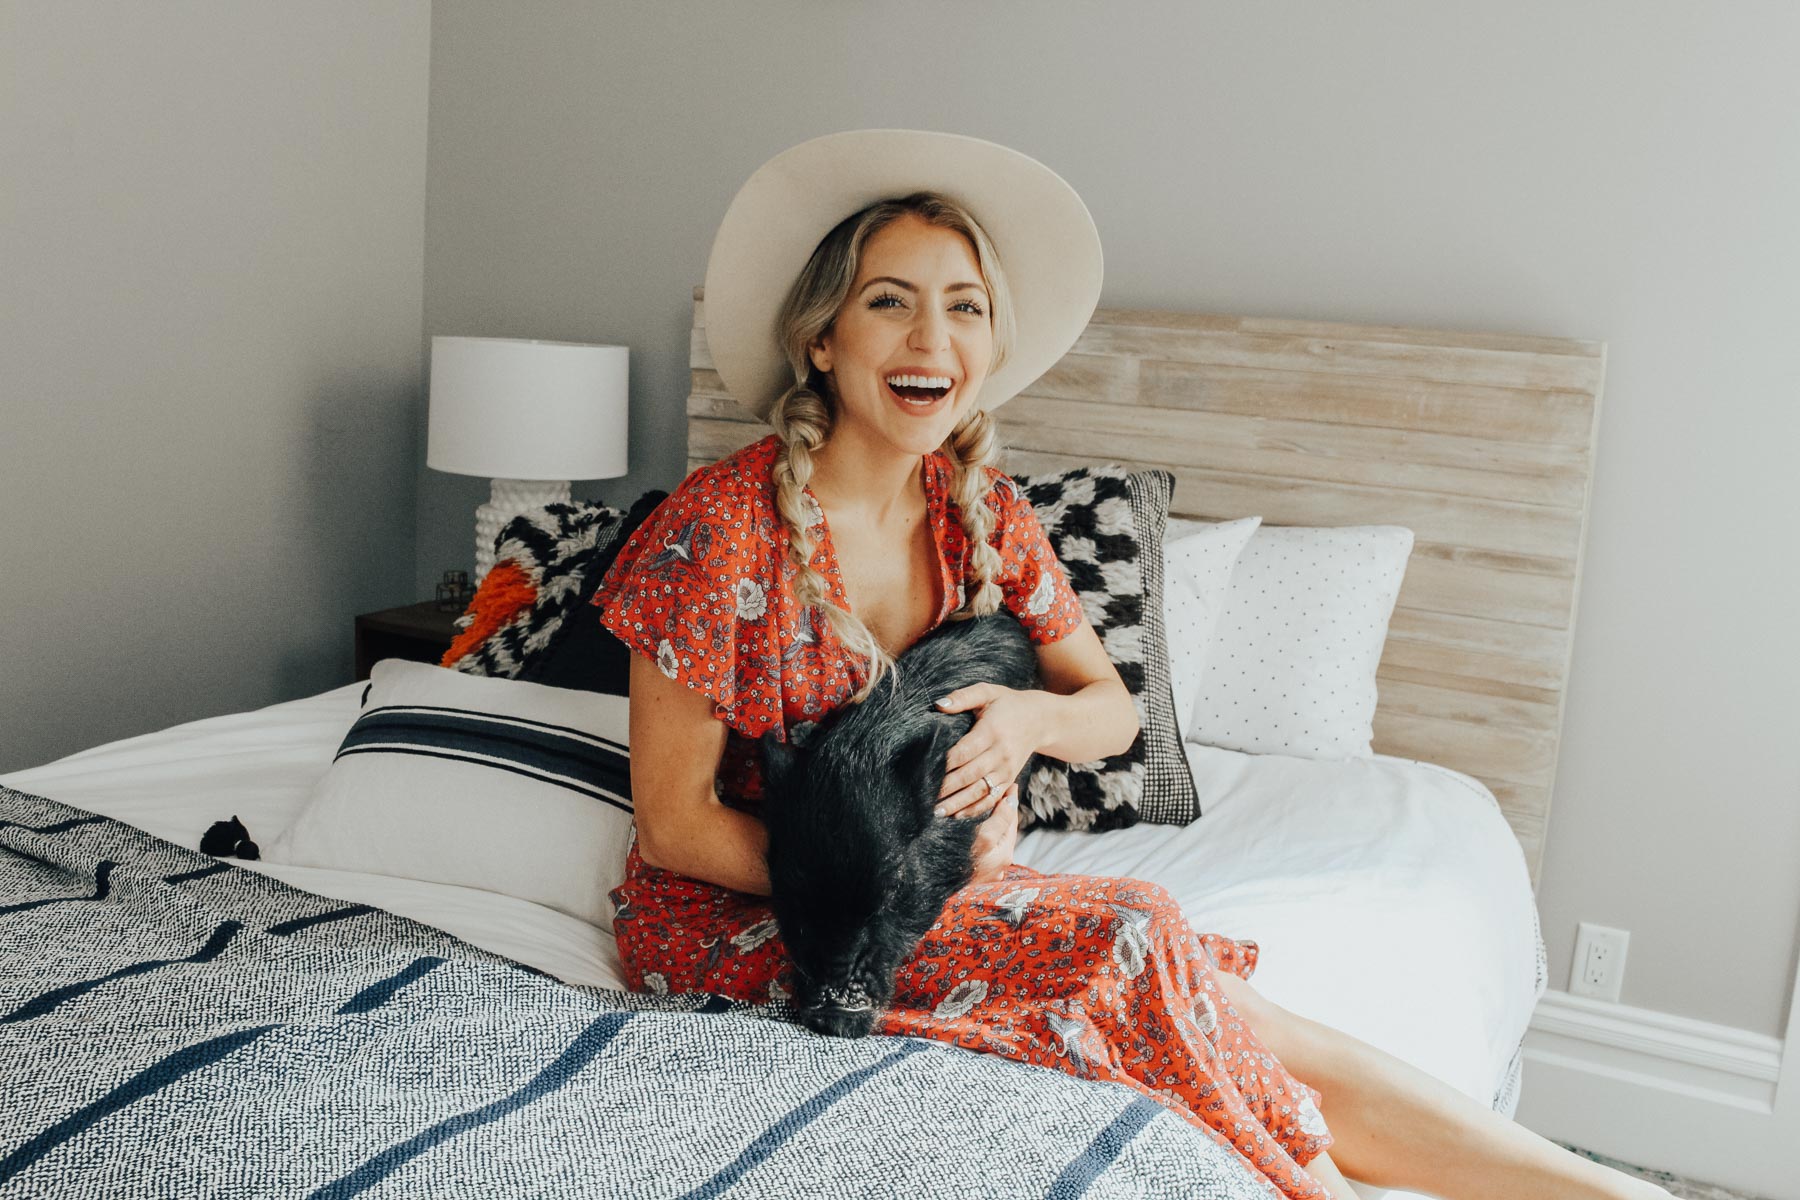
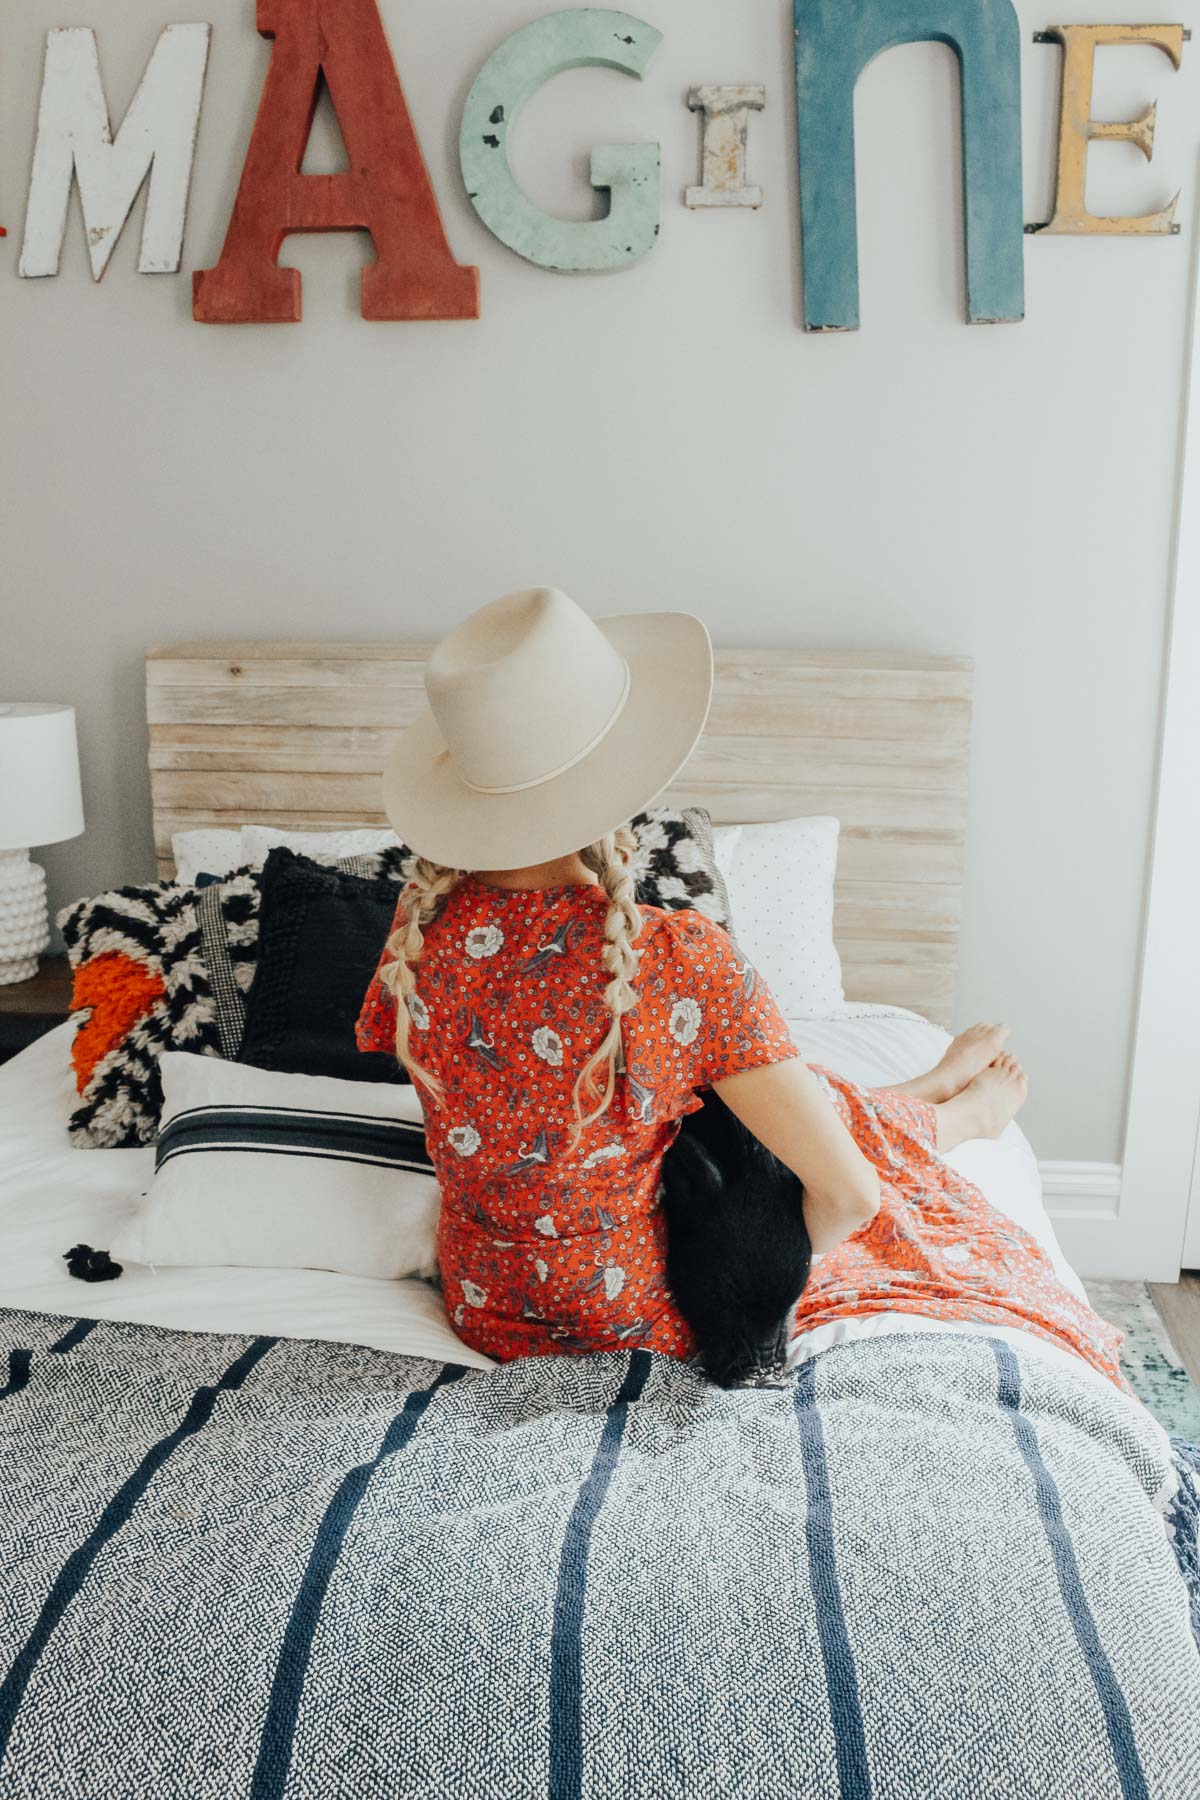
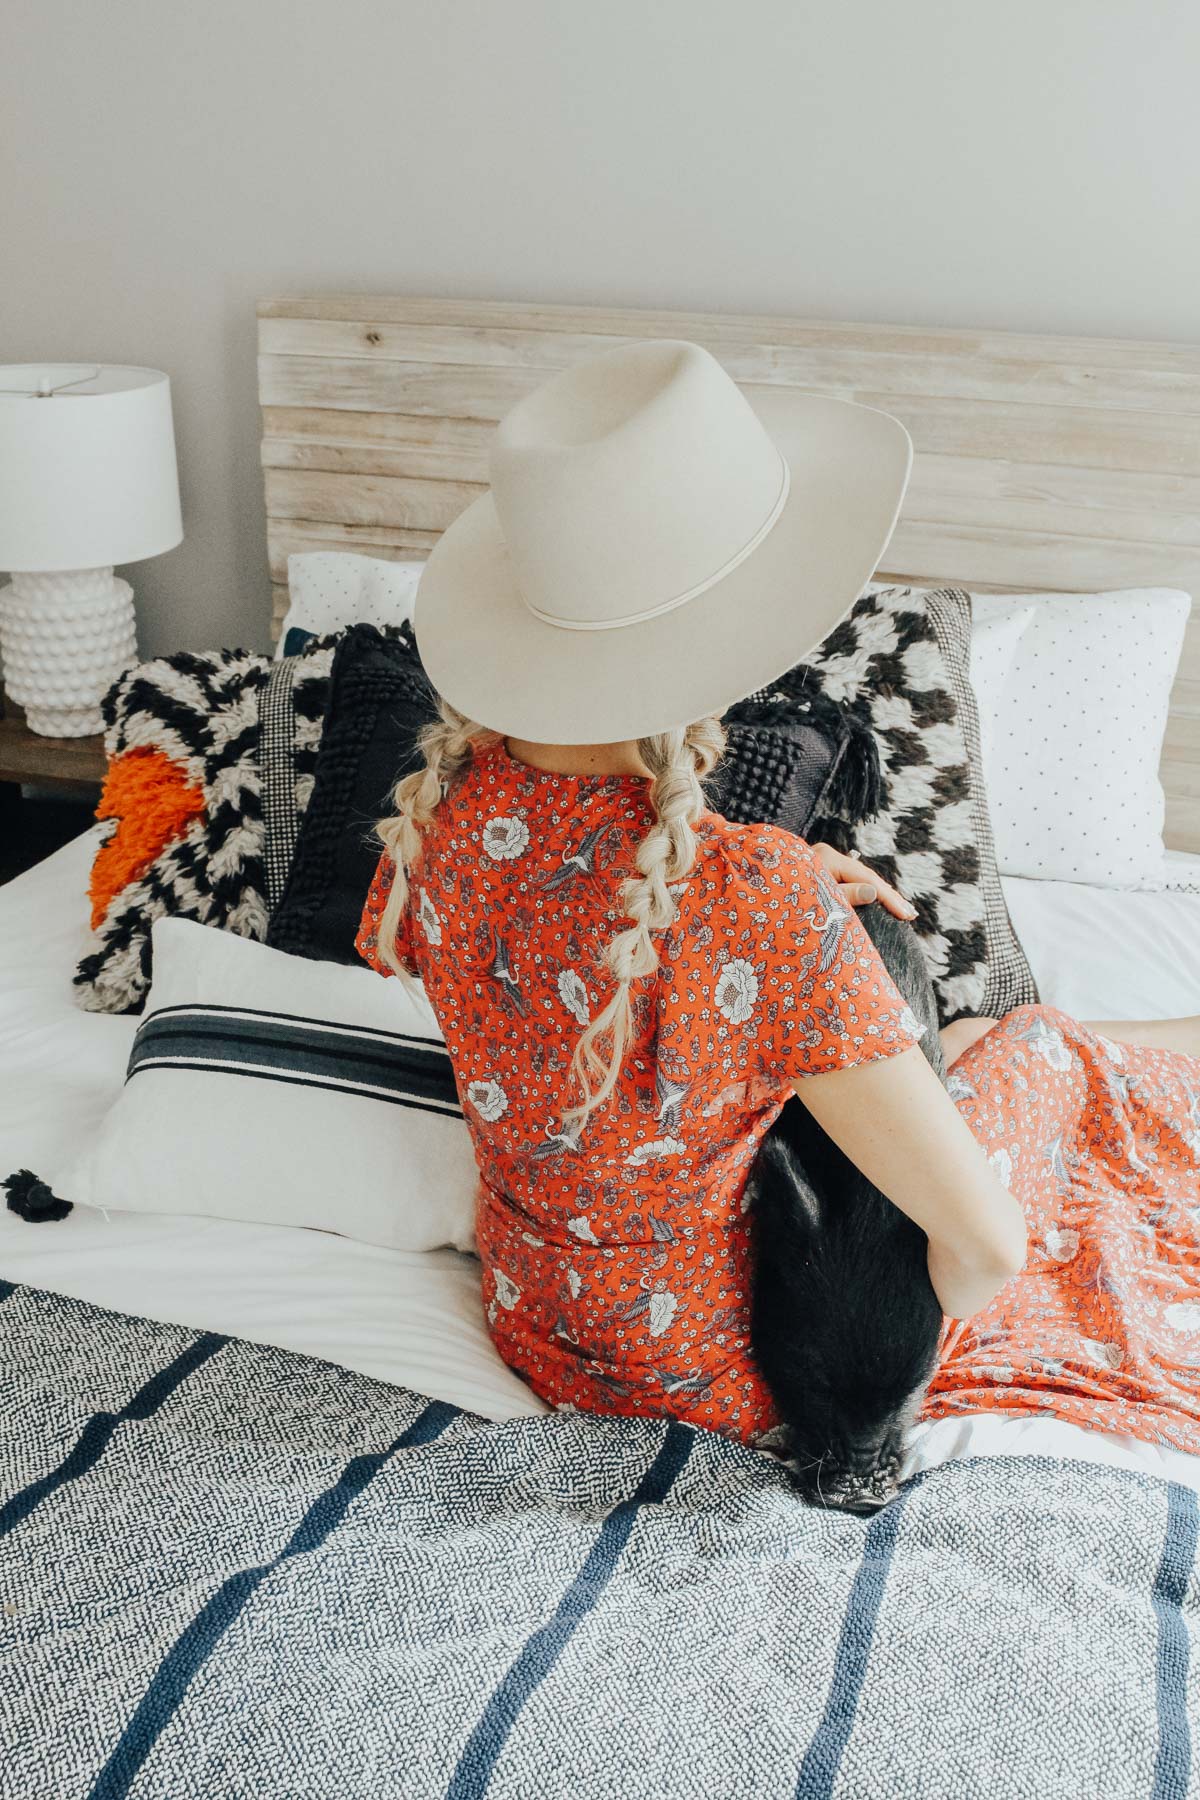
I hope you try out these braids, cause they really are that easy!!!
#DirtyHairDontCare ;)
 Using Trunk Club to Update My Spring/Summer Wardrobe
 5 Tips For Styling a Simple Summer Dress
 5 Ways to Style a Bandana
 3 Different Ways to Curl Your Hair
 How to Master the 5-Minute Makeup Routine
 Amazon Beauty Buys Under $25
 3 Ways to Make Your next Trip More Memorable
 Tips for Digital Spring Cleaning and Organizing
 Color Trend: Marigold
 Mental Health Update: The 3 Major Changes I Made to Get Out of Depression
 5 Unexpected Ways to Unwind After Work
 How to Know You’re in a Controlling Relationship
 4 Questions I get Asked as a Professional Resume Writer
 How to Make Friends at Work
 Getting Out of the ‘Busy’ Mindset
 Ask Amanda: How do I pursue the career I want without formal training?
 Ask Amanda: How Do I Find a Therapist?
 Ask Amanda: How do I stop being jealous in my relationship?




Antonia Says
This hairstyle is so cute. I used to love to braid my hair when I had long hair. Unfortunately my hair is now too short for this hairstyle but will definitely have it in mind when it grows long again. x
Antonia || Sweet Passions
Kayla Says
That’s really good on you I am not good at hair stuff you did awesome Chantelle.
Douglas Says
I used to braid my hair all the time! This post makes me want to go back to doing it more frequently! Such a cute summery look!
Dana Says
Love this! Can’t wait to try! Also, where are your dress and hat from?!