 Using Trunk Club to Update My Spring/Summer Wardrobe
 5 Tips For Styling a Simple Summer Dress
 5 Ways to Style a Bandana
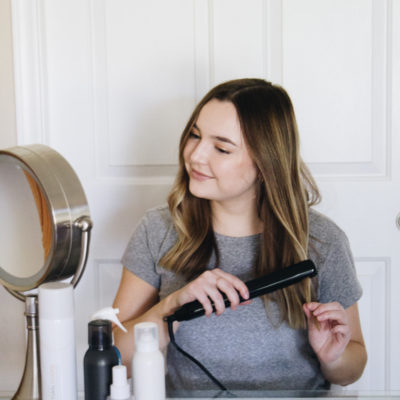 3 Different Ways to Curl Your Hair
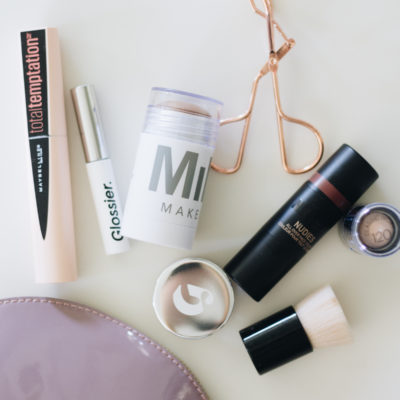 How to Master the 5-Minute Makeup Routine
 Amazon Beauty Buys Under $25
 3 Ways to Make Your next Trip More Memorable
 Tips for Digital Spring Cleaning and Organizing
 Color Trend: Marigold
 Mental Health Update: The 3 Major Changes I Made to Get Out of Depression
 5 Unexpected Ways to Unwind After Work
 How to Know You’re in a Controlling Relationship
 4 Questions I get Asked as a Professional Resume Writer
 How to Make Friends at Work
 Getting Out of the ‘Busy’ Mindset
 Ask Amanda: How do I pursue the career I want without formal training?
 Ask Amanda: How Do I Find a Therapist?
 Ask Amanda: How do I stop being jealous in my relationship?

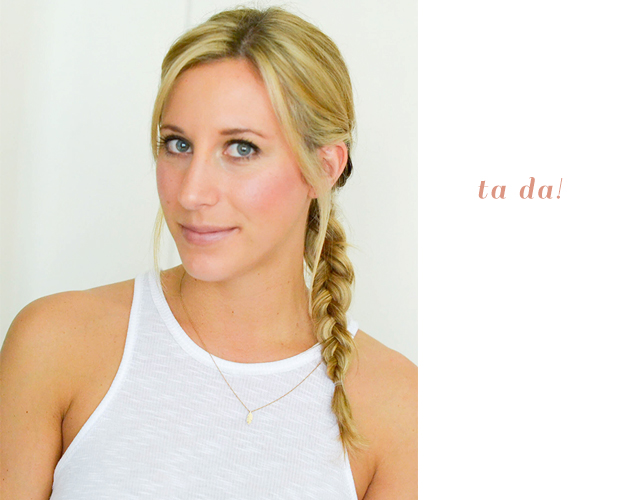
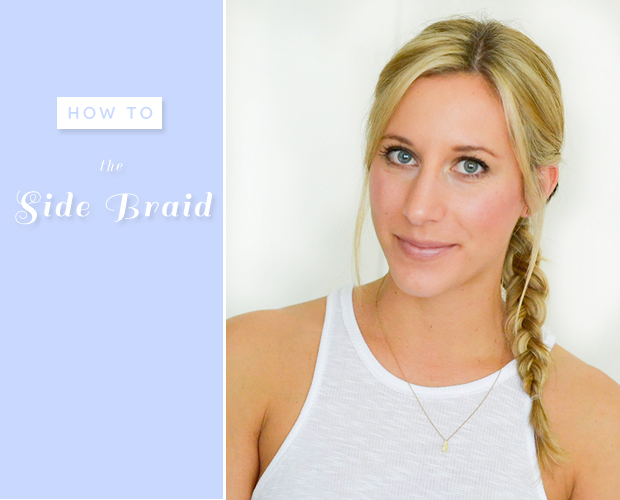
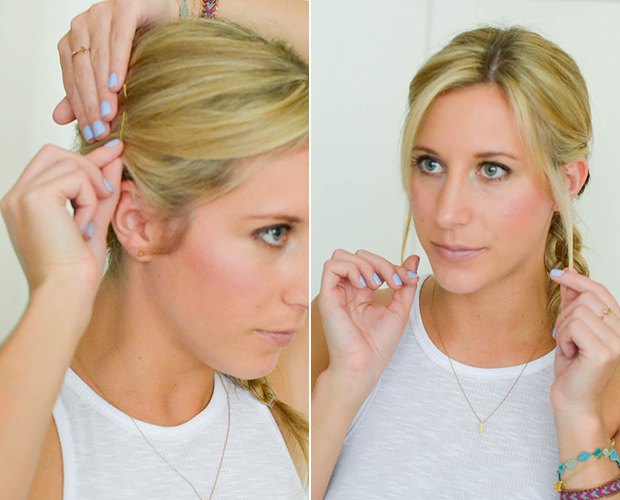
Whenever your hair isn’t behaving or you just need a quick hairstyle as you’re running out the door, the side braid is the perfect option. It’s casual yet still pulled together, which makes it perfect for any occasion. While it may seem obvious how to create a side braid, I’ve found that just doing a regular braid and pulling it to the side doesn’t last. Pieces start to fall out and it won’t actually stay to one side. So after some trial and error, I’ve found the best way to do the casual side braid so that it stays put and has the perfectly messy touch. Here’s how:
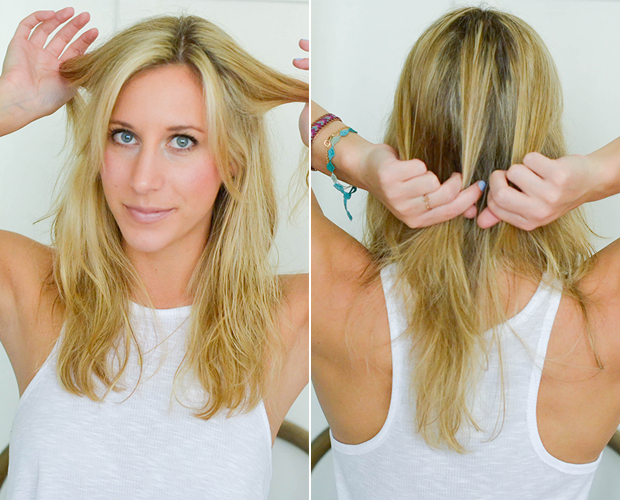
Step 1: Select 3 pieces of hair
It’s best to start with somewhat dirty hair, but really any texture will work. Begin with your hair down and select two pieces from the front and one from the back. These will be the three pieces you use to start your braid.
Step 2: The Braid
Start braiding the three small pieces and slowly add more hair to each piece as you go. Sort of like a mini version of a french braid. Once you get to your neck, make sure all the hair is part of the three sections being braided. I also like to lead my braid to one side as I’m going so that it actually stays to one side when you’re done.
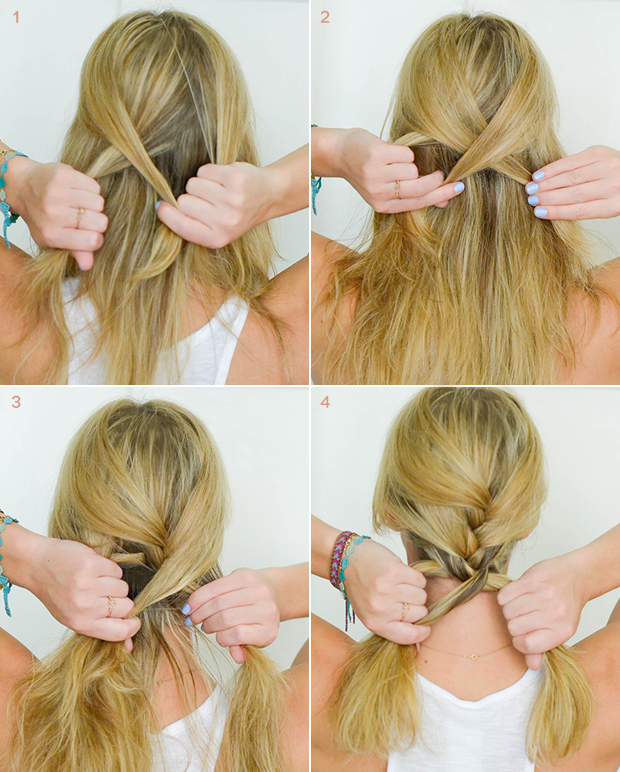
Step 3: Secure The Braid
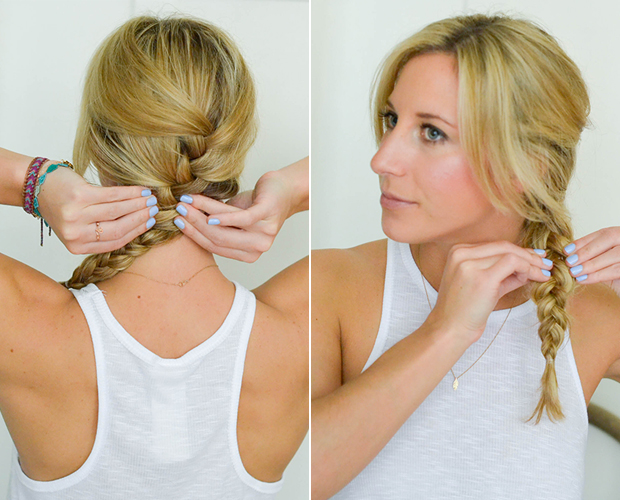
As you get to your neck, start directing the braid to one side. Bring the hair around and finish the braid in front. Secure with a small clear elastic – this helps make the braid look even longer.

Step 4: Rough It Up
To create that messy texture, gently pull the braid apart so it’s not so tight.
Step 5: Finishing Touches
I recommend using 3-4 bobby pins. One on each side to hold those shorter hairs in place, and 1-2 in the back for any strays. Then pull a couple pieces out in front – two from your bangs/shorter pieces and 2 right above your ears.

Stephanie @ Whole Health Dork Says
Thanks for this tutorial! You make it look so easy! My big problem with braiding my hair is that my layers stick out the sides of the braid, especially towards the top. I see that you obviously have layered hair as well. Besides putting tons of pins in my hair, another other suggestions? Thanks!
Amanda Says
Post authorHi Stephanie! I totally know what you mean. Doing the braid when your hair is dirty or has texture spray in it will help keep those pieces in place. Also, doing my mini version of a french braid helps keeps the short pieces in place! I also use hairspray before I do the braid sometimes if the hair really isn’t behaving. Thanks for reading!
xo
Amanda
Stephanie @ Whole Health Dork Says
Thanks for the tips! Makes sense, especially incorporating the mini-French braid. Will have to try this soon (just washed my hair ;-).
Dani Says
I so needed this! I was attempting a side braid yesterday and it just did NOT work. I’m going to try again soon using your tips! :) Thanks, lady!
Cass Says
Where is the tank from? The neckline is great.
Amanda Says
Post authorThanks! It’s from Free People. You can find it here: http://bit.ly/1j1mHx4
ShmearMere Says
I like side braids and cats.
Andra Says
I like any hair tutorial that begins “it’s best to start with somewhat dirty hair.” Definitely going to try this out!
Julia Says
Thanks for the writeup. Your hair looks great. The pictures help a lot. Do you use any certain type of product to help the process. Maybe a detangled?
vet technician schools Says
What a information of un-ambiguity and preserveness of valuable
know-how concerning unexpected feelings.