 Using Trunk Club to Update My Spring/Summer Wardrobe
 5 Tips For Styling a Simple Summer Dress
 5 Ways to Style a Bandana
 3 Different Ways to Curl Your Hair
 How to Master the 5-Minute Makeup Routine
 Amazon Beauty Buys Under $25
 3 Ways to Make Your next Trip More Memorable
 Tips for Digital Spring Cleaning and Organizing
 Color Trend: Marigold
 Mental Health Update: The 3 Major Changes I Made to Get Out of Depression
 5 Unexpected Ways to Unwind After Work
 How to Know You’re in a Controlling Relationship
 4 Questions I get Asked as a Professional Resume Writer
 How to Make Friends at Work
 Getting Out of the ‘Busy’ Mindset
 Ask Amanda: How do I pursue the career I want without formal training?
 Ask Amanda: How Do I Find a Therapist?
 Ask Amanda: How do I stop being jealous in my relationship?

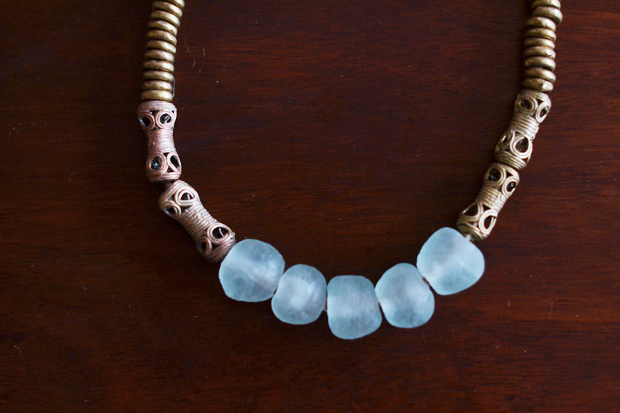
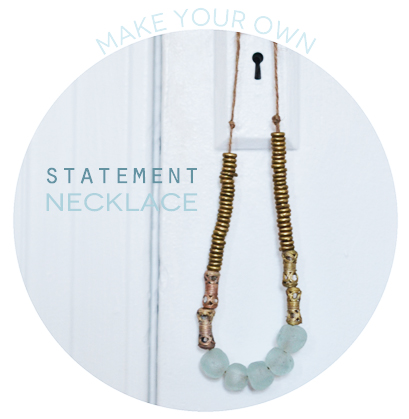 Although there are tons of gorgeous statement necklaces out there, sometimes you just want one that nobody else has (and sometimes you’re feeling crafty). So grab some beads from your local craft store, thrift store, or flea market and get creative. If you’re lazy, like me, and don’t want to spend money on a clasp and chain, try using twine instead! It’s cheaper, easy to use, and gives a nice rustic vibe that’s unique to any other material. So let’s get started with today’s DIY statement necklace:
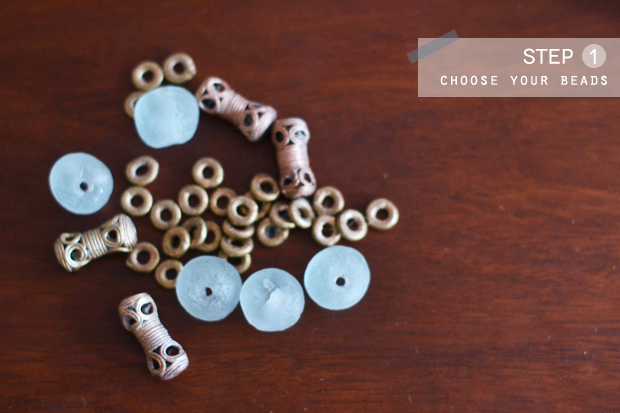
Step 1:
When choosing beads to make a statement necklace, my advice is to go with 3-4 different kinds of beads. Choose one that you want as your main focus, like the bold turquoise ones below. Then pick 1-2 more unique beads that stand out, but aren’t the main focus. Select more simple beads to fill in the rest.
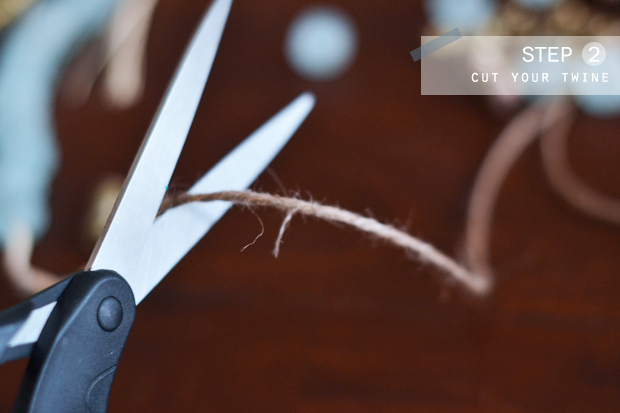
Step 2:
Measure the twine around your neck to the length you want it. Add about 4 extra inches to be safe, then cut it.

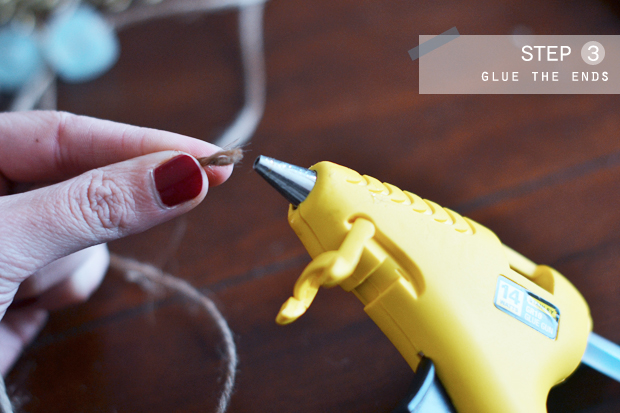
Step 3:
Add just a drop of glue to each end of the twine to make it’s easier to add your beads.
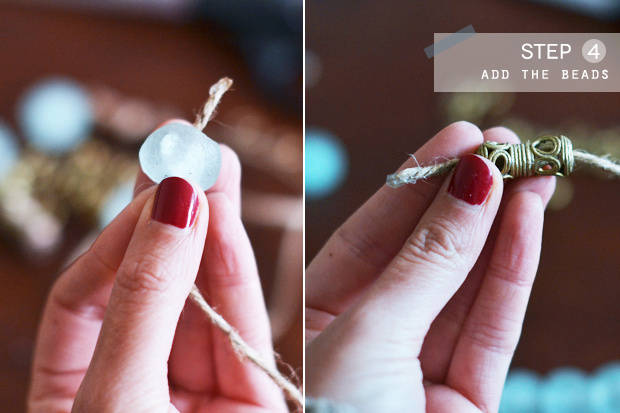
Step 4:
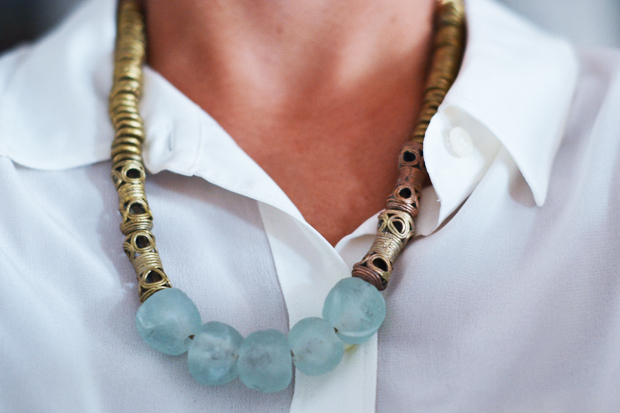
Add your beads! I like to line mine up first to play around with the pattern. I recommend putting the beads you chose as your main focus in the middle, then surround it with the other beads. Let your creative juices flow – you really can’t go wrong!
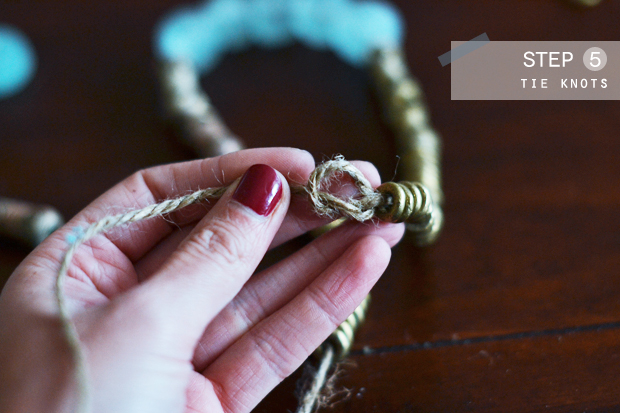
Step 5:
Tie a knot at both ends of the twine to secure the beads in place. Leave some extra twine on the ends so you can tie the necklace around your neck. Simply secure it around your neck in a double knot.
 Voilà!
Grace - Stripes & Sequins Says
this is so pretty, amanda! <3
Amanda Says
Post authorThanks so much Grace!!
Alyssa Says
This came out so pretty. I love those blue stones!
Alyssa Says
Gorgeous beads turned into a gorgeous necklace!
nancy @ adore to adorn Says
I think this is so pretty! Love the choice of beads!
xo,
nancy
Kim // Six2Eleven Says
Love this! My mom JUST called me and said — “you should try making jewelry!” I replied with a snotty “I HAVE NO TIME!!” but I probably should call her back, apologize and send her this link :)
Kim
Carolyn Says
so pretty and creative!
Pingback: 25 DIY Statement Necklaces | Henry Happened
hongmei wang Says
good
Stephanie Says
Isn’t the twine itchy on your neck? I love the idea, but I’m a bit worried about it being uncomfortable!
Get Online Jewelry Store in Canada Says
Great! It is too easy to make an attractive Necklace by using beads. I think it gives the modern look to the jewelry. Thanks for the precious post.
Anna Picket Says
That’s true that it’s fun to have new jewelry. Maybe I should try making my own. After all, I’ve seen a lot of pretty beads at craft stores that would be fun to try out. This doesn’t look hard to do at all.
Pingback: DIY Statement Necklace Ideas – Moms and Crafters