 Using Trunk Club to Update My Spring/Summer Wardrobe
 5 Tips For Styling a Simple Summer Dress
 5 Ways to Style a Bandana
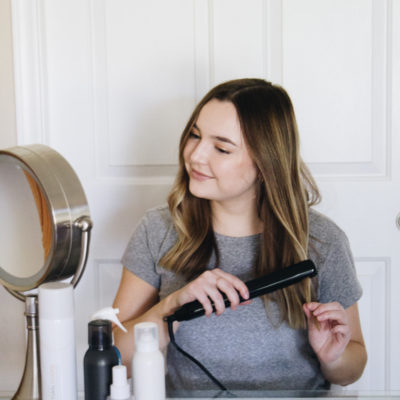 3 Different Ways to Curl Your Hair
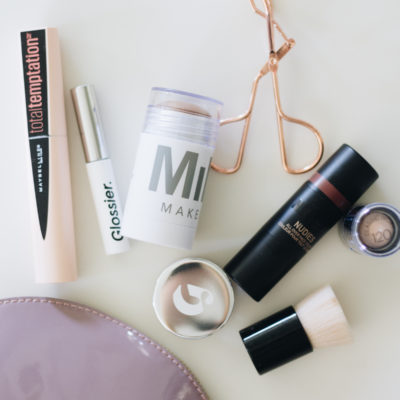 How to Master the 5-Minute Makeup Routine
 Amazon Beauty Buys Under $25
 3 Ways to Make Your next Trip More Memorable
 Tips for Digital Spring Cleaning and Organizing
 Color Trend: Marigold
 Mental Health Update: The 3 Major Changes I Made to Get Out of Depression
 5 Unexpected Ways to Unwind After Work
 How to Know You’re in a Controlling Relationship
 4 Questions I get Asked as a Professional Resume Writer
 How to Make Friends at Work
 Getting Out of the ‘Busy’ Mindset
 Ask Amanda: How do I pursue the career I want without formal training?
 Ask Amanda: How Do I Find a Therapist?
 Ask Amanda: How do I stop being jealous in my relationship?

How To Give Yourself An At-Home Manicure In 5 Simple Steps
posted on December 3, 2018 | by Lauren Abraham
I don’t know about you, but there’s just something about having your nails done that can make you feel put together. In an ideal world, we would have a fresh mani at all times – but going to the salon is both costly and time consuming!
The good news is that it is possible to achieve a salon quality manicure at home…for a fraction of the price! With the holidays here, there’s no better time to learn how. Follow along as we walk you through how to to give yourself an at-home manicure, in just 5 simple steps!
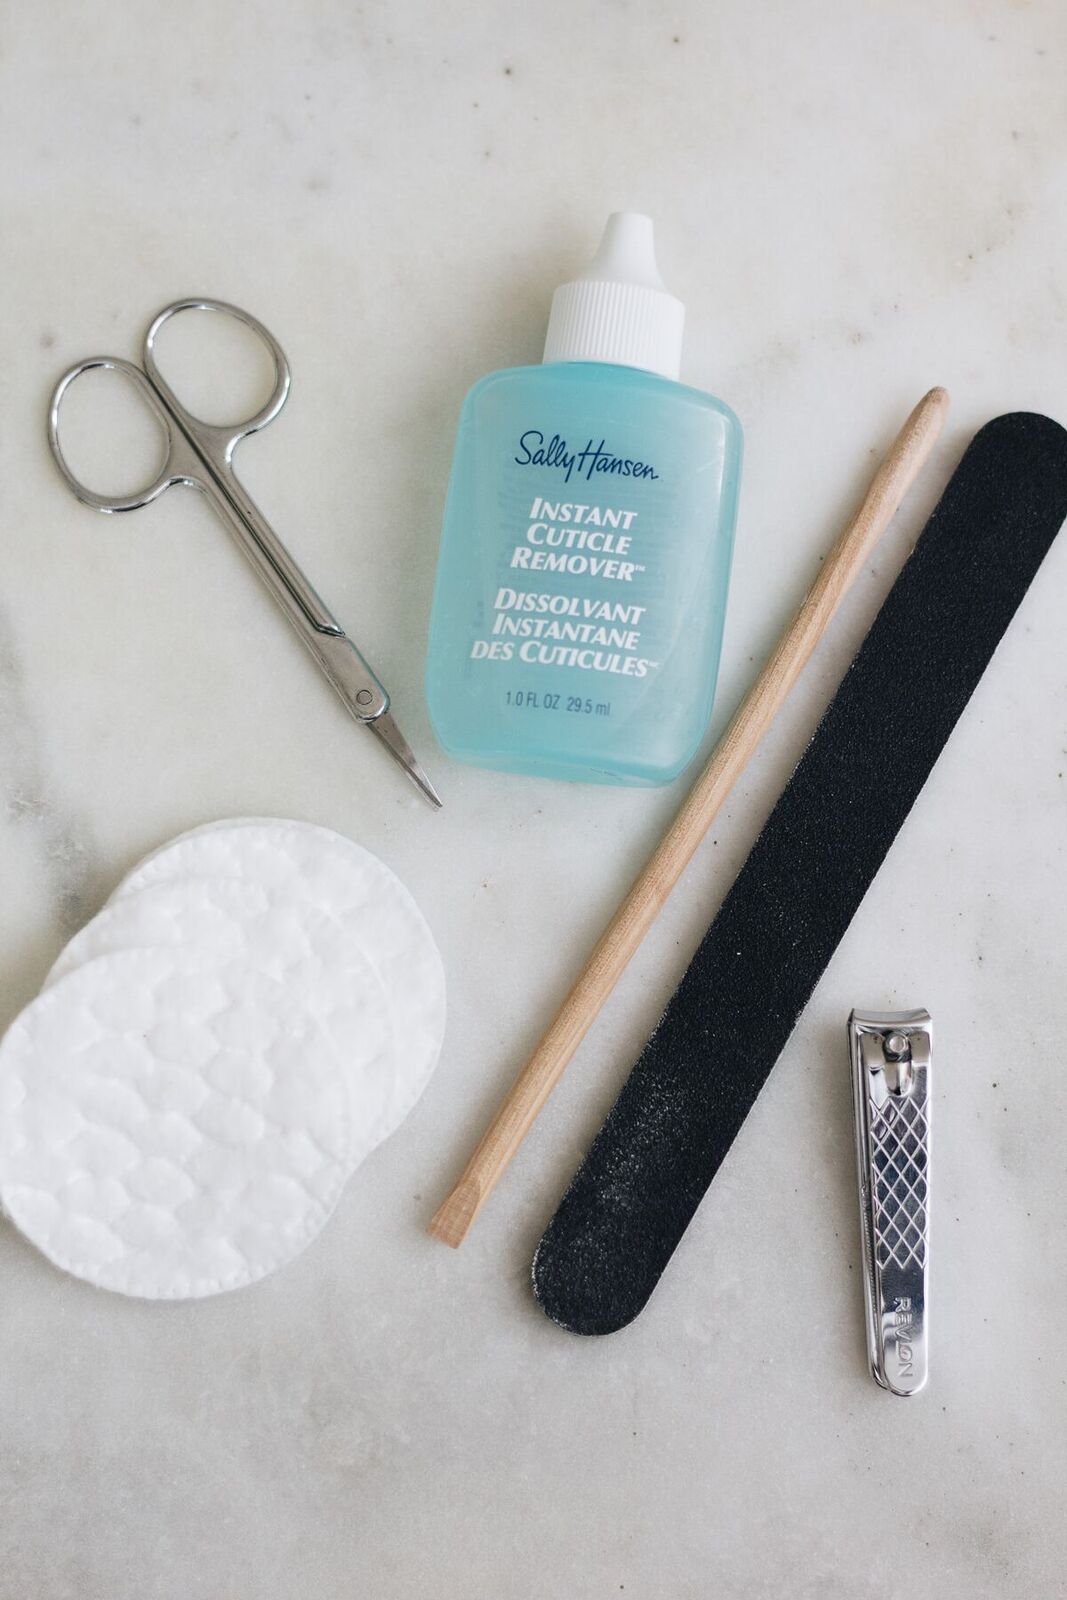
Step 1: Gather The Essential Tools
An essential part of mastering the at-home mani is to have the right tools. Before it comes time to bring out your favorite polish, there are a few things you can do to ensure your nails are prepped and ready. Here’s what you’ll need:
–Nail file
–Nail buffer (optional)
–Cuticle stick
–Cuticle remover
–Cuticle scissors
–Nail clippers
–Cotton rounds
–Polish remover
Many brands sell handy manicure kits that come with a variety of tools, like this one by Revlon. These are a great option if you don’t want to buy everything separately!
Step 2: Remove Existing Polish & Shape Your Nails
Now that you’ve gathered your tools, it’s time to get started. If you currently have polish on your nails, take it off with a non-acetone remover. This type of remover will work for most polish and is less harsh on your nails, but if you’re wearing a stubborn color or glitter that won’t budge, opt for a formula with acetone.
Now that you have a clean slate, it’s time to shape the nails. Start by trimming your nails to your desired length using a pair of clippers. You can opt for a square shape, round shape, or somewhere in between – the choice is yours!
To smooth out the edges, use a nail file and gently file back and forth. For an even smoother canvas, run a nail buffer across the surface of your nails. Many buffer blocks come with different sides that can be used to file, smooth, and add shine. Remember, the smoother the surface of your nails, the better your polish will apply!
Step 3: Soak & Apply Cuticle Remover
If you’re really wanting a salon-like experience, take a few minutes to soak your hands in warm water! This will soften your cuticles (the little piece of skin by your nail bed) and prepare them for the next step.
After soaking, use a cuticle stick to gently push back your cuticles (be very careful with this one!). Cuticles can sometimes get in the way when applying polish, so pushing them back can give you a larger surface area to paint.
After pushing back your cuticles, apply a little bit of cuticle remover to each nail. With most removers, you only have to wait a few seconds for them to do their magic. After rinsing, you’ll find you have a nice surface to work with!
At this point, you might have a few stubborn hangnails. If this is the case, grab a pair of cuticle scissors and trim them away. Over-trimming your cuticles can lead to infection, so be very careful with this step!
Step 4: Moisturize
Next, grab your favorite cream or lotion and rub it into your hands. It’s important to ensure your hands stay hydrated! There are a ton of lotions specific for cuticles and hands, but any moisturizer will do.
After allowing the moisture to sink in, you’ll want to wipe any excess lotion from your nails. The polish won’t adhere to a surface that’s oily, so grab a paper towel or tissue to wipe off your nail beds!
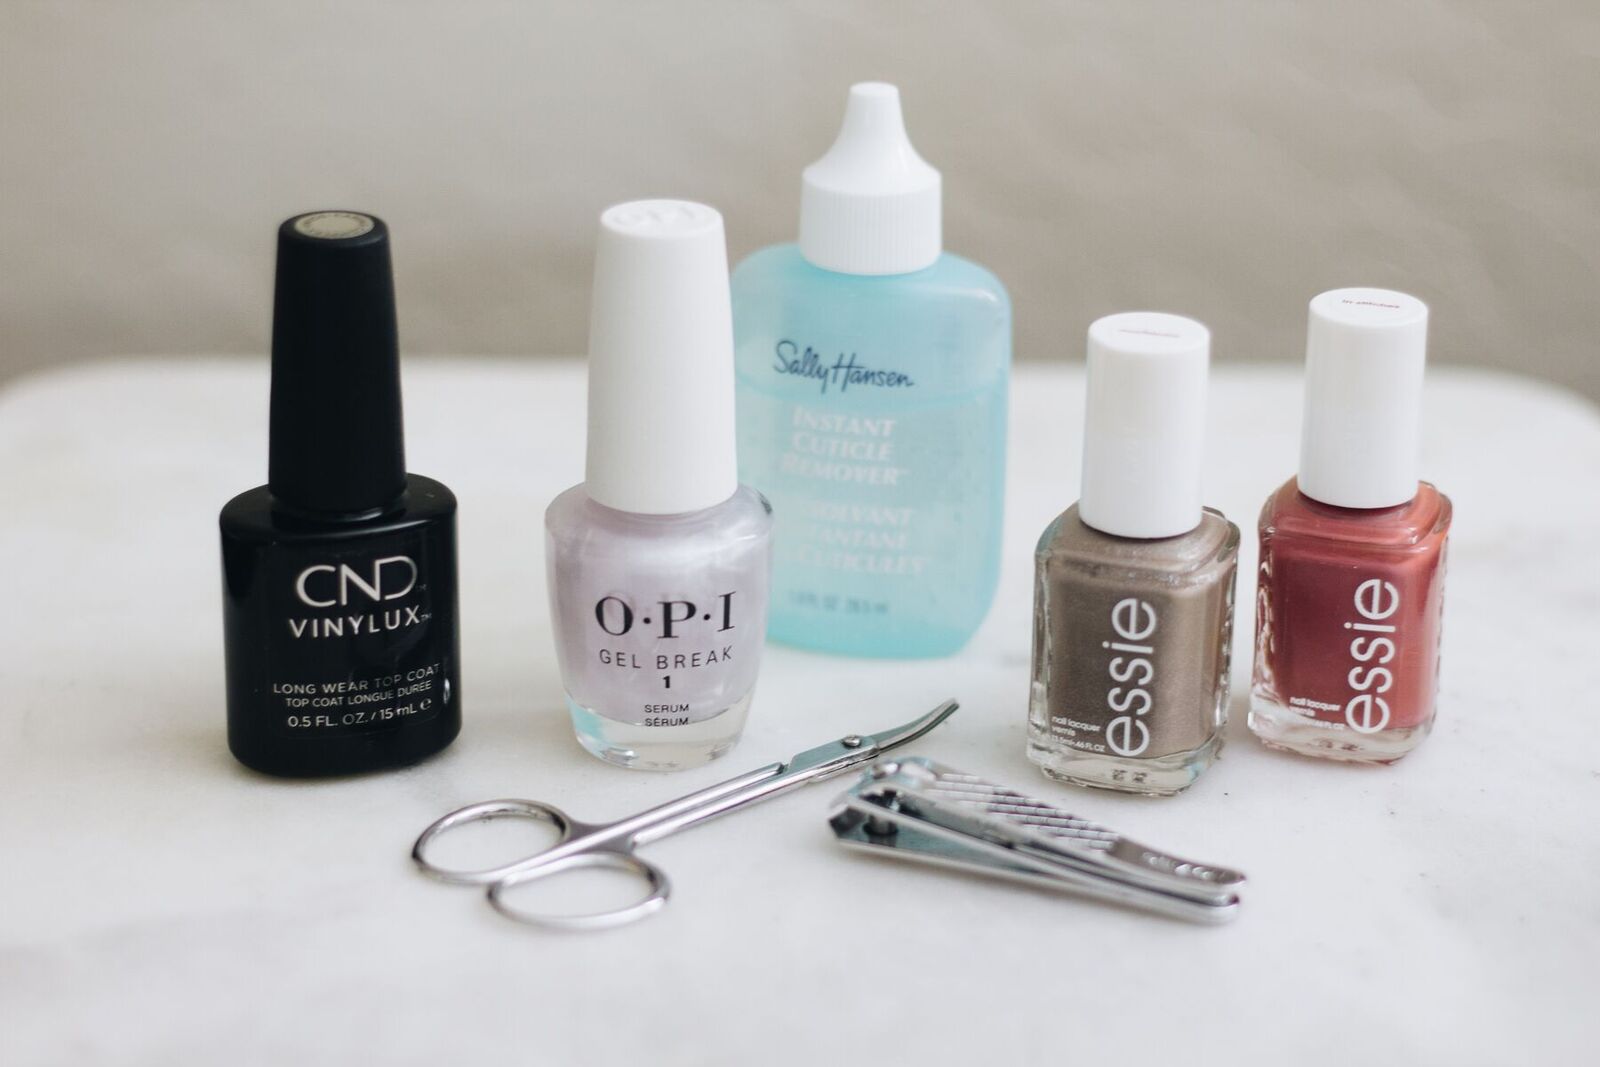
Step 5: Polish
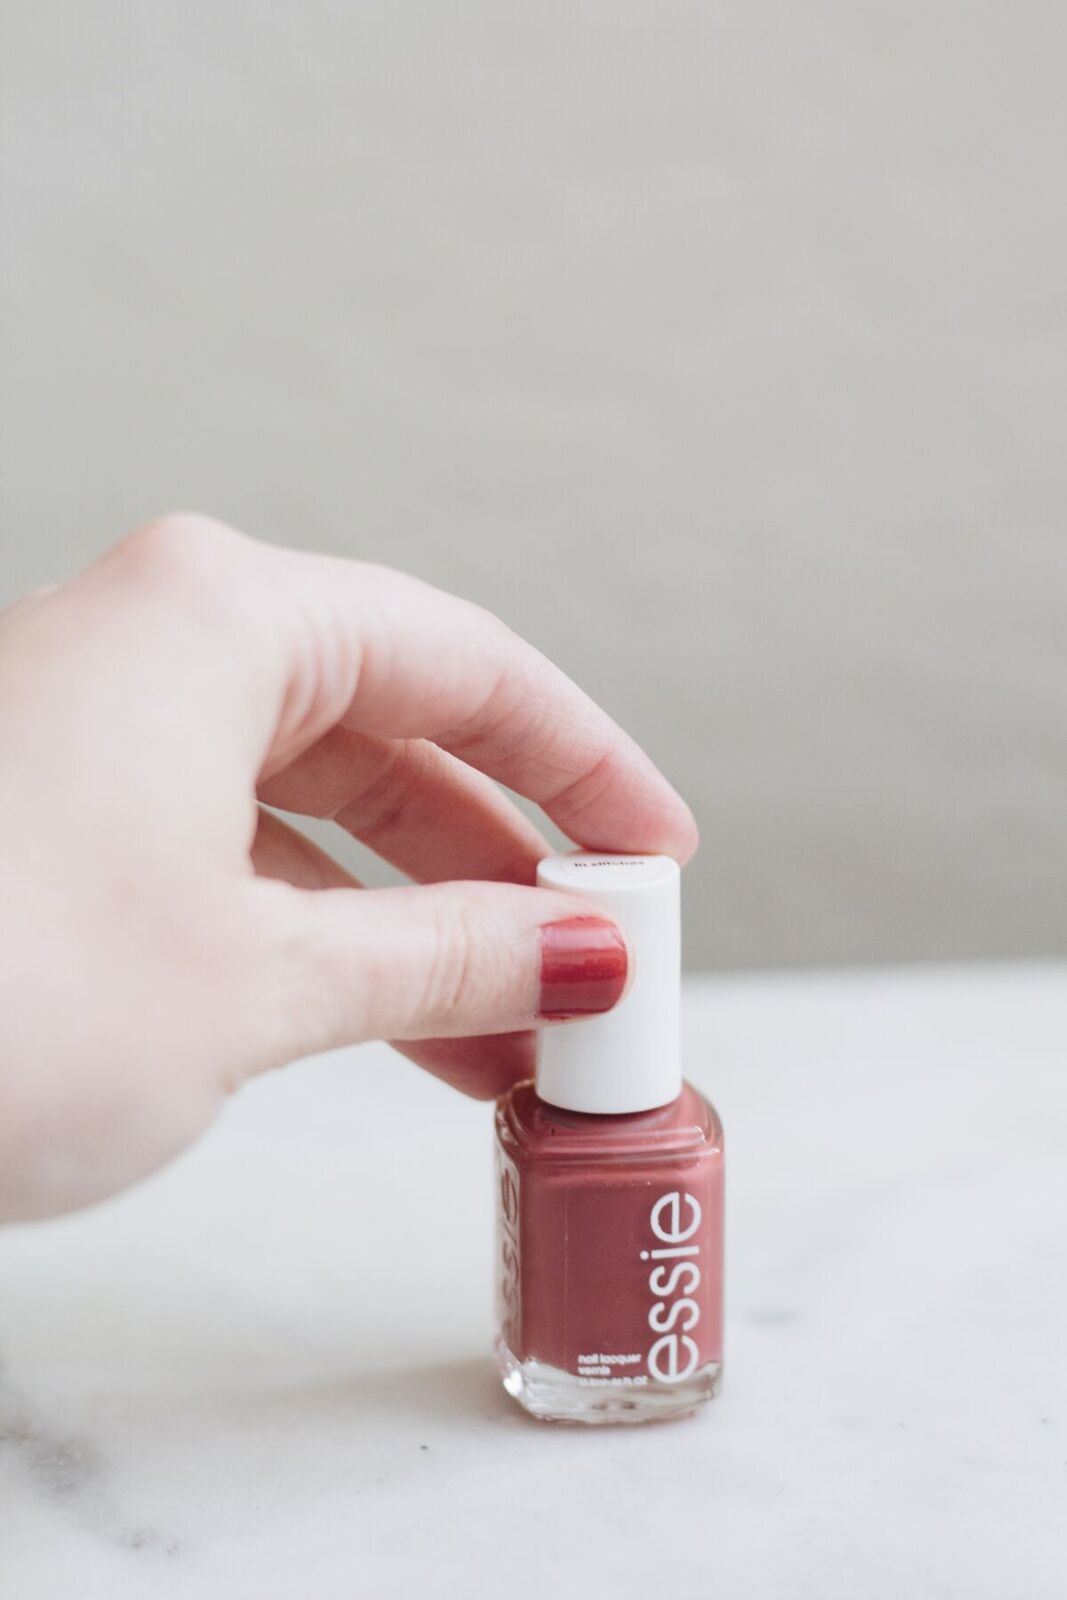
Last but certainly not least, it’s time to polish! To prolong the life of your mani, you’ll want to invest in a good base and top coat. OPI’s Gel Break is an amazing base coat and really smoothes the surface of your nail, and CND Vinylux is a great top coat that will make you look like you have a gel manicure!
When it comes to applying your polish, patience is key – make sure you let each coat dry entirely before applying the next! Also, thin coats of polish are best. Start with your base coat, then apply 2 coats of your color, and follow up with your top coat.
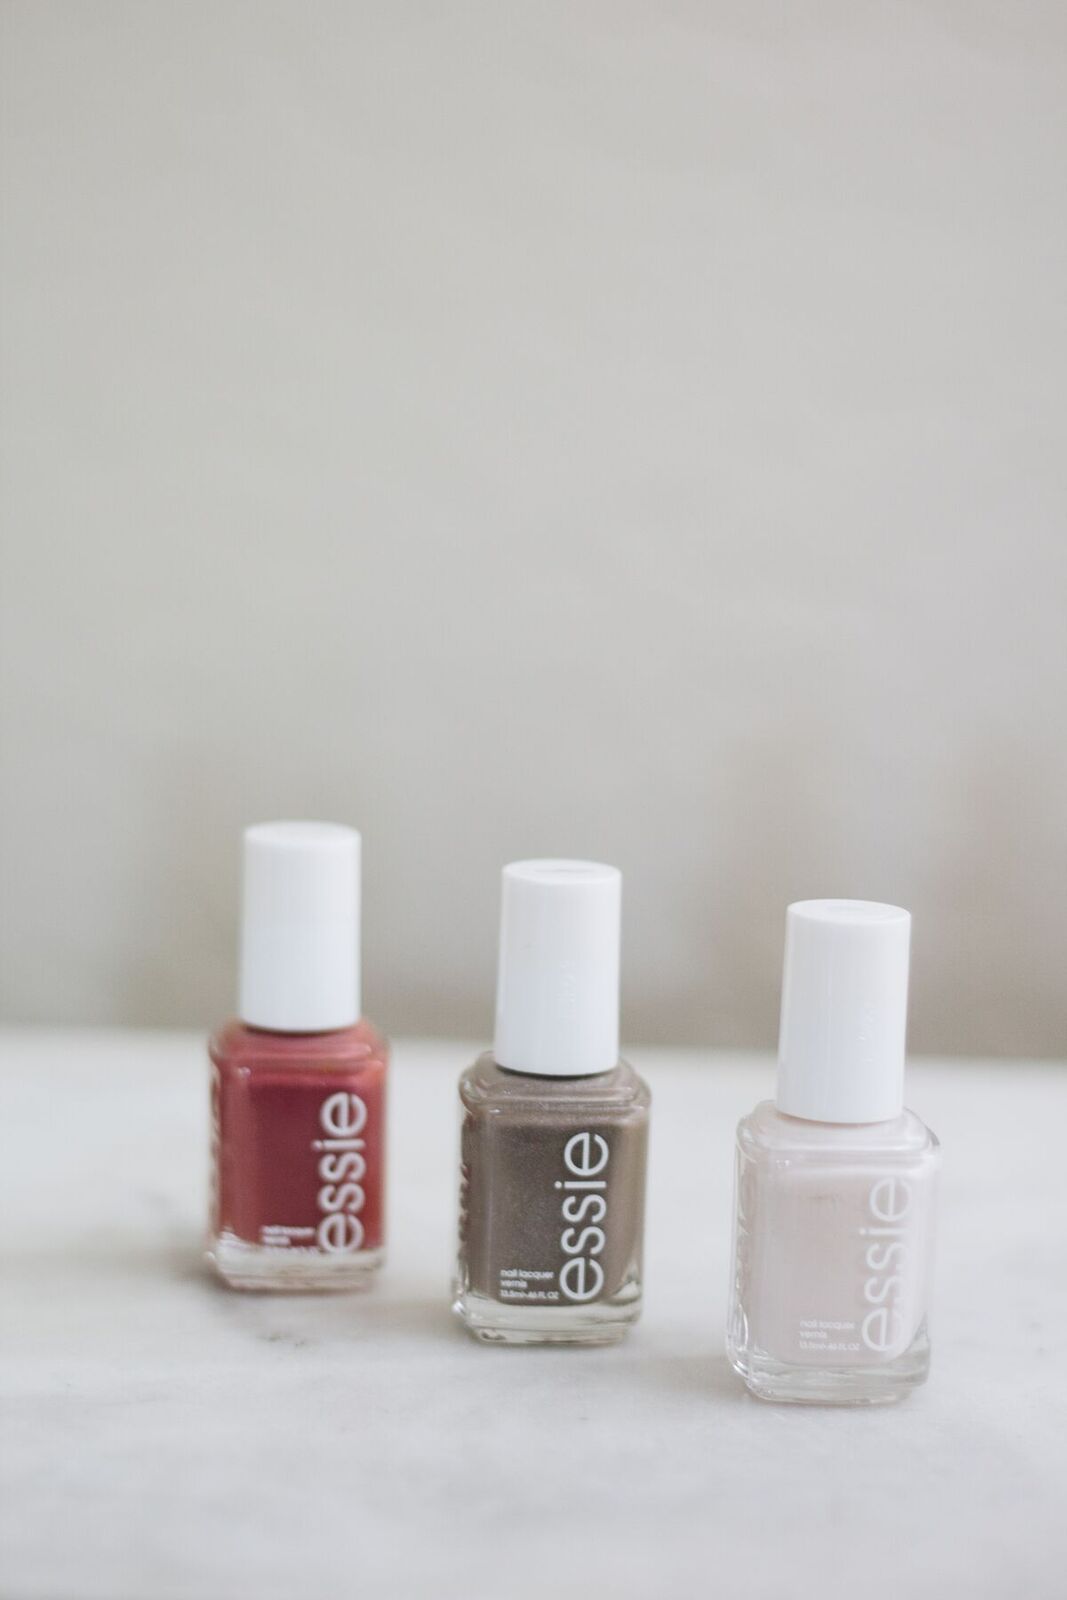
If you’re wondering what brand of polish to use, try Essie or OPI! Both of these brands have amazing formulas color selections. (Pictured: In Stitches | Mochachino | Urban Jungle)
And there you have it – a salon quality mani that you can achieve at home!
Do you have any at-home manicure tips? Let us know in the comments below!
Shop The Post

Hillary Says
You should NEVER file back and forth! That can lead to splitting and breaks. File in one direction only, from side to center.
Olivia Says
Thanks for sharing your tips! Many people start their business with a home studio. But this makes it no less important to acquire high-quality tools for better results. In addition, nowadays you can easily create your own brand thanks to private label gel polish https://cconailgel.com/ , here you can find out more about everything